Even today, when integrating with critical backend systems (e.g. order fulfillment system and shipping management system), it is quite common to encounter data being transferred in flat file format. Often the records to be transferred will need to be sorted and de-duped before they can be inserted into another system. For example, there could be multiple update entries for the same item and the sequence of the update calls is important. Here we would like to show you an example of how to leverage Mule’s built-in support for in-memory databases to make it really easy to perform such tasks when working with flat files.
Out of the box, Mule supports HSQL, H2, and Apache Derby. The example here will use Apache Derby but the configuration is essentially the same for all three.
First thing you will need to do, is to configure your JDBC connection. Note that the use of Apache Derby JDBC driver, also, where you put the name of the database (e.g. “blogdemo” in this case.):
In addition, you will need to initialize the database by implementing the Spring InitializingBean interface. When Mule starts, the initialization process will create the tables you plan to use. For our example, we will just create couple tables to illustrate the process:
With the corresponding element in your flow:
These should be global elements of your application:
From here on, you can just use your in-memory database like any regular relational database in your application:
For example, if your requirement calls for upserting records from a csv input file into Salesforce.com in sequence based on last modified time:
With in-memory database, the flow can be simplified down to just a handful of steps:
With the records now stored in a relational database table, all the SQL query functionality can be utilized to process the data to meet your requirements.
Finally, please don’t forget to include Apache Derby library in your project. Support for Derby is out of the box but the driver still needs to be added to the project manually:
In this post, I will go over some tips I’ve been collecting which can make your life as a developer just a little bit easier if you come from other operating systems. Of course the list can grow, but here is my list. This article is based on MacOS X 10.8.2 (Mountain Lion), but should be helpful for other versions as well.
Using your Mac – essentials
You can easily find any application in a way that resembles the Start Menu on Windows using Spotlight. Just press command + space and type until you get a hit. In order to right click you can use two fingers on the lower part of you pad, or CTRL-click. You scroll using two fingers – Mac uses ‘natural scrolling’ by default (so up is down and down is up). Three fingers up and down will give you an overall of open applications, and on the side they will switch through full screen applications. Four fingers going out on a circle from the center will quickly display your desktop.
When typing, command + left arrow and command + right arrow take you to the beginning and the end of the line, and fn + delete is what you probably knew as just ‘delete’ (that is, deleting the character following the caret), while delete is what you probably knew as ‘backspace’ (deleting the character preceding the caret).
If you need to quickly capture a region of your screen, command + shift + 4 will present a cross style mouse pointer and allow you to select a region, which will be automatically sent as an image to your desktop.
Finder
Mac’s graphical file system browser is called Finder. If you’ve used the latest versions of Windows and/or many flavors of Linux, you’ve seen you can go back to any part of the path with a click. Finder does not bring this by default. Luckily, you can add a button that performs a similar function.
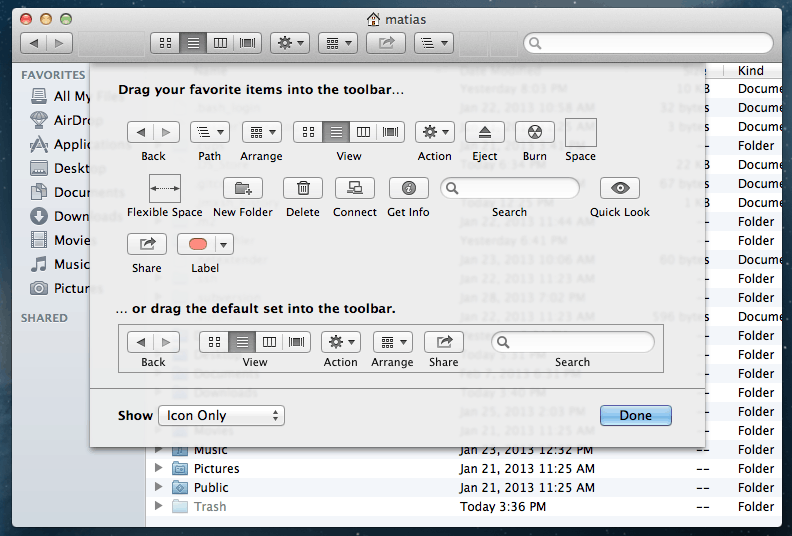
Just open a Finder window, and select View -> Customize Toolbar… from the menu bar. There is a button labeled Path you can drag and drop onto the Finder window toolbar. Do so and it will appear in all future Finder windows!
See below how this is done:
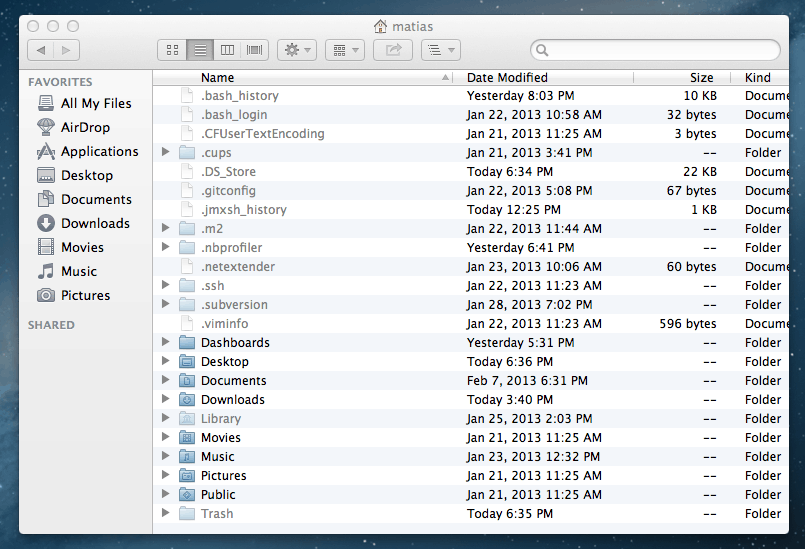
Another usual requirement in developers is the ability to see hidden files. These are hidden by default. You can choose to show them, just override the appropriate setting and restart Finder by executing the following two commands:
defaults write com.apple.finder AppleShowAllFiles TRUE
 killall Finder
And now you can see hidden files:
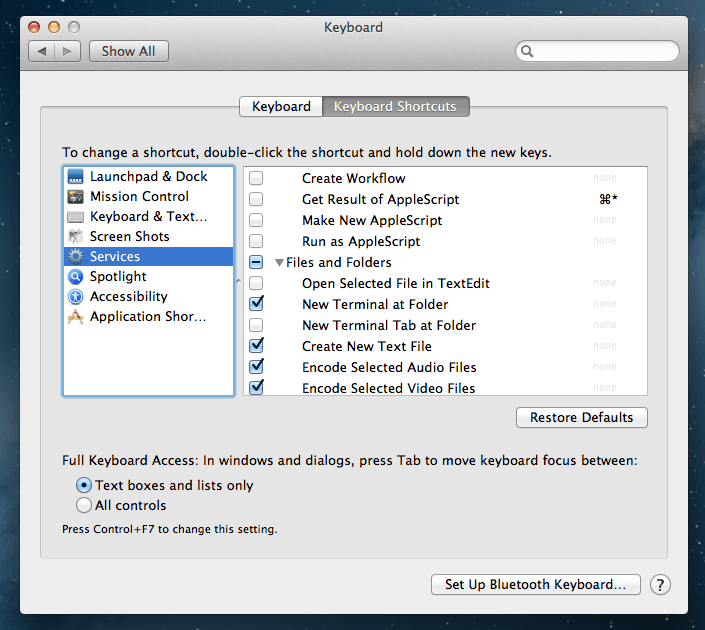
Yet another ‘powertoy’ (as it was at some time called under Windows) is the ability to launch a new terminal at a specific location you are browsing. Mac OS X brings this but, as with many services, it is disabled by default. You can enable it by going into Keyboard (command + space and type), Keyboard shortcuts, Services and ticking New Terminal at Folder.
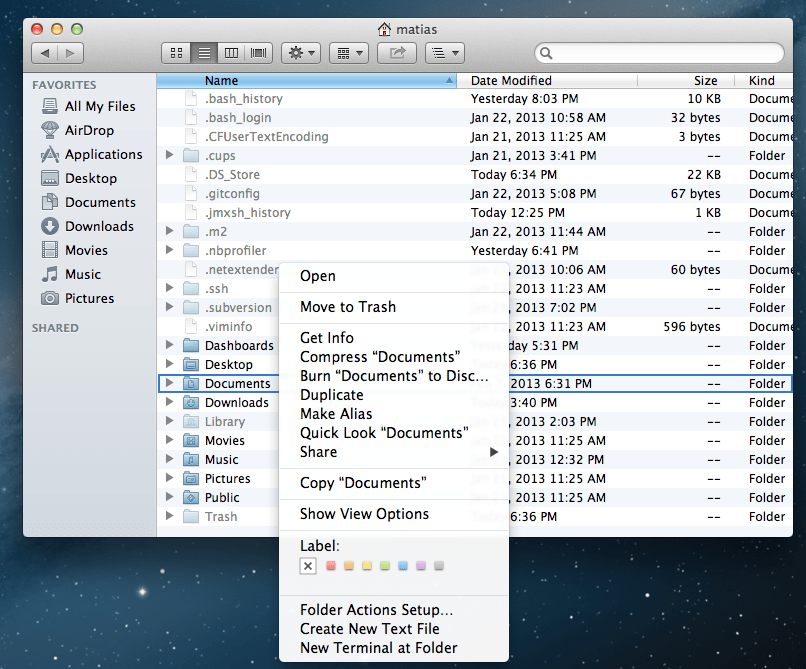
This option will now appear under the Services option within Finder, in the menu bar, or when you right-click on any folder.
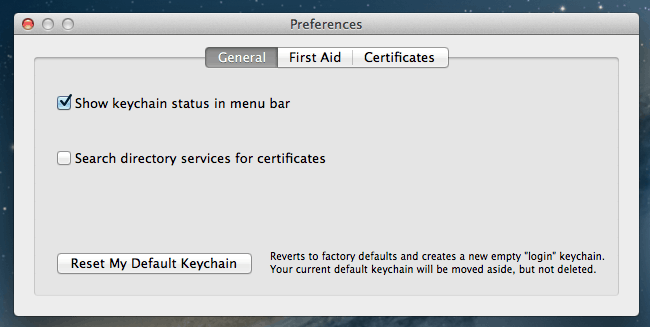
Lock Screen
There are several ways of having quick access to this. This is one I like. Open Keychain Access (command+space and type), access Preferences from the menu and tick Show keychain status in menu bar.
A small lock will now show on the menu bar, one click + lock screen will launch the screen saver.
Applications
Sometimes you really need to use an application that did not come from Mac Store or a known developer. A feature called gatekeeper prevents you from accidentally launching it. But if you do want to do so, just right click and select Open, this will present an additional button in the dialog shown, which will allow you to proceed (and your preference will be remembered for future occassions).
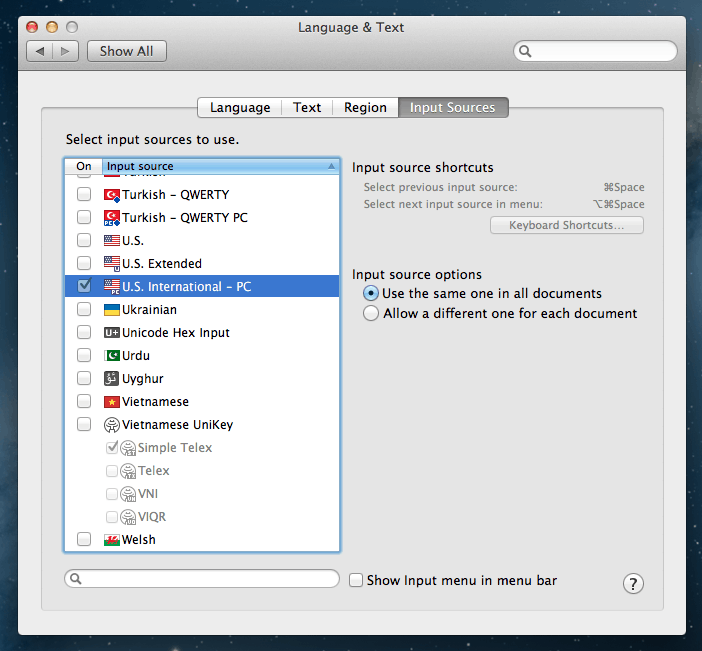
International keyboard
If you need quick access to latin characters, you can change the keyboard layout accessing Language & Text, Input Sources and ticking U.S. International – PC. You can get accented characters with ‘ + letter as usual (á), ñ with ~+ n, ¿ with option + shift + ? and ¡ with option + !.
Here is how:
Developer essentials
The OS brings java, but I needed an updated JDK from java.sun.com so I downloaded it and installed as usual. Then with /usr/libexec/java_home -X a list with all JVMs installed can be requested, and /usr/libexec/java_home -v version filters the list by the version passed as parameter.
OS X comes with a maven install, but I added export M2_HOME=/usr/share/maven to my ˜/.bash_login script.
SCM
An svn client is no longer included by default. You can get an official one without downloading the whole XCode bundle. Just install Command Line Tools (OS X Mountain Lion) for XCode from developer.apple.com, which is a much smaller download.
For GIT, you can use any client you want. I got mine from git-scm.com and generated my SSH key with ˜/.ssh/ssh-keygen -t rsa -C “myemail@mydomain.com” and added the contents of id_rsa.pub to my SSH keys in my github.com user settings.
What are your Mac productivity tips?
You have been redirected
You have been redirected to this page because Servicetrace has been acquired by MuleSoft. Click here to learn more.