
With the latest release of Anypoint Code Builder (June 2024), the newest version includes an amazing new user interface to aid your DataWeave transformations.
The new DataWeave Expression Builder is helpful for both beginners and experienced MuleSoft developers to be more productive when building scripts. It’s more than just a user interface – it’s a new way to explore your data. To understand it fully, let’s start with the new Input/Output tab to see all the available metadata.
Input/Output tab
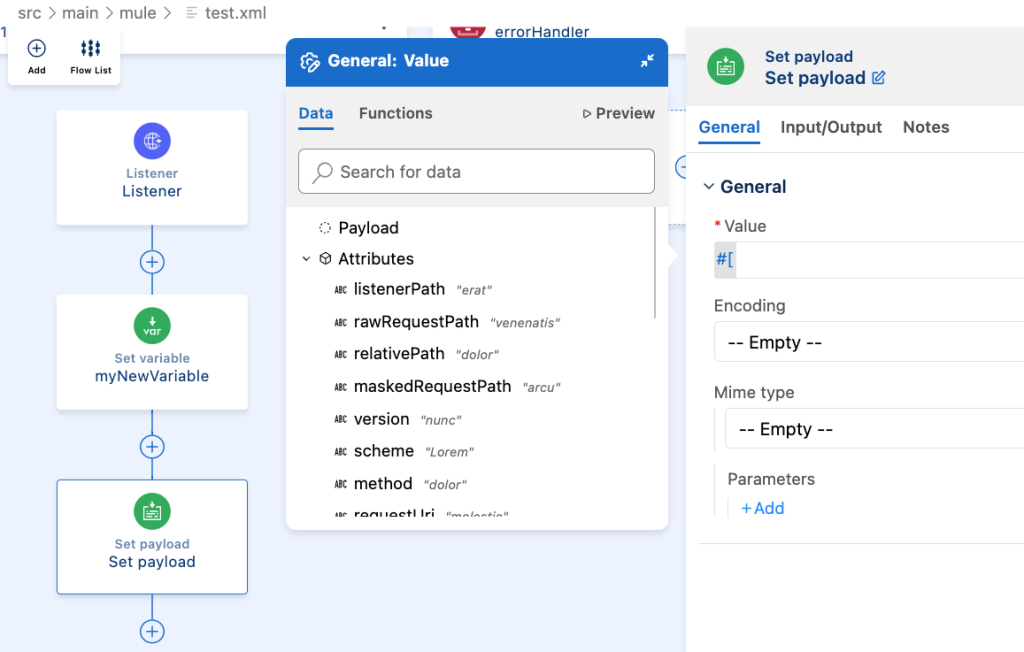
You can start by creating a new Mule project by selecting the Develop an Integration option. Add a flow and a Set Payload component inside it. Click on the component to open the configuration panel. The first thing you’ll notice is the new Input/Output tab in between the Notes and General tabs. Click on it to show the available metadata.
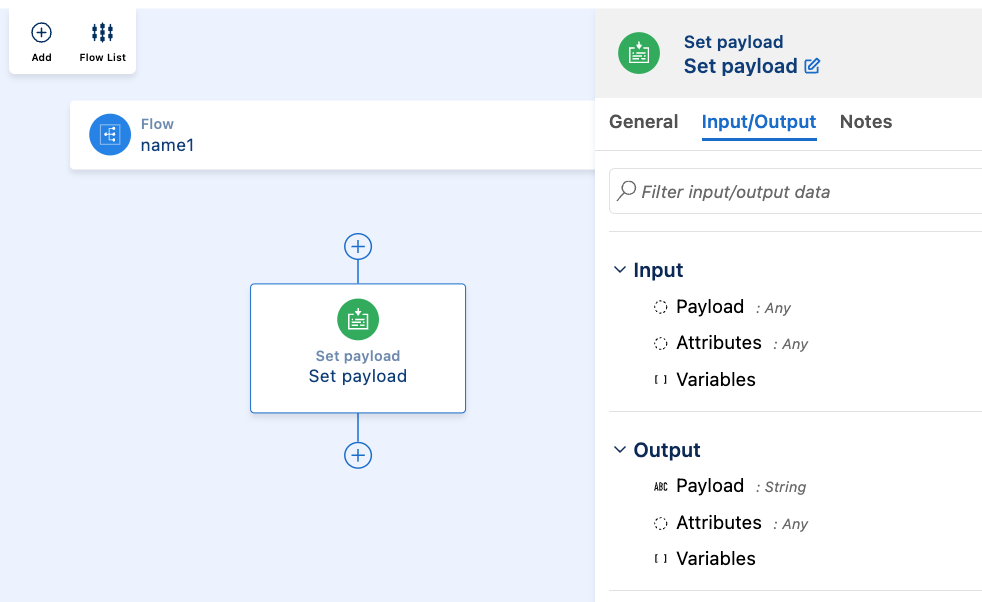
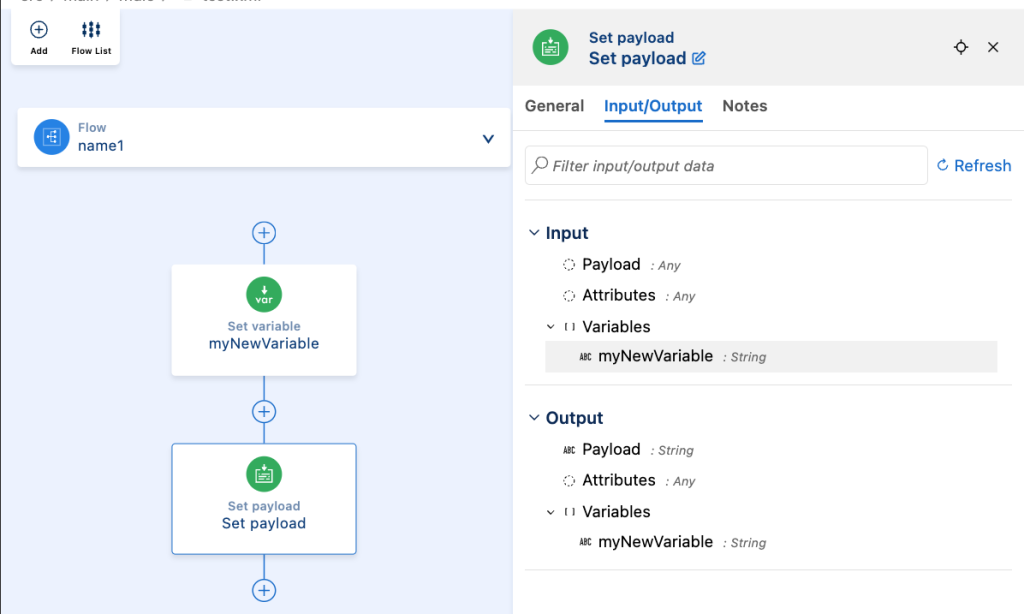
In this case, we can only see the basic metadata because we don’t have any other component that will generate more fields. Add a Set Variable component before the Set Payload and re-open this panel to see a change.
The same would happen if you added an HTTP Listener. This metadata would change accordingly.
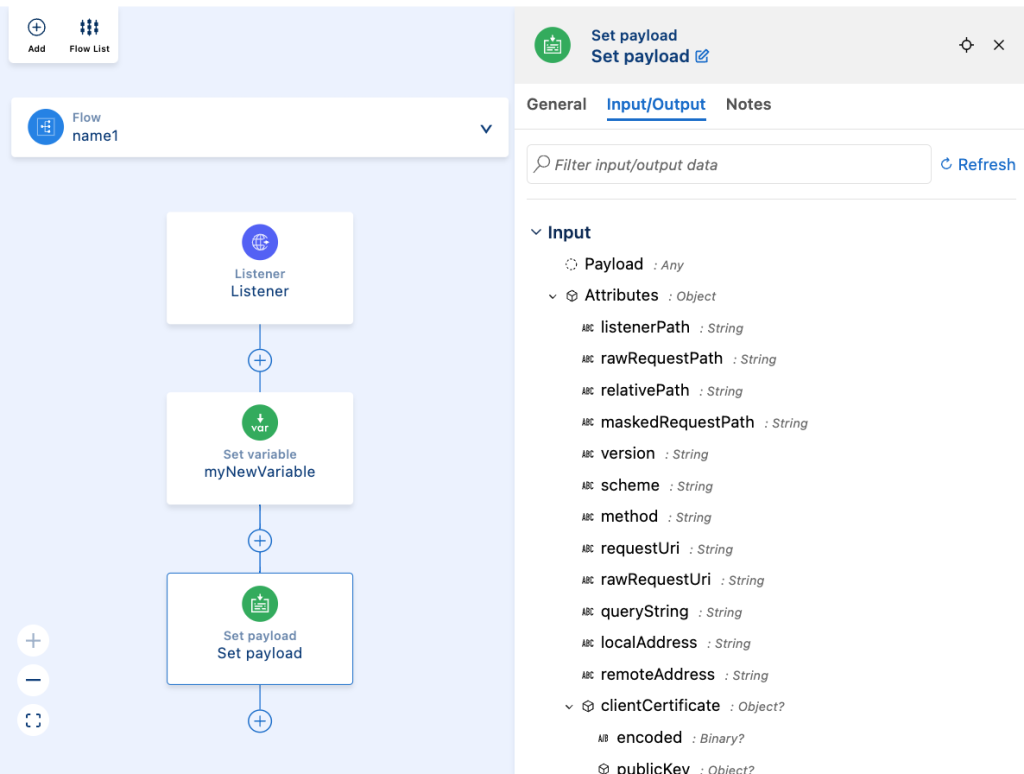
Additionally, if you create a Mule project based on an API Specification while using the APIKit router, the metadata from the specification gets added here, too (e.g. query parameters, headers, or URI parameters that you specified on the RAML/OAS file). This is a useful tab, but it’s not part of the DataWeave Expression Builder.
DataWeave Expression Builder overview
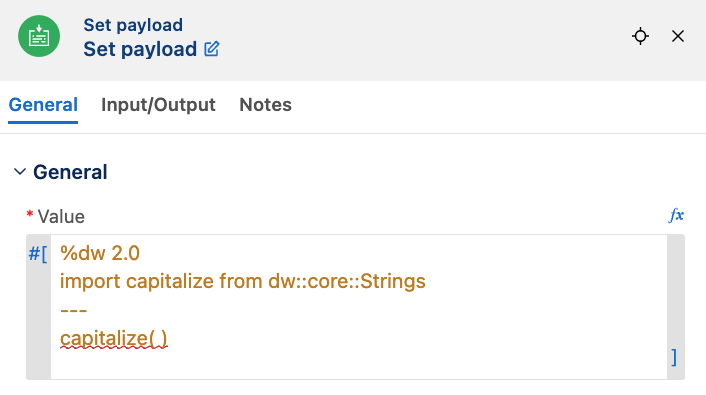
Still inside the Set Payload component, but now under the General tab, click on the fx button located at the top-right corner of the Value textbox. Then, click inside the textbox to open the builder.
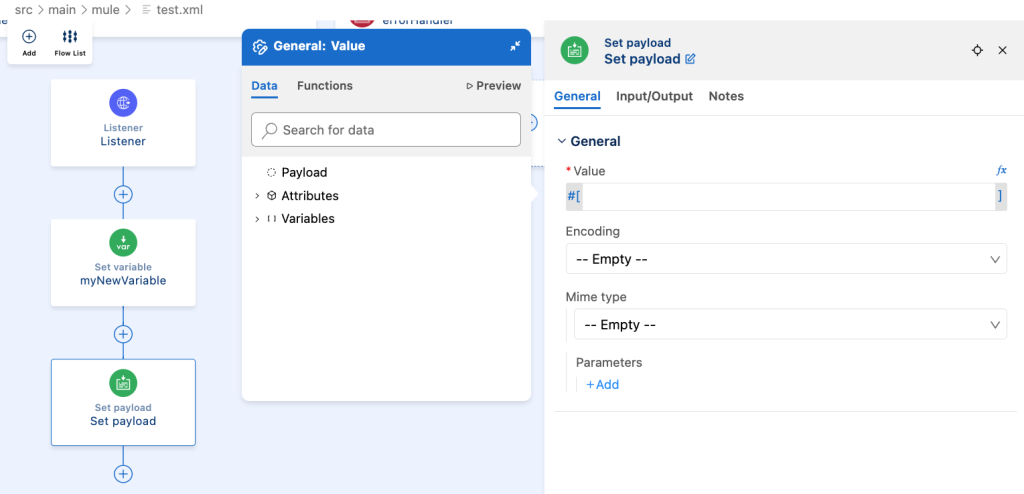
The first section of the builder contains the title of the field you’re modifying, in this case, General: Value because it’s inside the General section and it’s the Value textbox. Next to the name, you’ll find the collapse button. You can click on it to minimize the window.
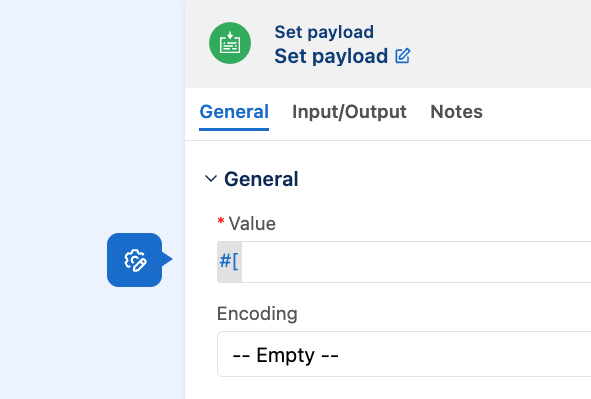
To open it again, simply click on the dialogue button with the gear and this will expand it.
Next, we’ll go over the Data and Functions tabs and the Preview button.
Data tab
Once we open the DataWeave Expression Builder, the first tab that opens is the Data tab. In this tab, we have access to the input metadata – similar to what we saw from the Input/Output tab.
We can use the search textbox at the top of the tab so we can filter the results in the UI. For example, to locate the myNewVariable variable. After you locate the data you were looking for, you can simply click on the result and this will add it to the Value textbox in the Set Payload component.
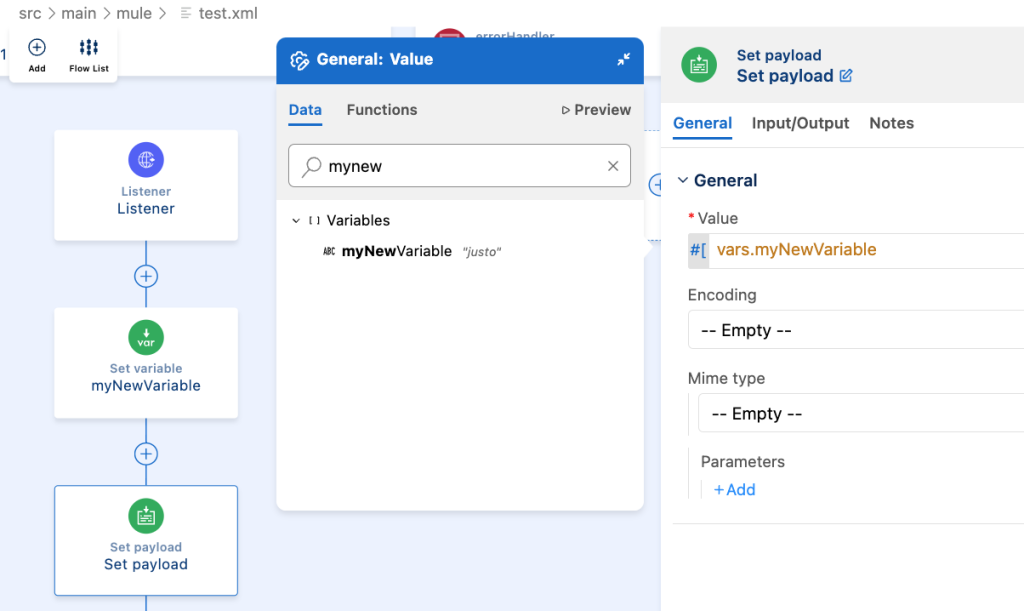
This is especially useful when you forget the exact syntax to reference something. For example, a specific query parameter. Now you only need to search for what you’re looking for and click on it once to add it to the component.
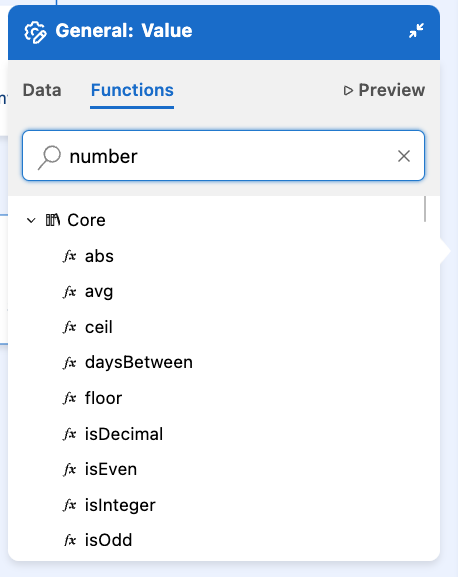
Functions tab
Still inside the Set Payload component, head to the Functions tab. You will find a list of all the available DataWeave modules. If you expand a module, you will be able to see the list of all the functions inside that module.

If you find a function you want to use but forget exactly how to use it, you don’t have to head to the documentation to read up on it. Just hover over the function you want to learn more about and click on the Details button.
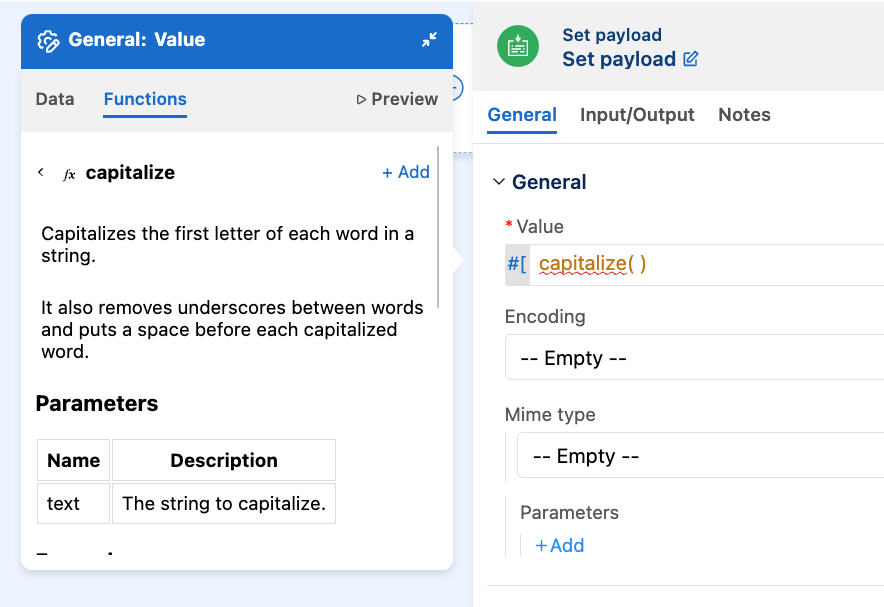
This will open the description of the function, including its parameters and examples. Once you know which function you want to use, click on the Add button (under the Preview button) and this will automatically add it to the textbox.
If the function you added requires importing a module to the script, click on the function inside the textbox to show the quick fixes.
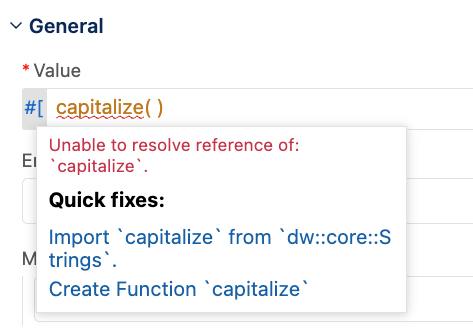
Then, click on the Import quick fix.
You can use the search box at the top of the functions to filter down the list. You don’t have to match the exact name of the function, you can also look for other keywords that might match the function’s description.
Preview button
Once you have a script you want to verify, you can click on the Preview button to see it in action.
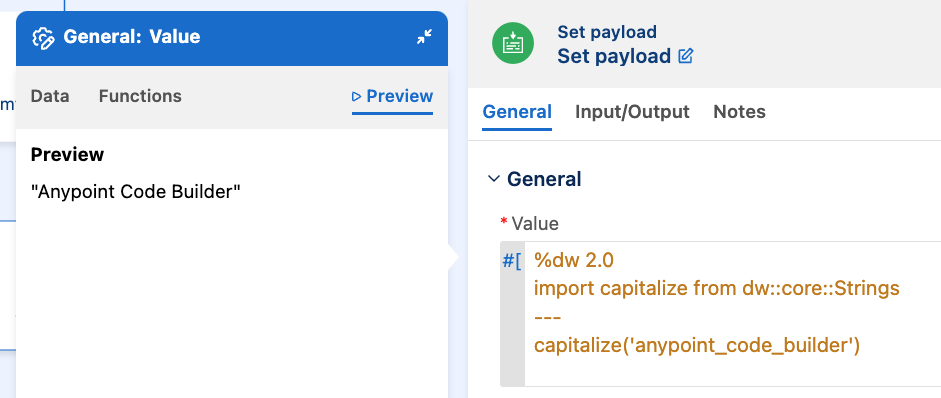
Does this scream productivity or what?
ACB with enhanced functionality
Anypoint Code Builder keeps improving all its functionality one step at a time. This is a friendly reminder to everyone that this is nowhere near the final version. Each release just takes ACB closer to what Anypoint Studio currently offers, but it will take time to achieve it.
When this post was created, Anypoint Code Builder’s June 2024 release was the latest available version. We hope you are as excited as we are to keep trying the new ACB versions!
The ACB team keeps gathering feedback to improve this tool in future releases. Check out the following resources to learn more about Anypoint Code Builder and to send your feedback: