
Visual Studio Code comes with a Source Control tab that will let you sign in to your preferred VCS account. For example, GitHub. Because of this, you can easily keep your Mule projects in sync with your own remote or local repositories using Anypoint Code Builder (ACB).
With the Source Control tab, you are able to perform the basic git commands like stage, commit, push, pull, clone, fetch, and so on. For this post, we’ll be focusing on staging, committing, and pushing your changes to a remote repository. You can use this tab for the version control of both Mule applications and API specifications.
Version Control Systems in Anypoint Code Builder
Before we get started, if you’re new to Anypoint Code Builder, take a look at the Getting Started and Get Familiar with the Basics guides for more information. Now, let’s go through the steps to understand how to work with Version Control Systems in ACB.
Getting started with the Source Control tab
Once you open Visual Studio Code, you can navigate to the Source Control tab from the left panel as shown in the screenshot below.

If this is your first time opening the tab, you might be asked to sign in to an existing account, open a folder, or clone a repository.
Let’s assume that you have already signed in to your GitHub account and that you have a Mule project open locally (which hasn’t been initialized yet). If you open this tab, you will now see the options to Initialize Repository or to Publish to GitHub. The difference of these being: if you already have a remote repository that you created through GitHub.com, then you don’t need to publish this local repository as a new one. You can simply initialize the repository and then send the files to the remote one.
Once your local repository has been initialized, you will now be able to make changes to the repository’s files. Let’s now learn how to do the basics.
Stage, commit, and push your changes
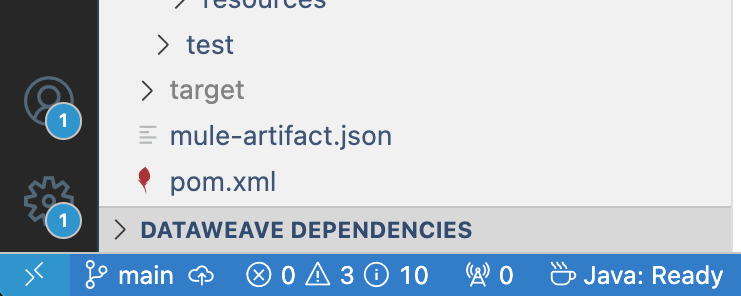
Once some changes have been done to the local repository, you will be able to see them from the Source Control tab. Like the following example.
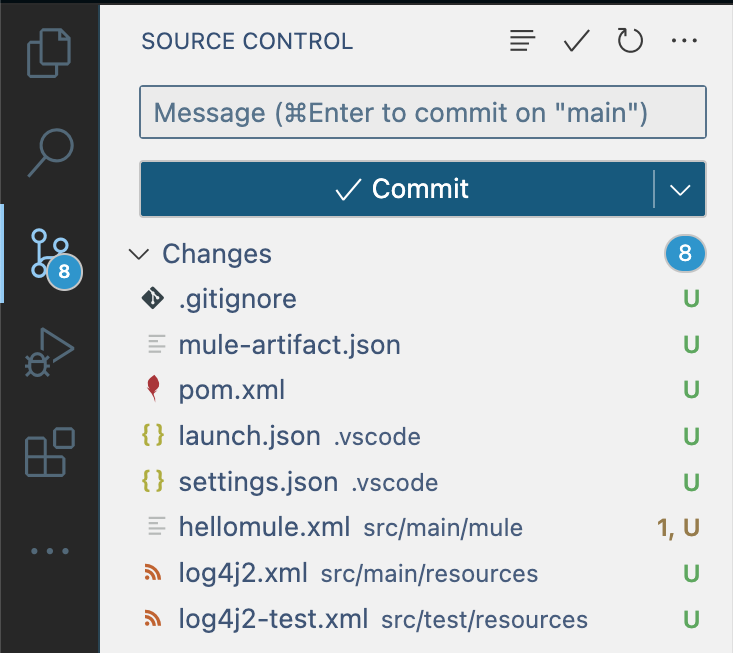
In this example, since we just initialized the repository, all the files are new. You can know this because of the green U next to the files (U=Untracked).
To stage a file, you simply have to hover over the desired file and click on the plus button.

Once the files have been staged, they will appear under the Staged Changes dropdown and you will be able to see an A where the U used to be.

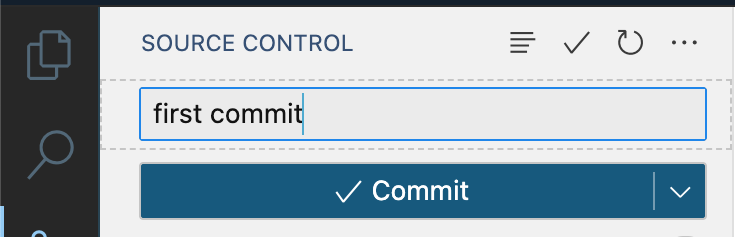
Once you are sure the staged changes are what you want to commit, you can simply add a message on the input box at the top and click Commit.
After committing, once you are ready to push your files to the remote repository, you can either click on the three-dot button and select Push.

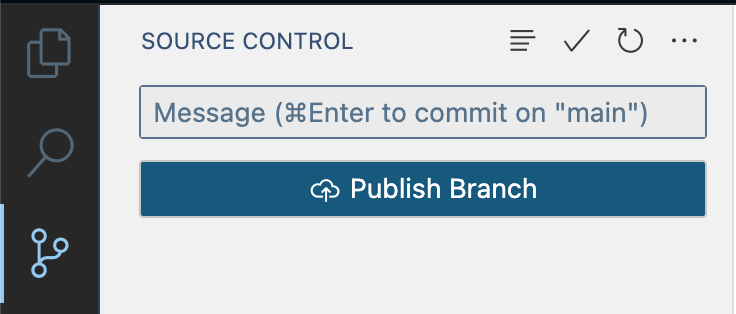
Or you can clean your current changes so there are no changes (either commit them or discard them) and you will see that the Commit button is now the Publish button.
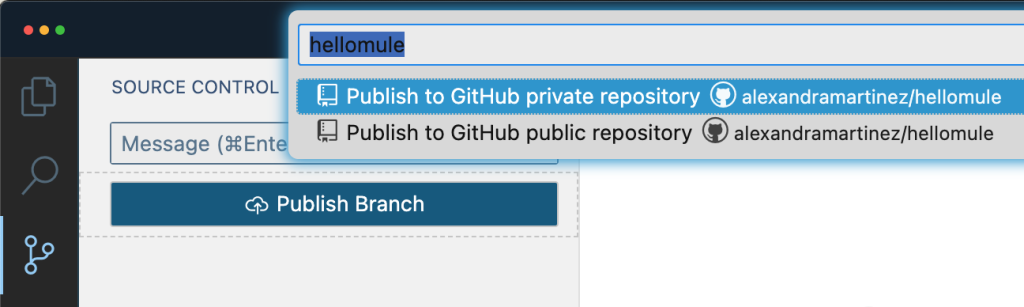
To select the remote repository where the files will be pushed to, you can either manually add the repository by running the git remote add origin <repo> command; or you can select the repository from Visual Studio Code once you click on Push.
It’s as easy as that! Another useful feature from this integration is to be able to create and change branches easily from the UI. Let’s see how.
Create and change branches
Branch managing is especially important when you are working with several developers on the same project, to ensure no one steps on each other’s toes.
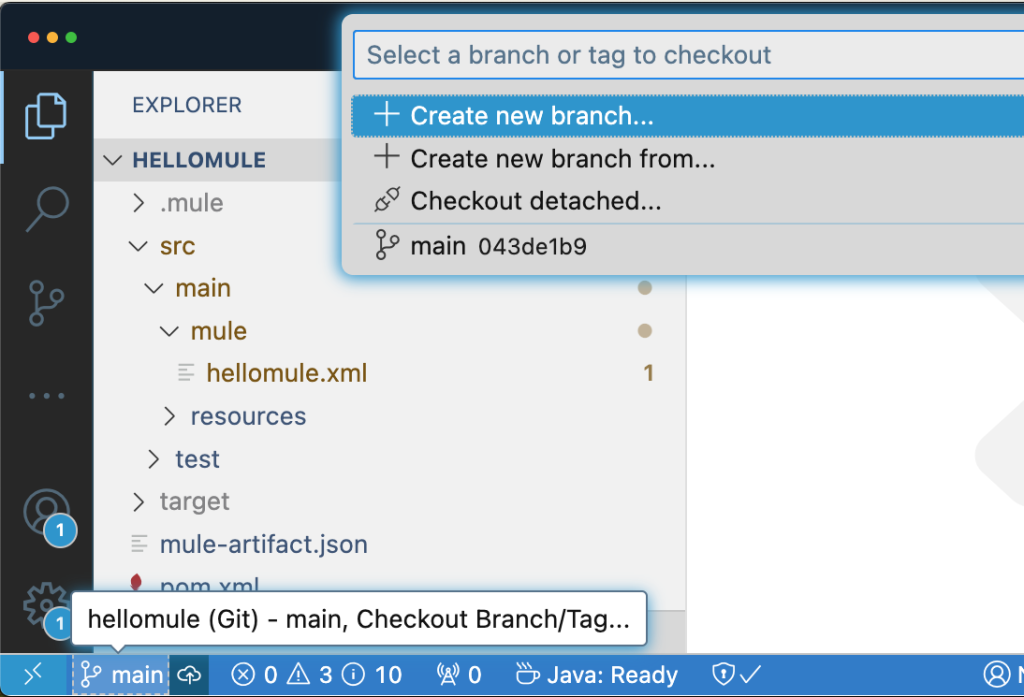
You can verify your current branch from the bottom bar in Visual Studio Code. In this example, we are currently in the main branch.
You can click on the branch name to open the branch menu.
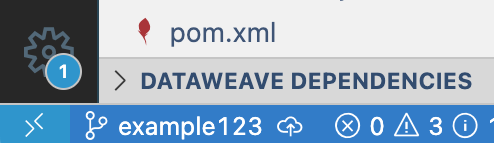
From this menu, you are able to create new branches or move to a different branch. For example, if you want to create a new branch called example123, you can simply click on the Create new branch button and add the name. After doing this, you will notice the current branch name changed.
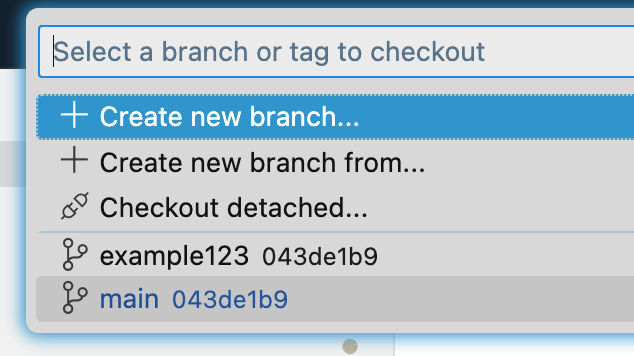
You can change back to the main branch by clicking on the example123 name and selecting the main branch.
Again, it’s that easy!
Version control systems – mastered
Congratulations on learning how to use version control systems, git through GitHub, in Visual Studio Code / Anypoint Code Builder!
When this post was written, Anypoint Code Builder’s February 2024 release was the latest available version. A few things might have changed if there are new releases available now. Let’s remember we cannot compare Anypoint Studio to ACB just yet. Studio has had years of development and releases to make it what it is today.
The ACB team keeps gathering feedback to improve this tool in future releases. In mid-2024, there will be some new updates, so keep posted!
Check out the following resources to learn more about Anypoint Code Builder: