CloudHub is the Anypoint Platform which provides a fully-managed, multi-tenanted, globally available, secure and highly available cloud platform for integration and APIs as a service (iPaaS).It is managed via the Runtime Manager console.
We can deploy our applications to CloudHub in various ways such as CloudHub API, CloudHub Command Line Interface,Maven pom, from Anypoint Studio or directly from CloudHub interface with a Mule deployable zip file via Runtime Management Console.
Now how about deploying it from Mule application on-premises?
We will demonstrate here a simple way of deploying applications to CloudHub programmatically, dynamically from a Mule application at a high level.
CloudHub expose various CloudHub API via REST API which can be consumed and used to do various CloudHub operations from our Mule application such as creating an application, deploying an application, reading log file, deleting an application, change application properties and deploy a new version of an application and many more.
Creating an application
To start with, we will be consuming CloudHub API to create an application in our CloudHub account from our Mule application that will run on-premises.
Here we will create a Mule application in our Anypoint Studio, that will be exposing an API of our own to the users and will create an application and domain name in our CloudHub account dynamically by consuming the CloudHub API. The advantage will be this application can create multiple CloudHub applications into our account dynamically from the application.
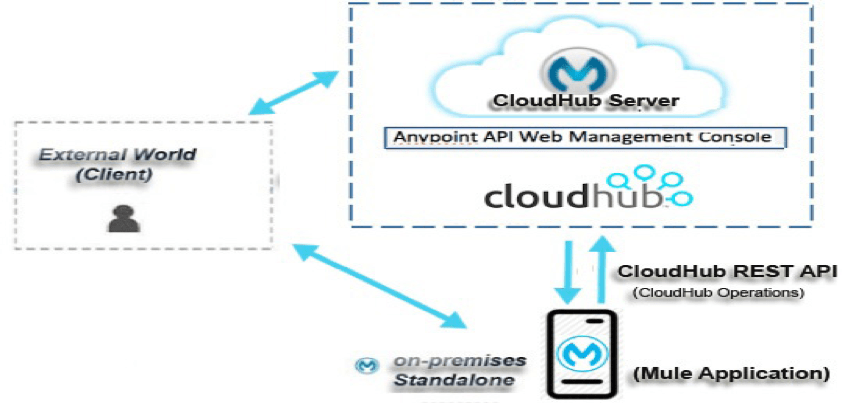
So, we will be designing following RAML specification for our application to expose our own API that will internally consume CloudHub API:-
#%RAML 0.8
—
#===============================================================
# Products API – RAML sample project
# References:
# – RAML Specification – http://raml.org/spec.html
#===============================================================
title: CloudHub access API
version: 1.0
baseUri: http://localhost:8082
#List of media type to support
mediaType: application/json
#List of protocols to support for baseUri
protocols: [ HTTP, HTTPS ]
===============================================================
# API documentation
#===============================================================
documentation:
– title: CloudHub access API
content: !
“This is a small demonstration of exposing an API for creating an application in our **CloudHub** account dynamically.
With the help this APIs, the **CloudHub** can be accessible from the Mule application and following operation can be done on **CloudHub** :- n
n* Creating CloudHub applications.
n* Deploying CloudHub applications from a shared folder.
nn
More APIs can be added here in next version for operation like delete, update the applications, viewing application log, viewing application details, viewing application deployment properties. “
#—————————————————————
# Resource section.
#—————————————————————
/createApplication:
post:
description: Creates CloudHub application and domain
body:
application/json:
example: |
{
“domain” : “TestAppAnirban”,
“workers” : 1,
“muleVersion”:”3.8.1″,
“properties” : {
“your.system.property” : “some.value”,
“your.system.property.2” : “some.value.2”
}
}
responses:
200:
description: message for successful application and domain creation.
body:
application/json:
example: |
{
“message”:”Created successfully!!”,
“status”:200
}
409:
description: message for application and domain already exits.
body:
application/json:
example: |
{
“message”:”The application name is already used by other application”
}
On importing the RAML file in our mule application in Anypoint Studio, it will generate different flows in our application including api-main flow, api-console flow, api-apiKitGlobalExceptionMapping flow and post:/createApplication:api-config flow that will implement and expose our API.
We will be modifying post:/createApplication:api-config flow as below image so that we can implement our logic of creating an application/domain in our CloudHub account:-
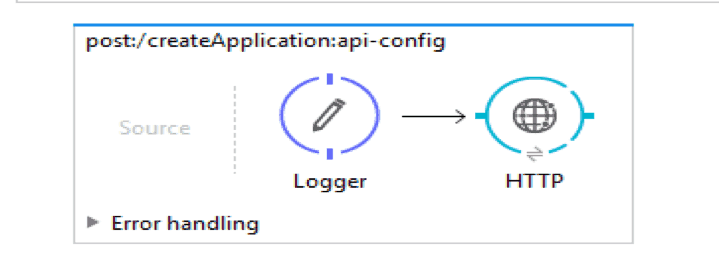
The flow is implemented with HTTP request component at the end to hit the CloudHub API and create the application/domain in our CloudHub account.
We will be using the following API exposed by the CloudHub https://anypoint.mulesoft.com/cloudhub/api/applications for creating the application in the account and configure it in our HTTP request component. Remember to configure the HTTP endpoint with the REST API exposed by CloudHub along with your CloudHub credentials.
Testing our flow
After deploying the code in the server, we will be getting our own API available in the APIKit console as below:-

We are ready to go! We can see our application is deployed on our on-premises Mule server with the base endpoint http://localhost:8081 and API is available in the list of the console.
On clicking /createApplication POST button we will be getting the following screen ready with a JSON request for creating the application name in our CloudHub account.

Here you can see the JSON request with domain name (our application name), CloudHub workers details and other details like values in the properties file can be filled here dynamically.
In the mean time we will be logging into our CloudHub account to monitor the activity here:-
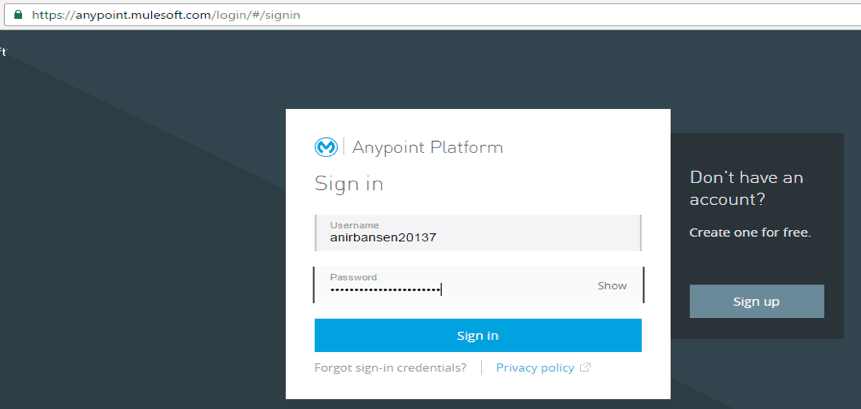
When we check the Runtime Manager, we will find no application is currently present in my account:-
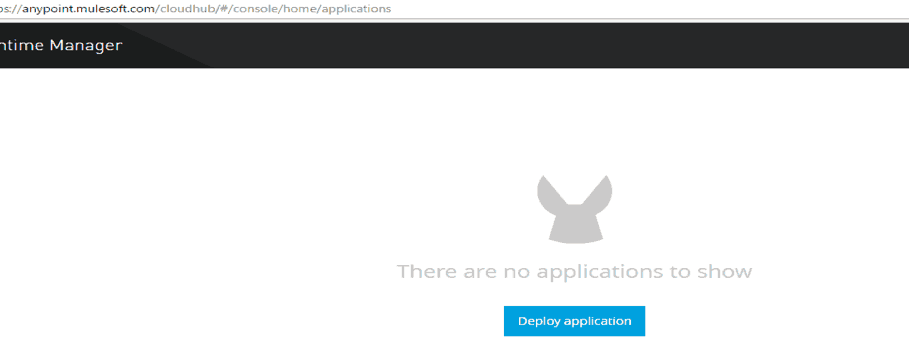
So Now when we click the POST button of our /createApplication API, we will be creating an application dynamically to our CloudHub account with the following response there in APIKit console indicating that the operation was successful:-
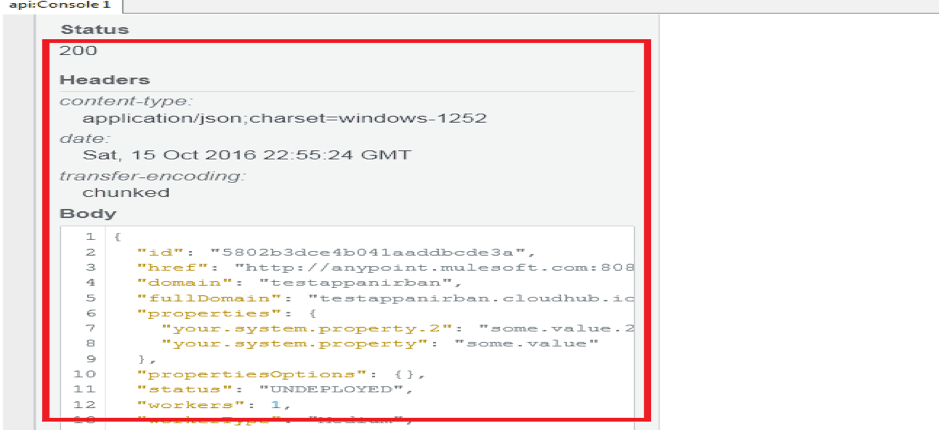
Now, if we go back to our CloudHub account to check if the application was created successfully, we will find yes it is created there with all the details (domain/application name ,CloudHub workers details, Mule runtime version etc:-
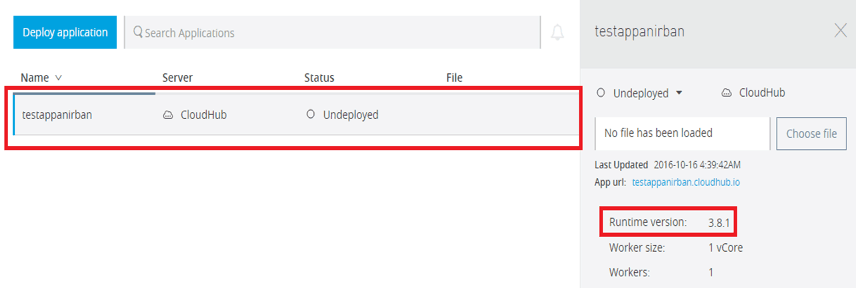
Now as our application is ready, we only need to deploy our Mule deployable zip file in the CloudHub server.
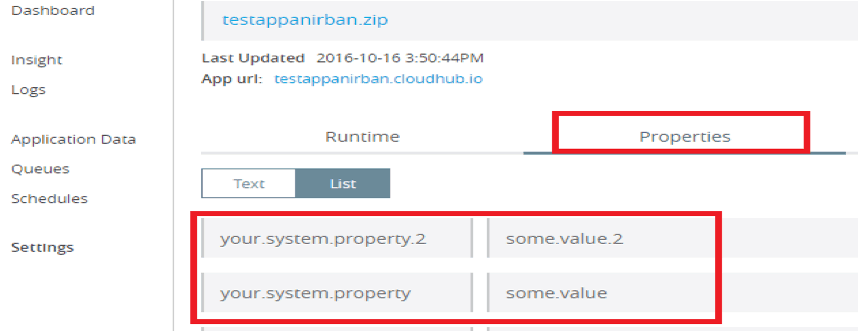
At the end, if we click on the settings tab on the bottom left and then go to the properties tab from there, we will find the following properties are set. These properties are already set dynamically from the JSON request:-
Deploying an application
We will be creating a simple Mule flow that will pick a Mule deployable zip file from a folder and send them to the CloudHub server for deployment. Following simple Mule flow can be created to achieve this task:-
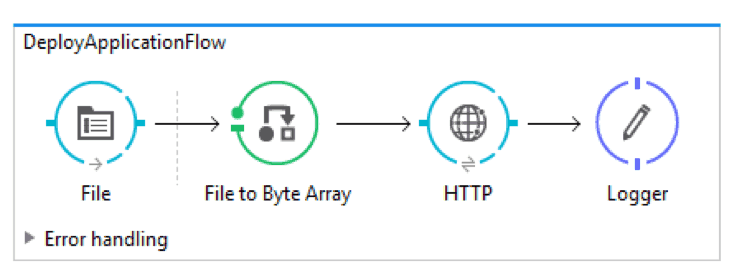
As we can see a File inbound component is present at the beginning of the flow which will be picking the file from a shared folder and will pass the file to the CloudHub server where it will get deployed.
We will be consuming following REST API exposed by CloudHub in our HTTP request component: – https://anypoint.mulesoft.com/cloudhub/api/applications/{application name}/deploy
Testing our flow
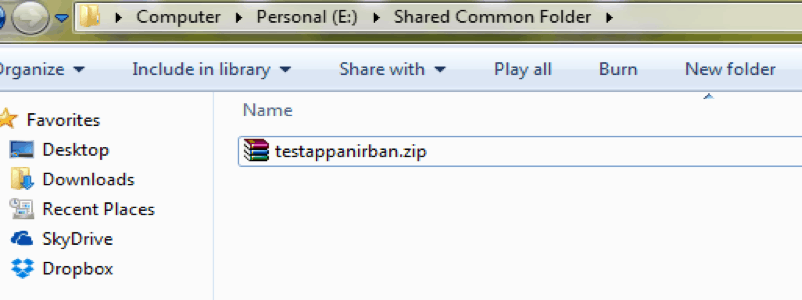
We will be testing how our flow works by placing a Mule deployable zip file in a shared folder from where the file inbound will be picking up:-
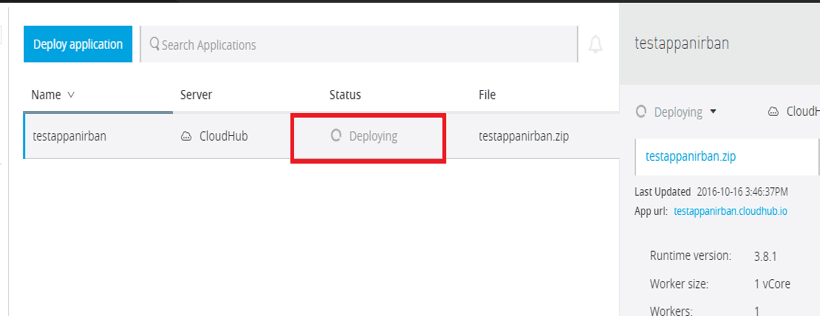
If we now go back to our CloudHub account, we will find the application is getting deployed in CloudHub server:-
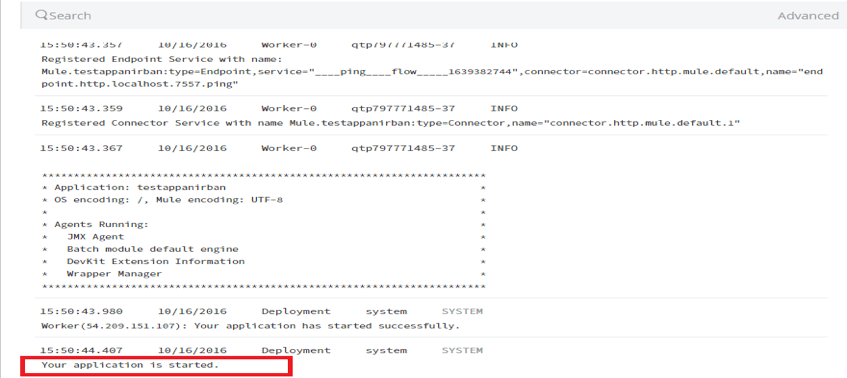
We can check the CloudHub logs for confirmation:-
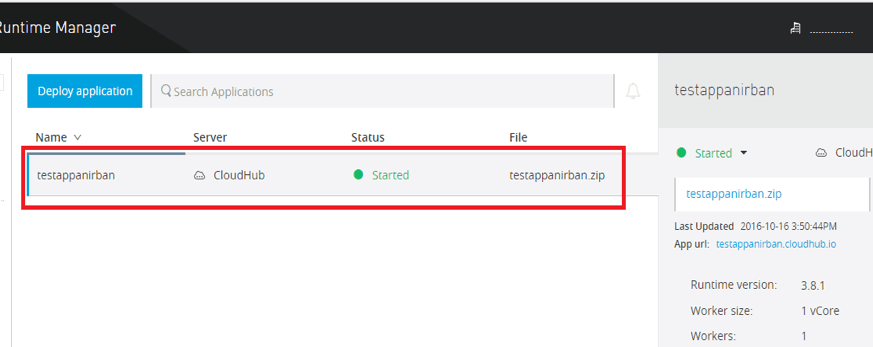
And finally in the dashboard, we will be happy to see it has started:-
We can now create and deploy as many applications we need in our CloudHub account.
Conclusion
So, as we have already seen a small demonstration of implementing the CloudHub API in our on-premises Mule application dynamically, we can go ahead and implement other CloudHub API in our mule application as per our need.
There are other REST API exposed by the CloudHub for all other various functions such as getting list of all application deployed, details of a specific application deployed, delete an existing deployed application, updating a deployed application, viewing CloudHub log details and then can save as an external files etc and many more which we can easily implement in our application. This will enable to control the CloudHub based operation from our Mule application itself with all values configured in a dynamic way.
Hope you liked the article, and please feel free to share your feedback and experiences in the comment section below.


