
Felipe Ocadiz is a MuleSoft Ambassador and IT Integration Engineer at Twitter. He holds all MuleSoft Training Certifications and is a mentor to many developers and architects in the MuleSoft Community. Recently he shared Anypoint Studio best practices at the Developer Meetup at MuleSoft CONNECT:Now EMEA.
My experience using MuleSoft spans back more than five years when I started my MuleSoft journey using Mule 3.5. During that time, I have grown my expertise with the changes made to Anypoint Platform. In this blog, I will provide a few best practices for improving your Anypoint Studio expertise and how you can save on your integration projects. The recorded version of my presentation can be found at the end of this blog and includes a step-by-step demonstration of implementing a few best practices.
As MuleSoft developers, we spend a lot of time behind the scenes using Anypoint Platform, designing applications, testing them, and debugging them. The problem is — in the real world — the number of applications grows constantly so we have new projects everyday. This requires adding more and more code to our workflow. Additionally, there are tasks that are time-consuming. For example, sometimes we might need to set up and configure a new tool which isn’t an efficient way to spend our time.
Thus, Anypoint Studio becomes our best friend. It is the best IDE for Mule development as it has many features that help us develop artifacts from Design Center. You can also reuse assets from Exchange, debug applications, see what is happening in your flows, add breakpoints, record tests performed, and much more. The main purpose is to keep our workspace clean, boosting our productivity. Below, I will cover a few best practices to implement when using Anypoint Studio.
Tip #1: Organize your code
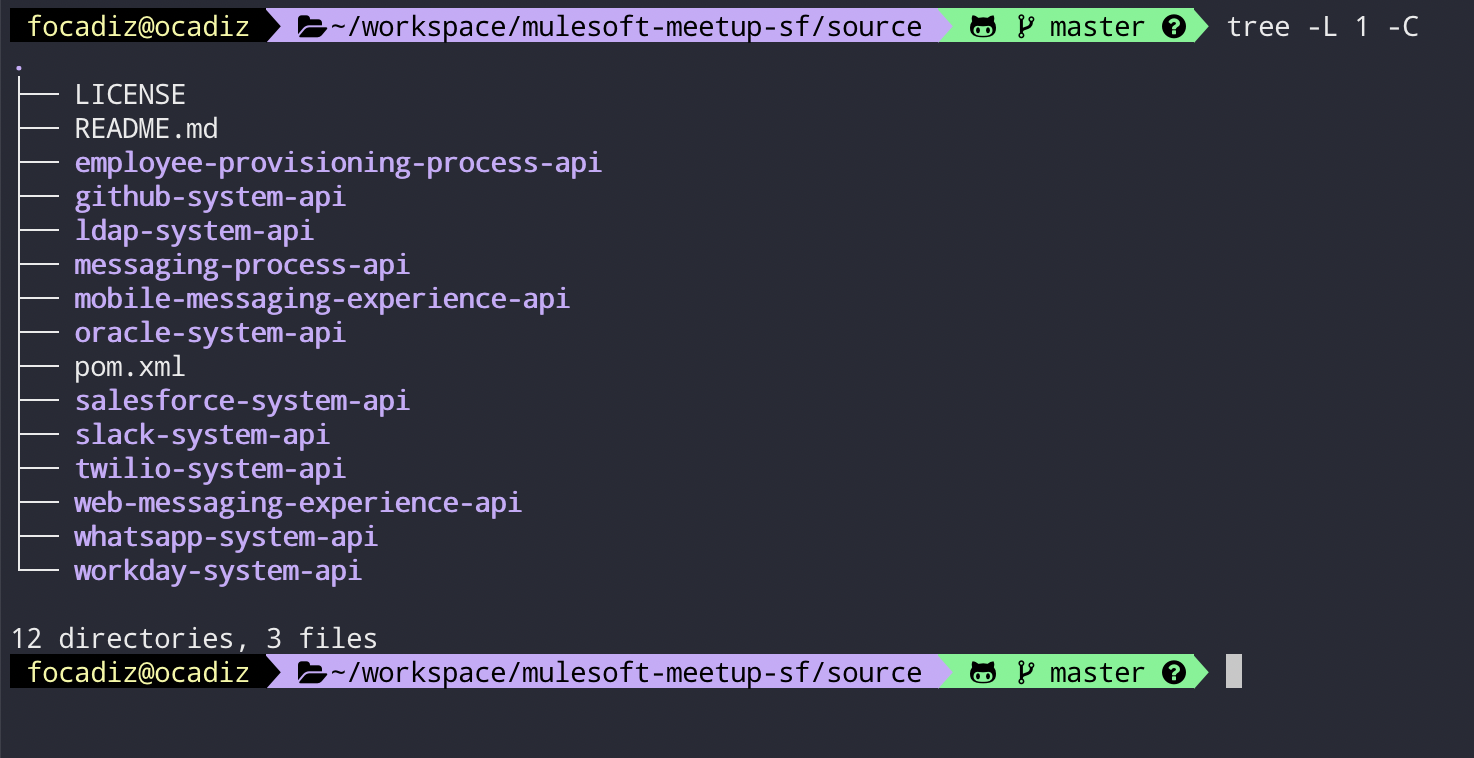
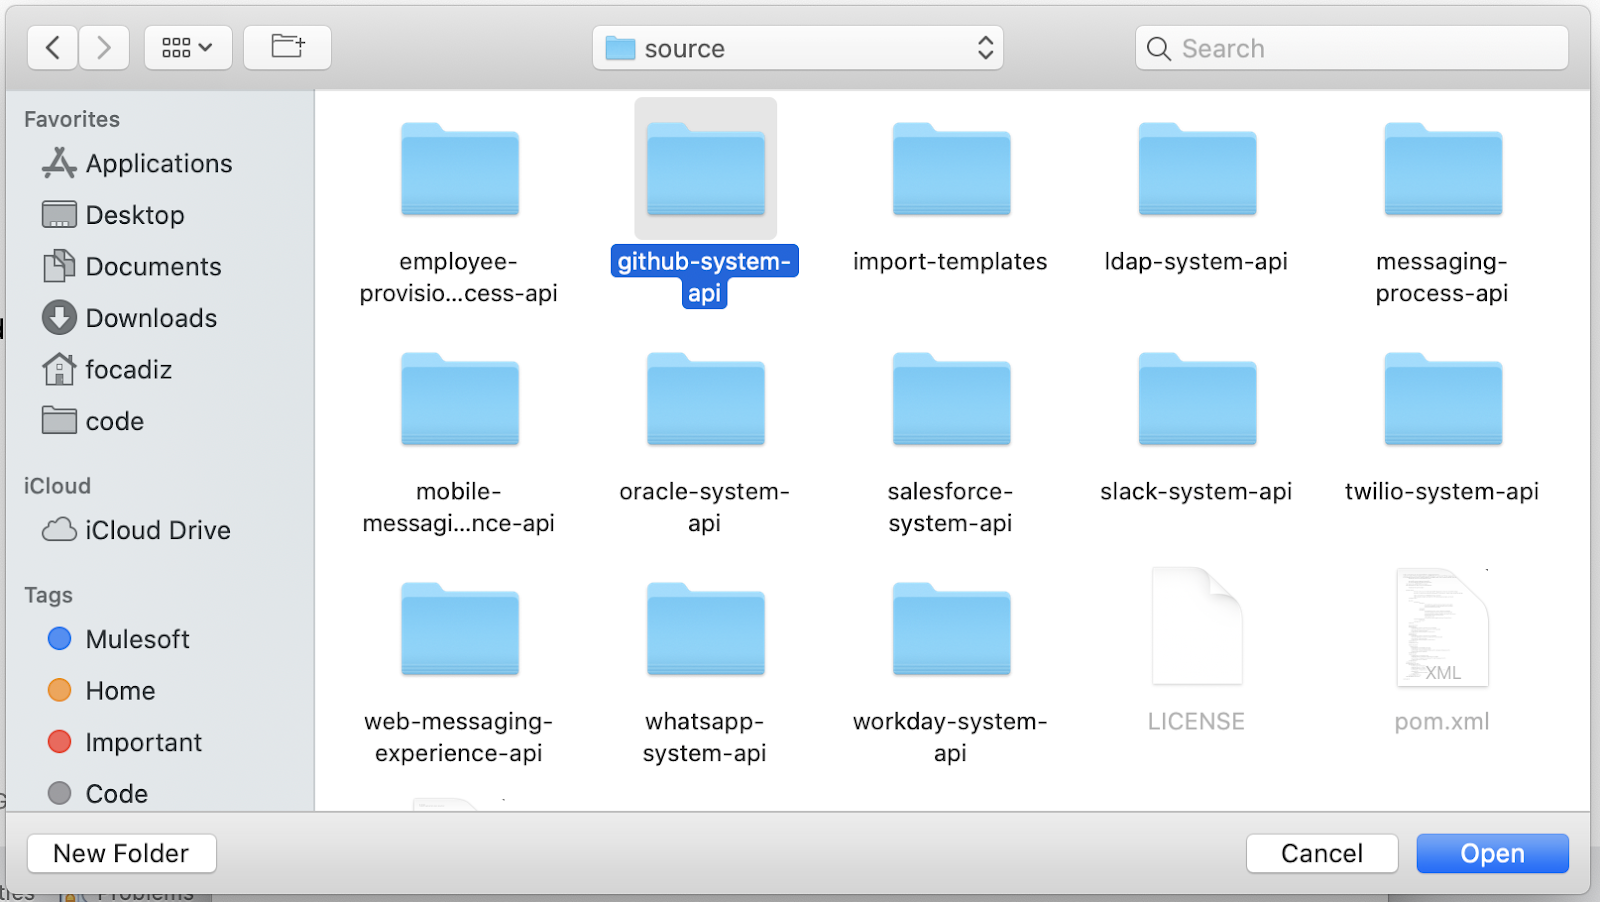
The first practice is to organize your code. You can think of this as keeping everything you need in one single place. A common configuration to use is a monorepo. A monorepo is similar to a main GitHub repository with all of the source code and dependencies in one place. Thus, instead of having each application in their own repositories, we now have one big repository with all of our integrations we are working on. This is very convenient as everything is easier to move and manipulate.
In addition to organizing your code this way, you can reduce the lines of code in your pom.xml inheriting build properties, plugins, dependencies, and developer properties from a parent pom.
Tip #2: Automate repetitive tasks
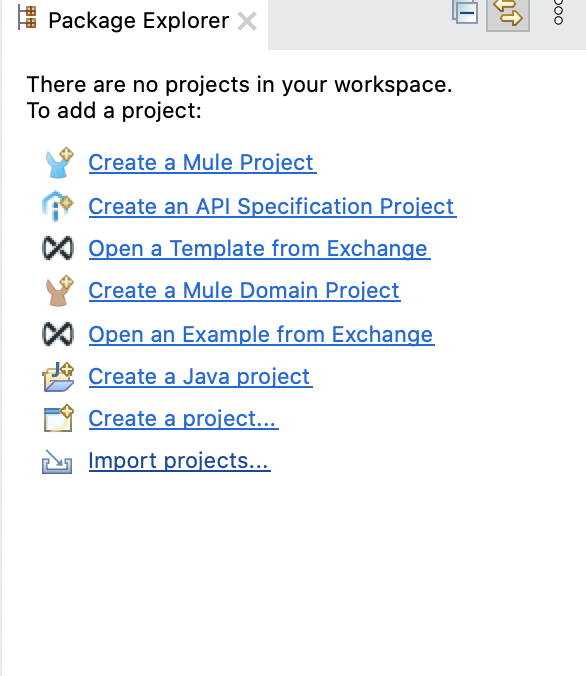
Another tip I have is to automate repetitive tasks. For example, importing a project is one of the tasks that I don’t like to complete as it’s really time consuming. When you are importing a project, you have to go through multiple windows. These are the five steps we follow to import a single project into Anypoint Studio:
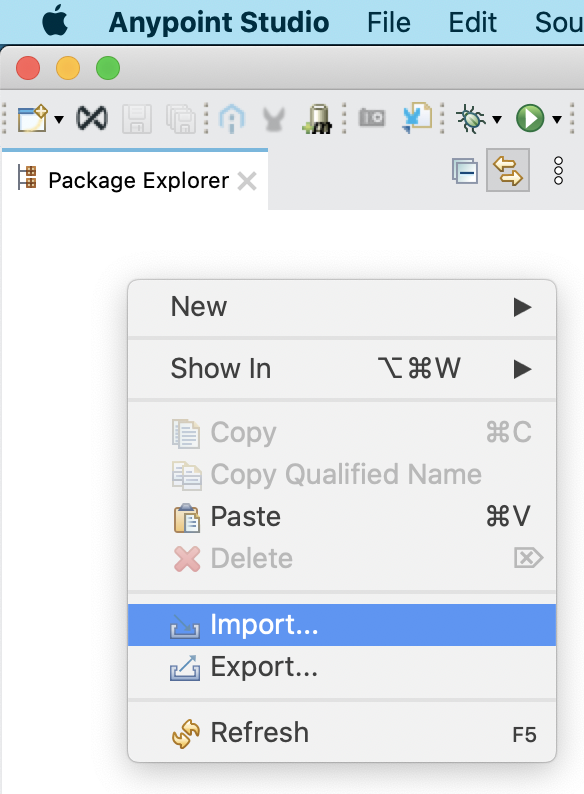
- Right click while in Anypoint Studio and click “Import.”

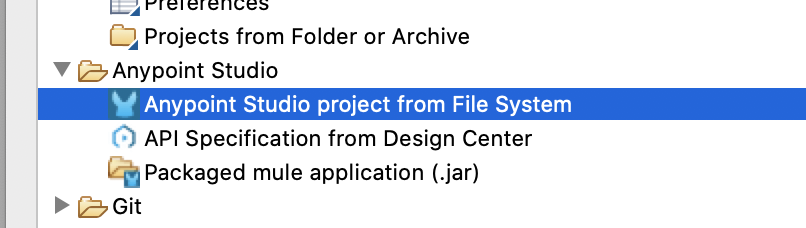
- Select the Anypoint Studio project to import from your files.
- From the pop-up window you need to find your Anypoint Studio project.
Pro tip: Don’t forget to disable the box “Copy project into workspace.”
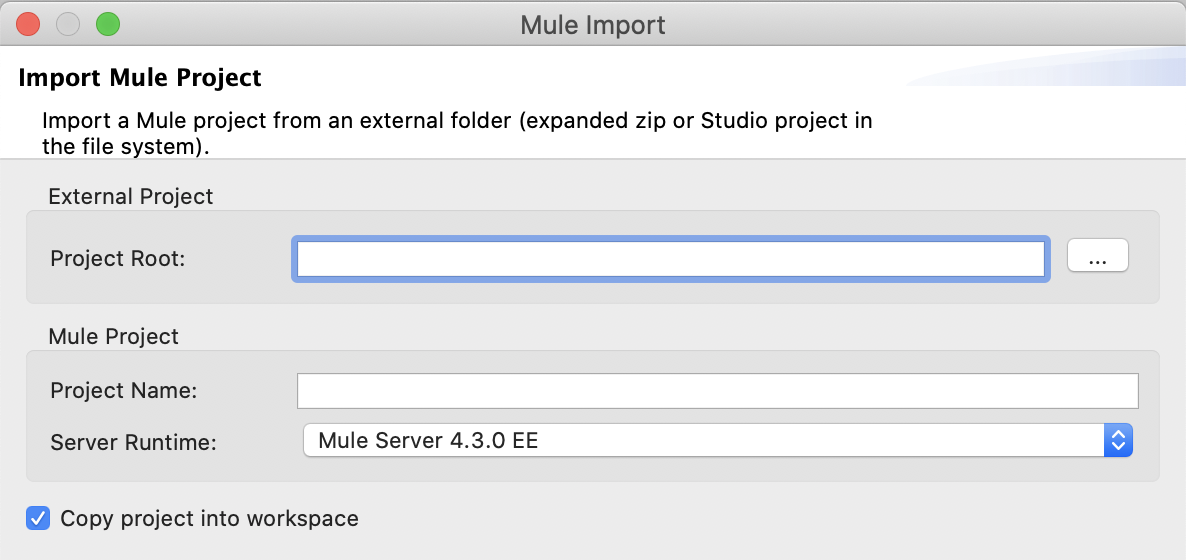
- Find the project folder.
- Once you find the project, click “Finish.”
After a few windows, you have successfully imported your project. While there is nothing wrong with this approach, think of the amount of time you’ll spend importing 70 projects or more at once; which is quite often at big organizations or if you are on a team with hundreds of applications.
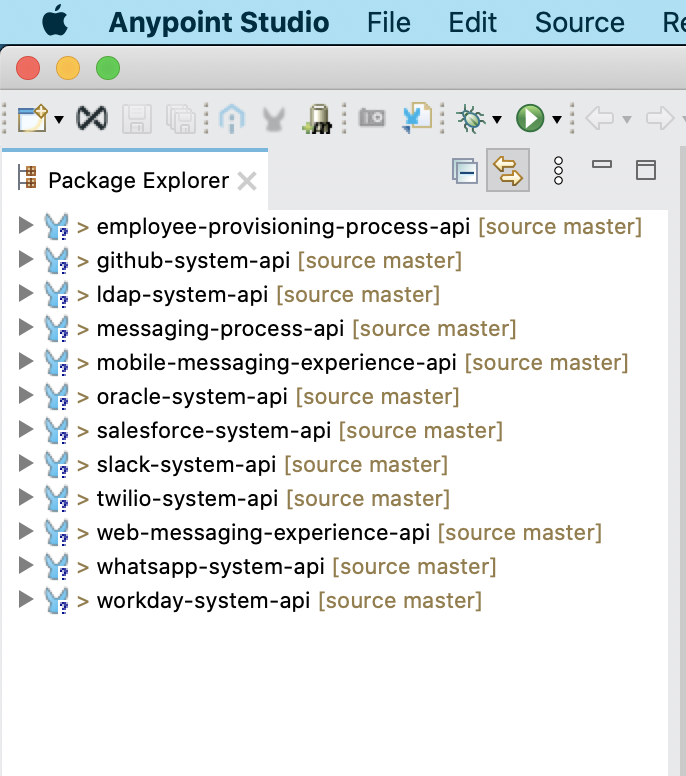
So how do we overcome this? Anypoint Studio is based on Eclipse which means you can easily develop plugins or import and export configurations to customize it. Personally, I use a script to generate the .project file to import projects in batches! This is convenient because I don’t spend time importing one project at a time.
Here is how to do this:
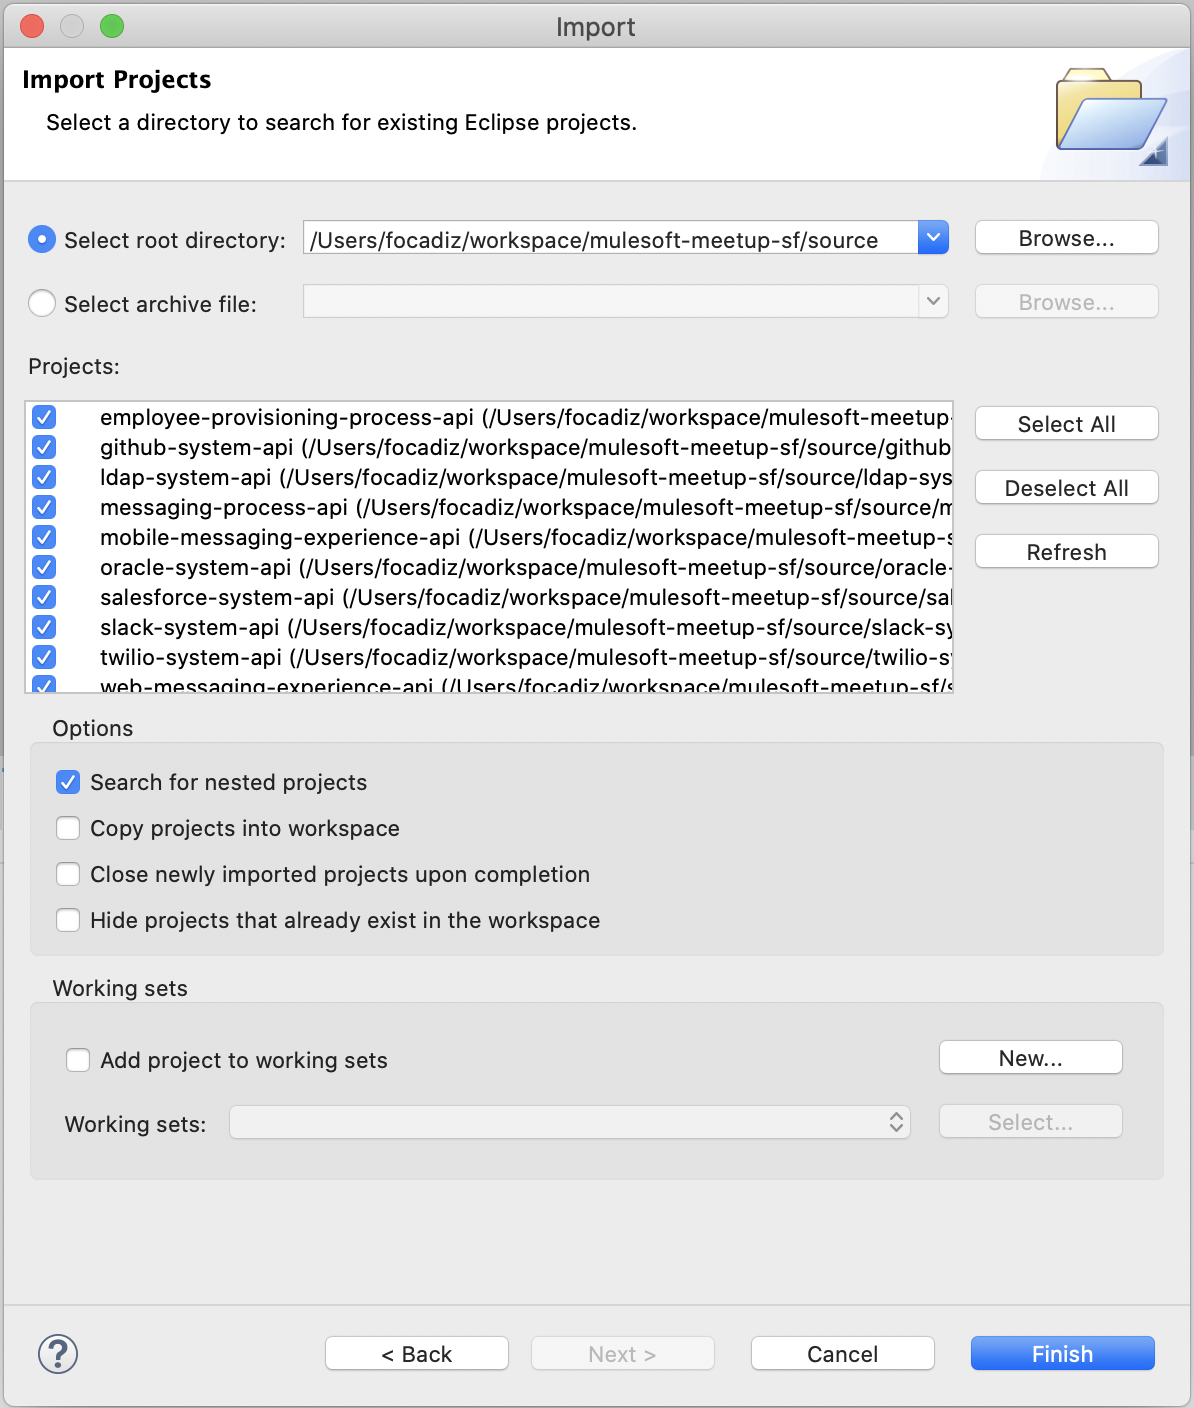
- Run a script to copy the .project file from another folder in your monorepo and inject the project name from the pom file:
find . -not -path '*/.*' -type d -maxdepth 1 ! -path . ! -path ./import-templates -exec bash -c 'export FOLDER=`basename {}`; sed s/${artifactId}/"$FOLDER"/g ./import-templates/.project > $FOLDER/.project' ;${artifactId} org.eclipse.jdt.core.javabuilder org.mule.tooling.core.muleStudioBuilder org.mule.tooling.core.muleStudioNature org.eclipse.jdt.core.javanature
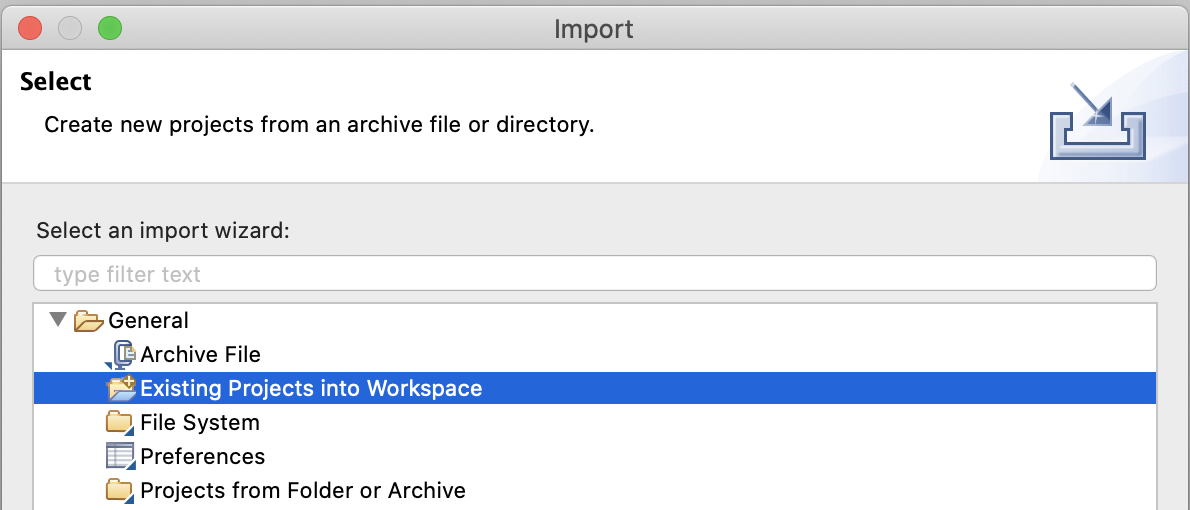
- Select “Import” or “Import projects” if you don’t have projects in your workspace.
- Choose “existing projects into workspace” and go to the monorepo folder to see all projects contained in the repo.
- Locate your repository folder, click on “Select all” and “Finish.”
- Voilá!
Tip #3 Working sets
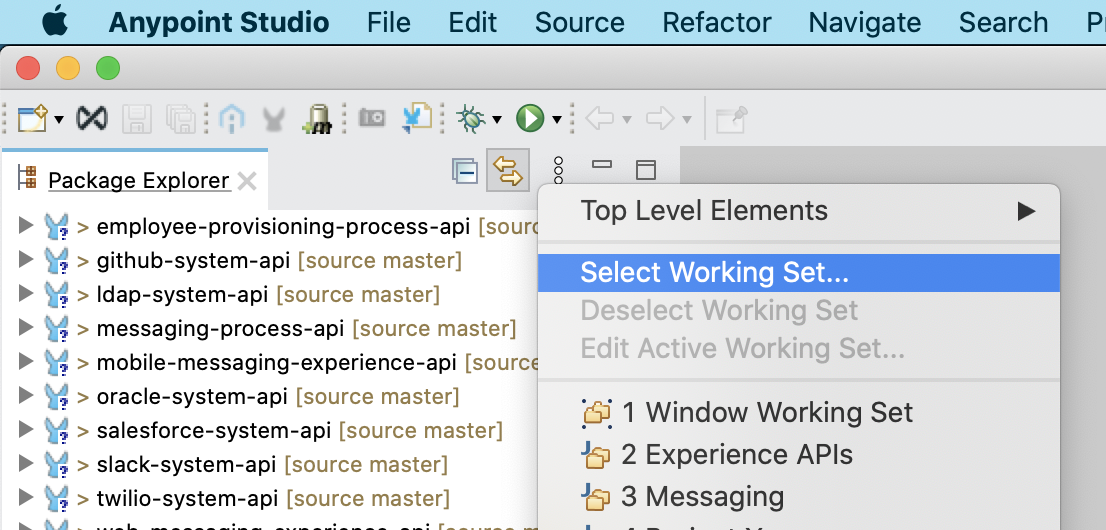
Similar to automating repetitive tasks to reduce your time, minimizing the clutter in your workspace will reduce the likelihood that you complete a task twice or lose track of your progress. As the number of projects grows, getting lost in your workspace is easier. Working sets create a custom view of your projects by filtering them based on different criteria. For example, you can create working sets based on the projects you are actively working on or integration type. An easy way to set up a working space is as follows:
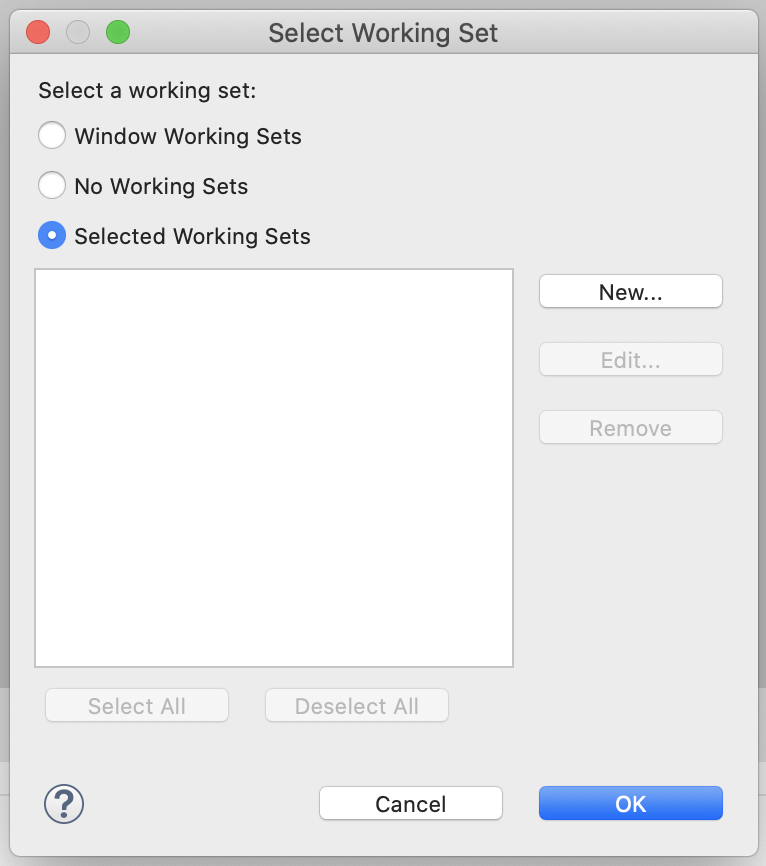
- Choose “select Working Set”
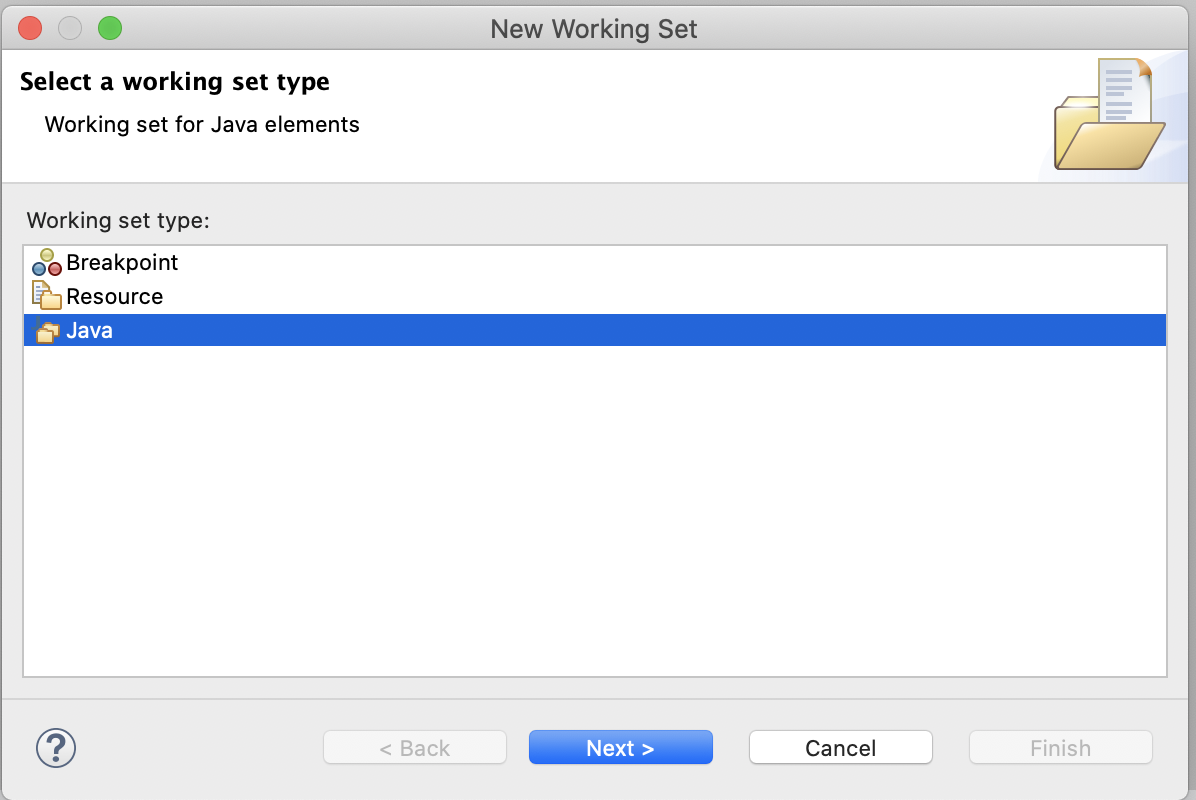
- Click “New” and the type of working set you want to create
- Select “Java” and click on “Next”
- Type the working set name. In this case, if you want to work on all the messaging APIs you might name it messaging. Select the applications you want to select and click on “Add ->”
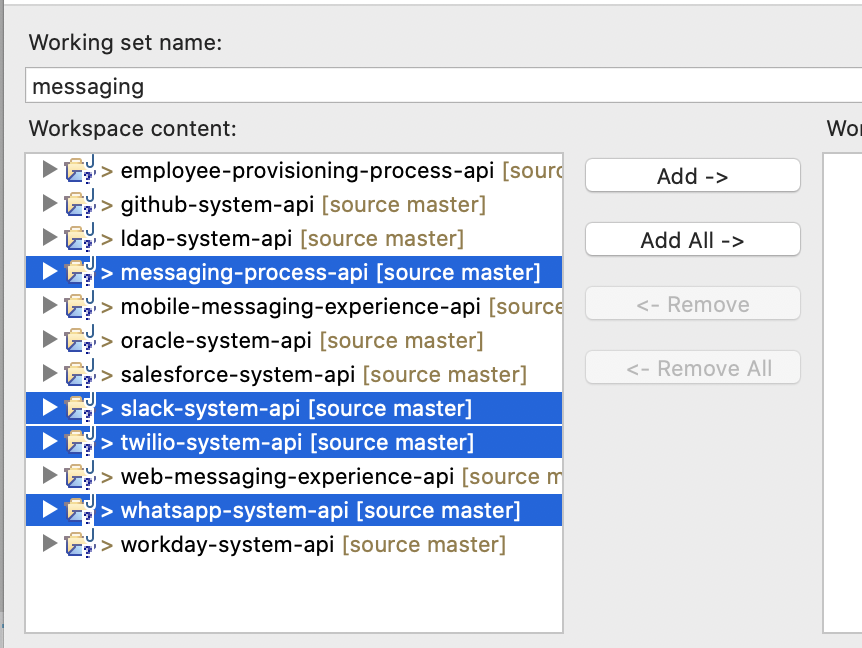
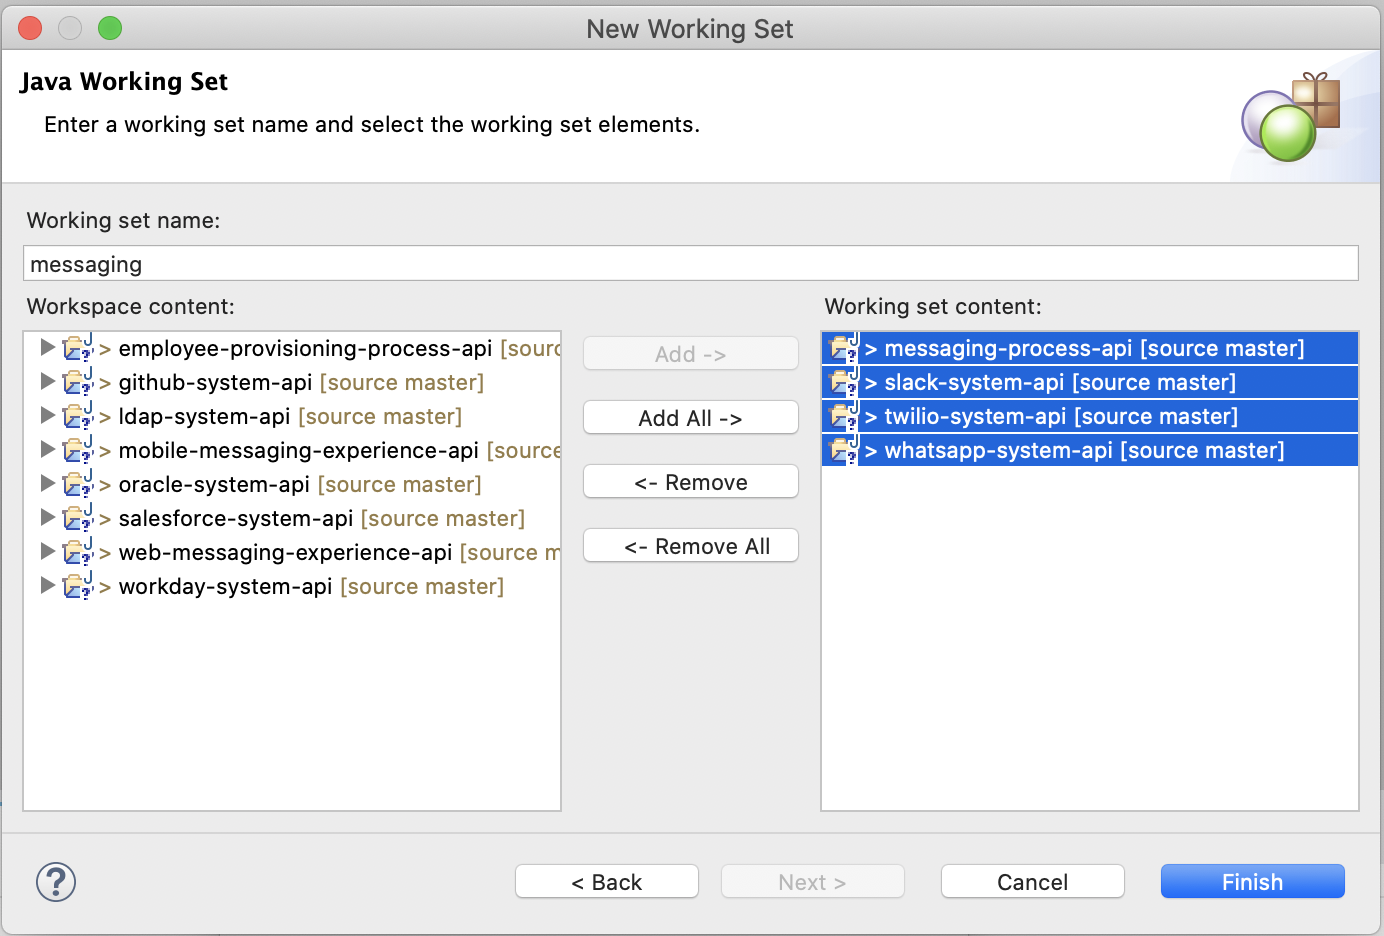
- Click “Finish,” select the working set and click “OK.”
- This will show you all of your selections that have been added to the working set.
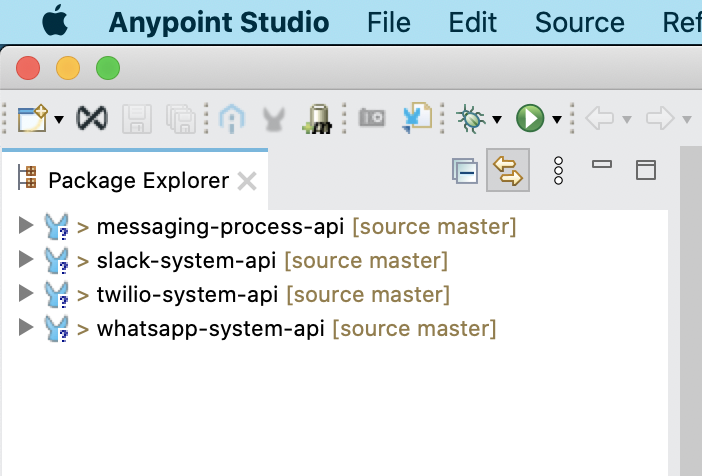
Working sets are a great feature to familiarize yourself with as they declutter your work space and keep you organized throughout your project.
Tip #4 Reuse
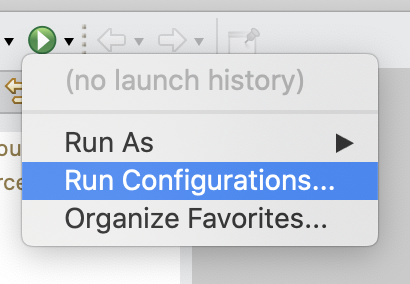
The last feature I will cover in this blog is reuse. One thing I like to do is create “Run Configurations.” Run configurations are likely to grow as you expand your integration projects. I call this practice reuse because we can actually use the same run configuration to run most, if not all, of our projects. Every time we right-click on “Run As a Mule Application,” Studio will create a new run configuration. Thus, when we have many applications running on our workspace, we’ll end up with many configurations that are not useful and can be harder to maintain. What I propose is creating one single run configuration with a set of specific properties to use in your workspace to run and test your applications locally. You can also use this configuration to debug applications.
To create a new run configuration:
- Choose “Run Configurations.”
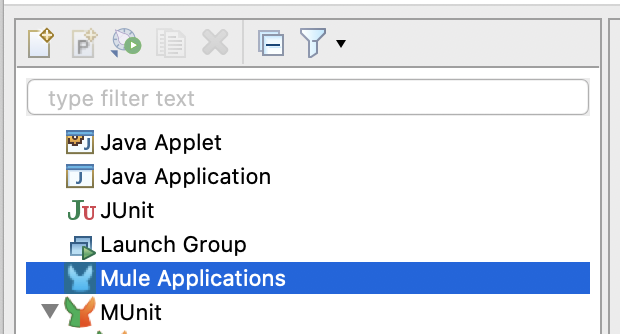
- From the Mule Applications element choose “create.”
- Then, define the name and applications you want to run using this configuration.
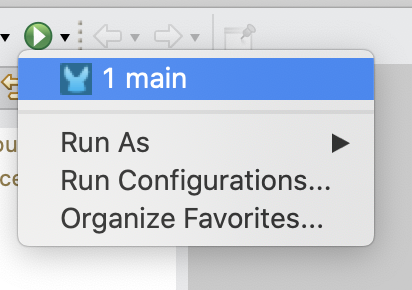
- Once you click on “Apply” you can see the Run Configuration directly from the main Studio window which is super convenient. It will run the latest configuration.
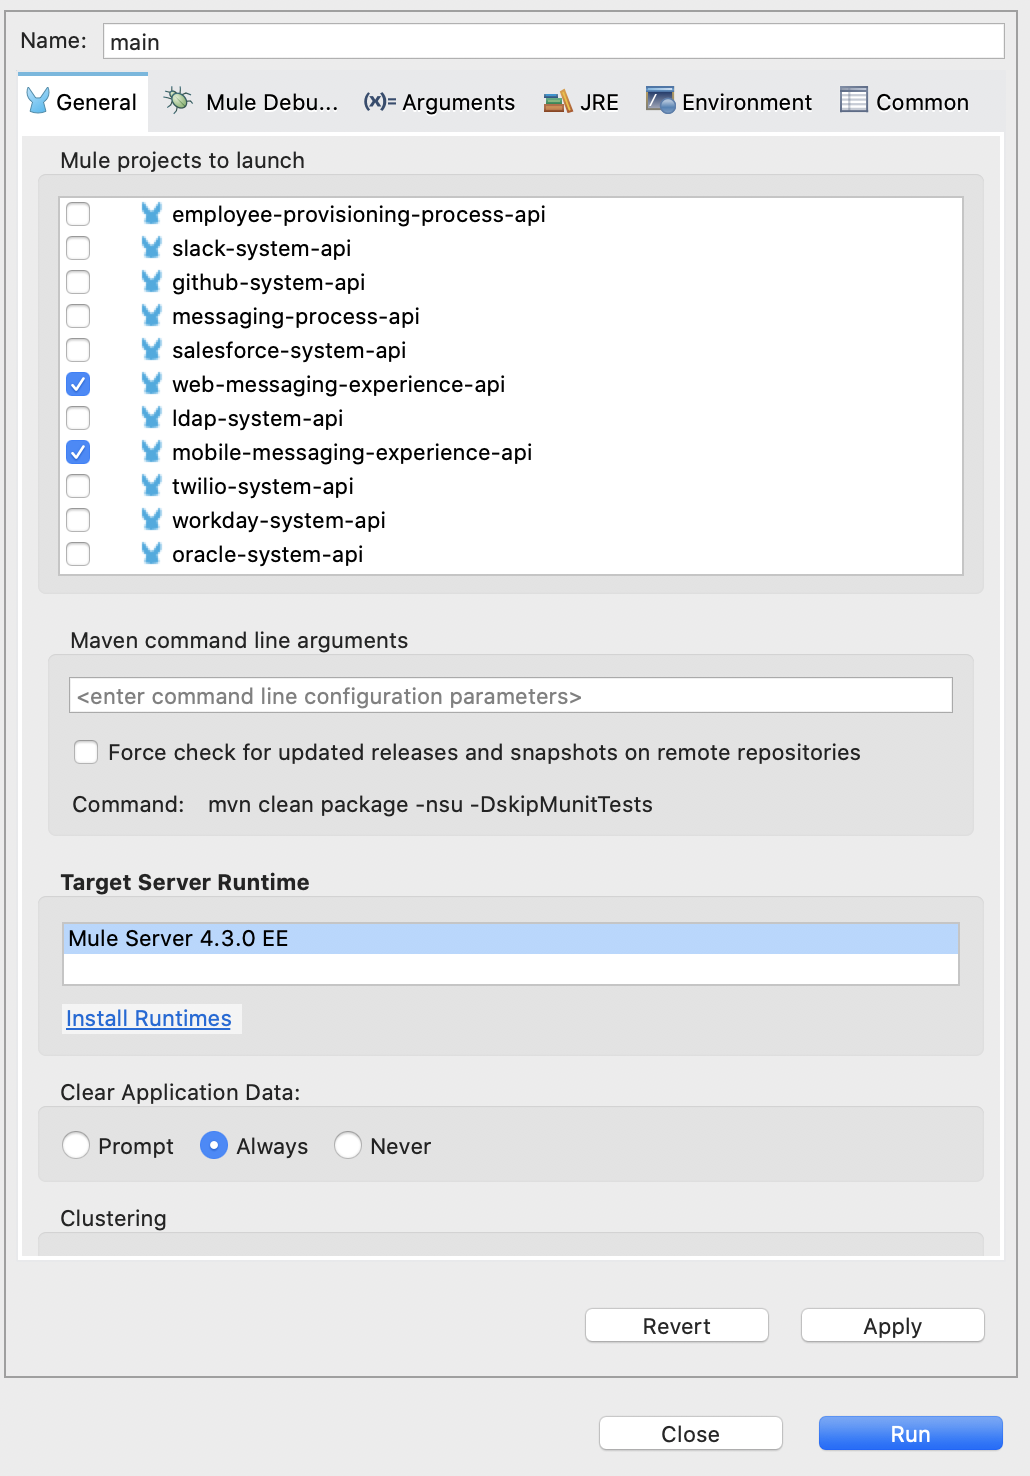
I recommend this practice because as you start working on specific projects, you only pick the ones that you are interested in running the run configuration. It is convenient because in most cases, you can reuse the properties you set for your new run configuration. For example, if you want to change the behavior of the application, the environment, etc., you can do it using this same run configuration.
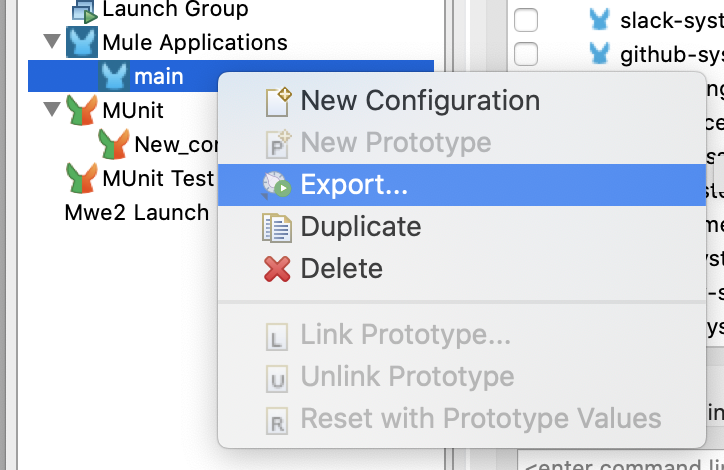
The coolest feature is that you can export your run configuration and share it with your team for their own use! Now there is no need to recreate it from scratch.

Let’s wrap up with a few key takeaways.
Key takeaways:
Anypoint Studio is the best IDE for Mule application development. However, using it more productively is up to the developer. Following the best practices I explained above and demonstrated in the video below, you will save yourself and your team a lot of time on repetitive tasks and boost your overall productivity.
Happy coding!