
In every software development process, there is always a need to test features and products before releasing them. This process can often be manual and requires providing specific users with permissions by ensuring that each user has the right security and governance. This process can become complex quickly, especially if you have a lot of users to manage and many features to flag.
In this blog, I will show you how to extract information on every user’s profile, including the permissions and flags that they have, in a more automated and efficient manner. This demo will show you how to accomplish the above use case using Anypoint Design Center’s flow designer. In the demo, we will use flow designer to get LaunchDarkly data (feature flags) using a Slack bot. In order to get information we will filter by a specific user. This demo should take about 30-60 minutes to complete (this estimate includes the time required to complete all four parts. Please note this blog only covers part 1 of the process).
Getting started
This blog will cover part one of the process. Here, we will create a feature flag using LaunchDarkly and query the data through the API. If you have already configured LaunchDarkly or any other feature flag system, then please skip to part two of the blog post below. In the upcoming parts of this blog series, we will cover the following:
- Part two we will use Anypoint Design Center’s flow designer to wrap LaunchDarkly API.
- Part three is about creating a Slack bot using a slash command to get the feature flag data by a user key.
- Part four we will make the final adjustments using flow designer.
Before we get started, here are the links for each of the applications that we will use:
Part one: LaunchDarkly
LaunchDarkly (LD) is basically a feature flag management platform built for teams. You wrap your features in LaunchDarkly flags, which allow you to have full control over who sees the feature.
LaunchDarkly has a REST API so it is very easy to export your data. The full API documentation can be found on the official website. Please note that for the purposes of this demo, we will use the LD 30-day trial.
Creating a feature flag
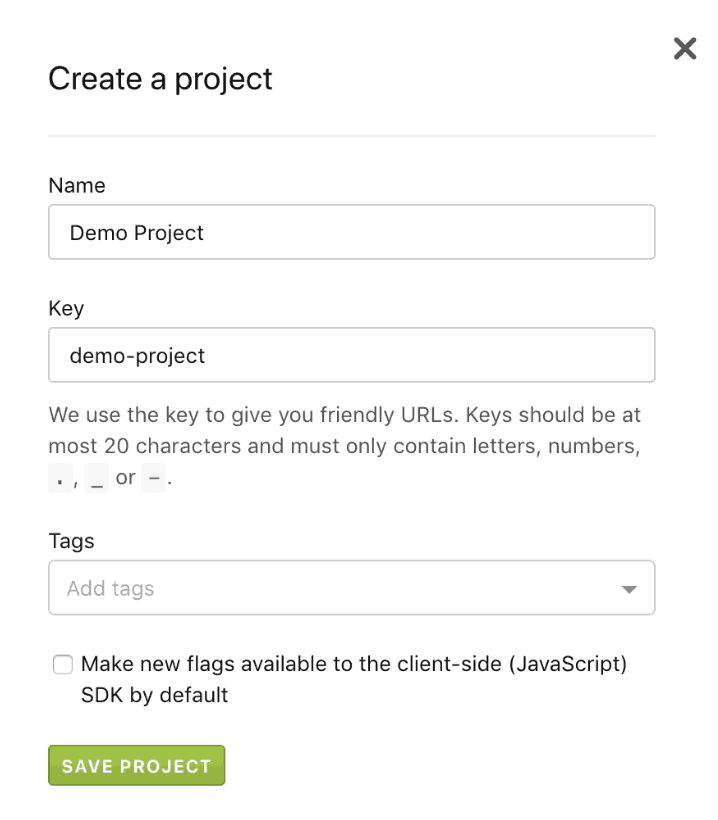
1. Let’s log in to LaunchDarkly and create a new project called Demo Project. Check the project key that is auto-generated, we will need that value in the future. In this case, the key is demo-project.
2. Now, create a feature called Show new navbar in the Production environment (default).

3. Enable the feature with a default True value.
4. Create a rule specifying that any user key starting with user-two will get a False value.
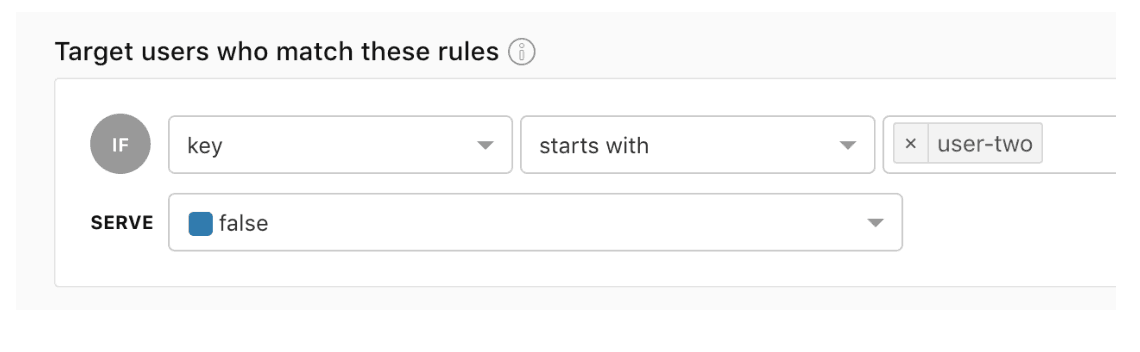
5. Done! We have configured a feature flag that returns True or False depending on the user key.
6. To follow up, you need to load users. In order to test it, you need to implement the SDK. Go to the LaunchDarkly website. You can get a NODE demo implementation from this example. This will populate the user option in LD dashboard.
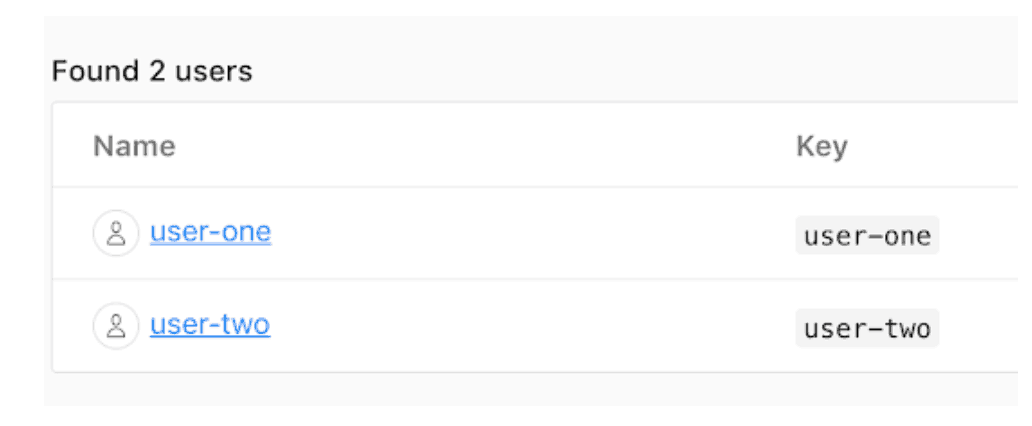
Now, we should see two user keys:
- User One
- Key: user-one, show nav bar enabled
- User Two
- Key: user-two, show nav bar disabled
Using the LaunchDarkly API
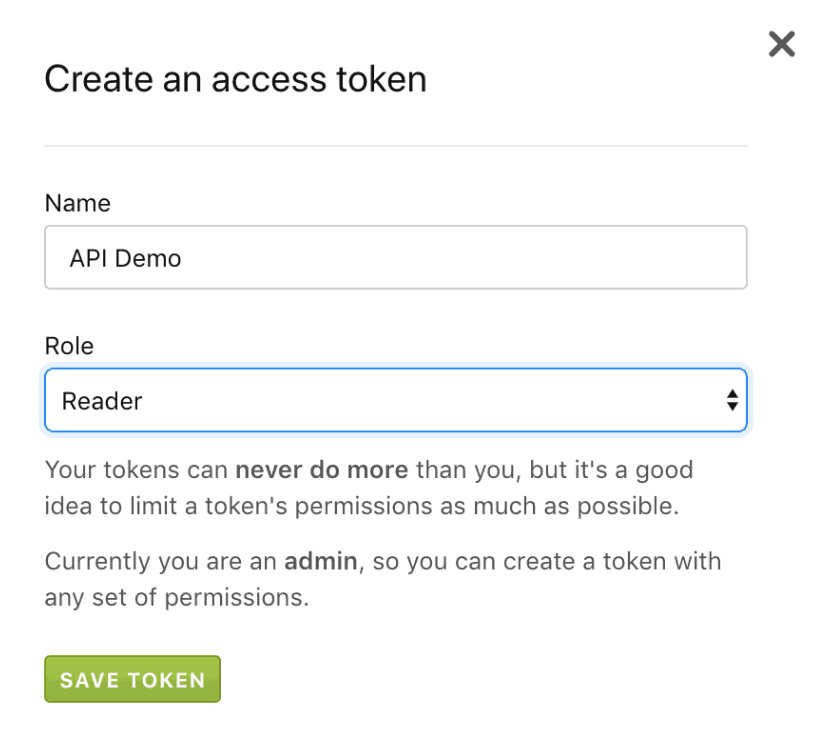
In order to use LD API, we need to create an access token that we will use in the API calls.
1. Go to Account Settings > Access Tokens > New Token
2. Set the name to API Demo and, since we only need the information, request the reader role.
3. We can try to access our data with an API call. We will use the List flag settings for user endpoint. Go to the LD documentation website and fill in the parameters.

4. You can use any other tool to call the API, such as Postman, cURL, or Anypoint Design Center’s flow designer. We will be using the latter in part 2 of this blog series.
With this step in this blog, we have created an LD feature flag and accessed the information through the API. Check out part two, where I will demonstrate how to use flow designer to wrap LaunchDarkly API.
Ariel Segura also contributed to this blog post.


