Earlier this month, we shared that the focus of the latest release of Studio 7.8 was to complete the journey for OpenAPI Specification 3.0 full API lifecycle support with Anypoint Platform. Additionally, we wanted to redefine and improve the DataWeave experience — accelerating development for both beginner and expert users. In this blog, we’ll take a look at five new features introduced in the most recent versions of Studio, and how these incremental updates have created a new and improved DataWeave experience.
#1 The power of sample data
Studio 7.7 initiated the DataWeave improvements by taking advantage of sample data. The editor started using sample data and the preview to show sample values right next to the input and output metadata fields. This allows you to see the actual data that will be moving around and how it will be affected by your choices.
To take advantage of this, we’ve made it simpler to add sample data. First, DataWeave examines the metadata available to create sample data intelligently and automatically. If there are references to names, the auto generated value will be a random name, if there are references to a date, it will be a random date, and so on. In short, the sample data is created analyzing the meaning of each field.
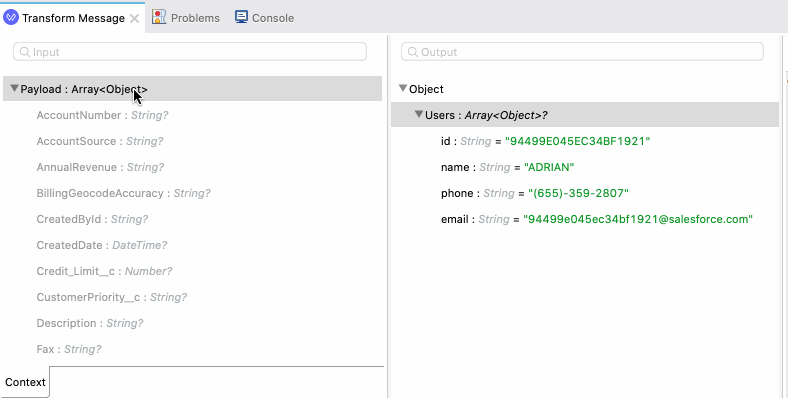
And secondly, if you have sample files available, you can import those quickly to work with your data. You can modify the sample data or copy and paste examples too.
#2 Mapping with clicks
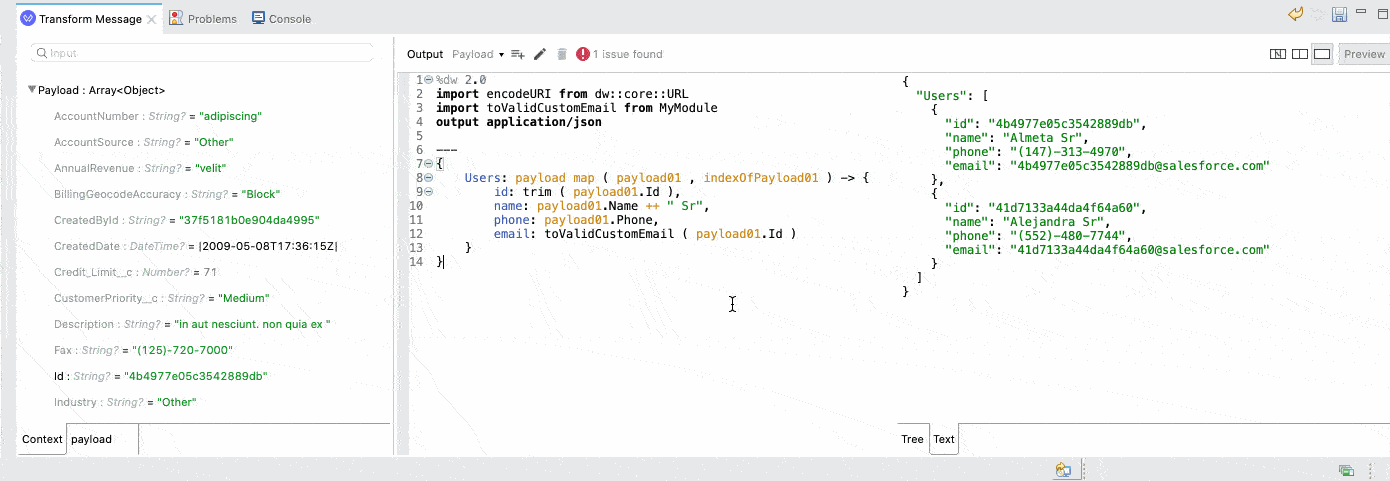
With 7.8, we wanted to ensure that beginners would be successful with mappings, even without going into DataWeave scripts. We know getting started can be frustrating and can involve significant back and forth between the editor, documentation, researching functions, and back. Now, you can simply right-click over the output metadata fields to apply or browse functions. The initial suggestions will match the current field type as well as the expected one, so only functions receiving a String and producing a String will be suggested if that is the information available and required, for example.
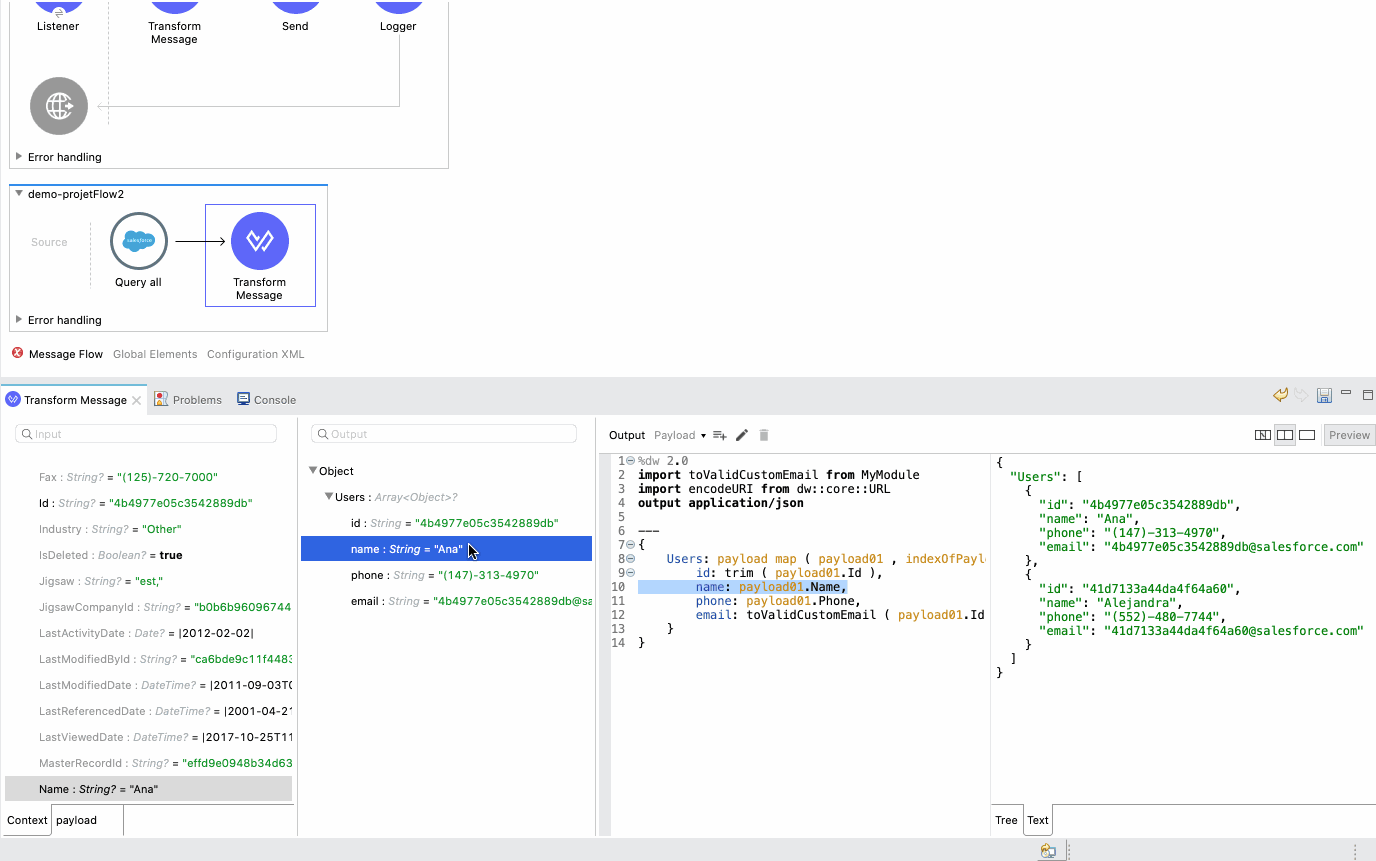
When browsing, on the other hand, you will get the entire listing of available functions, with their documentation and examples. You can search and apply functions, even when they require multiple parameters, all through the same editor.
#3 Live development
But what if you are already comfortable with DataWeave scripts? We wanted to improve that experience too. We’ve enhanced our advanced view in the DataWeave editor, the source-only view, to now include the input metadata. This way, and along with the preview, we can get a live coding experience for advanced users: as you edit your input sample data or your script, you immediately see the impact on the output preview.
Pro-tip: If the editor feels small or you are dealing with large payloads, you can always maximize the editor and get a full-screen experience.
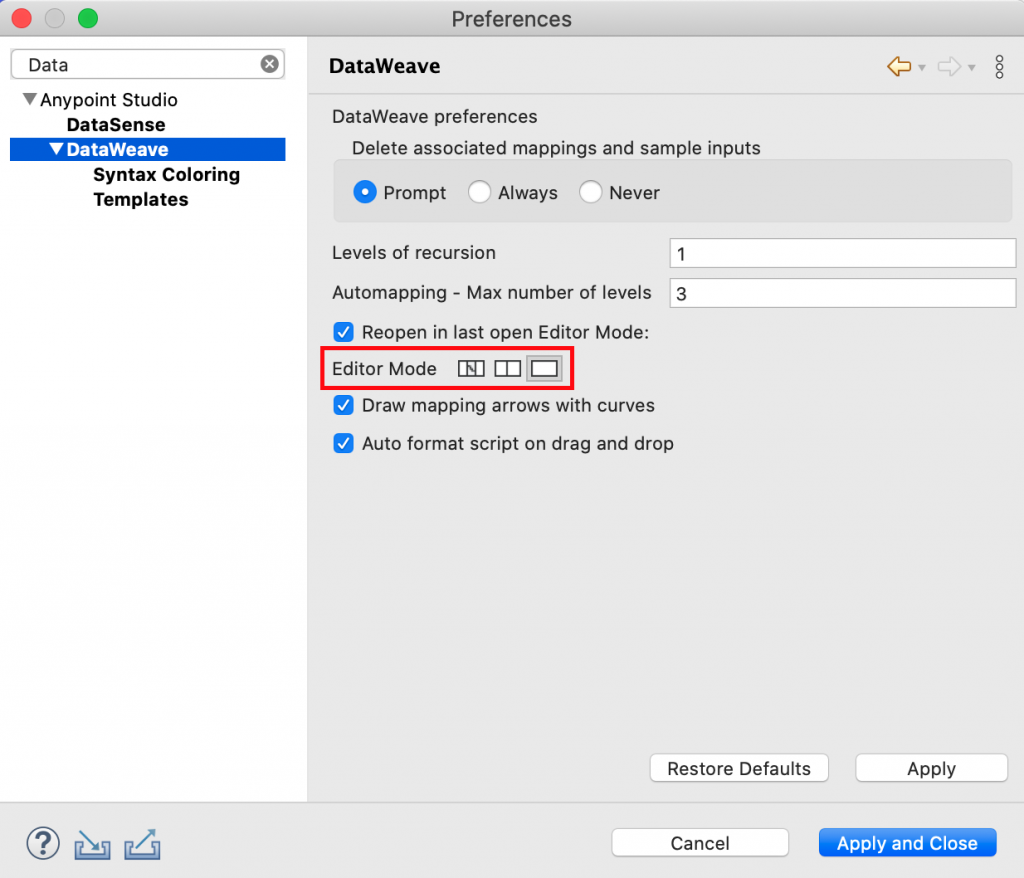
#4 Selecting your default view
If you usually switch among the different views depending on the complexity of your mappings and transformations, you’ll see that the editor now remembers the view you were last using: when you get back to your transformation, you’ll start right at the view you need. At the same time, you can select your default view so your preferred choice is remembered and you can begin from there with new transformations.
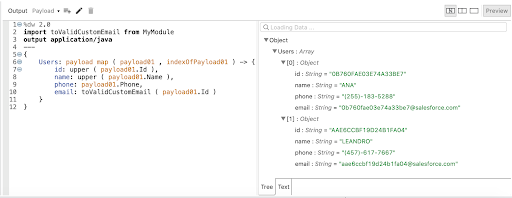
#5 A standard preview
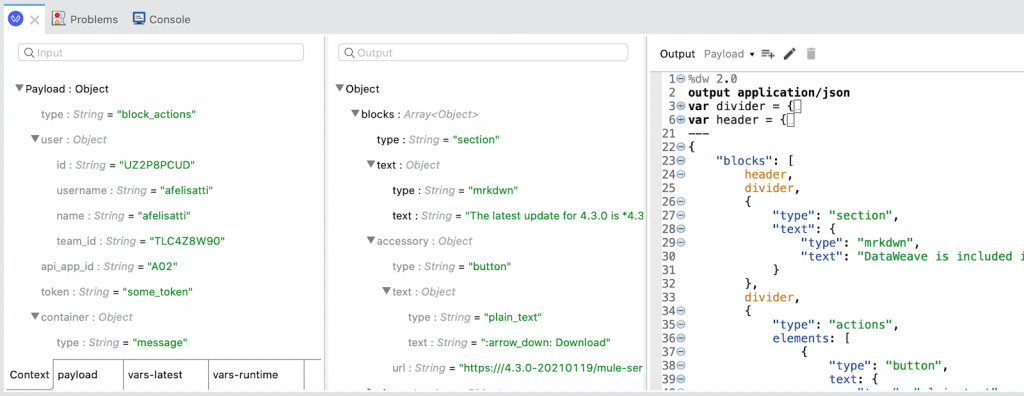
As you may have noticed by now, the preview is of utmost importance to the DataWeave editor experience. It allows the immediate validation of your work as you are doing it and can help guide your transformations as well as catching bugs earlier. Unfortunately, not all data formats are as easy to understand as JSON or XML, so Studio 7.8 also introduces a standard way of visualizing data formats in the preview: the tree view. This view helps when working with formats such as Excel or Java, guaranteeing they get a clear preview.
Download Studio 7.8.0 now and start taking advantage of these new features today.