We are happy to announce the September ’15 release of the Salesforce Analytics Cloud Connector v2.0.0. In this blog post, I will be covering some of the important features of the connector as well as walking you through the technicalities of ingesting data into Salesforce Wave Analytics Cloud by leveraging features within Anypoint Platform.
Benefits of using the Salesforce Analytics Cloud Connector
Salesforce’s Wave Analytics Platform is a data discovery tool built to enable organizations to derive insights from their data. But when you take these scenarios into consideration, loading data into the Wave Analytics platform can seem to be a challenging task:
- data trapped in on-premise databases or back office ERP systems
- the need for data cleansing and data mashup from disparate sources
- the need for event-based triggering or scheduling of uploads
With an event-driven architecture, built-in functionality for batch processing and out-of-the-box connectors that help you integrate with different data sources, you can do all of this and much more with Anypoint Platform and MuleSoft’s Salesforce Analytics Cloud Connector.
New Features
- Ability to integrate with multiple Salesforce Analytics Cloud instances based on the login URL provided to the connector.
- Support for the latest version (Summer ‘15, v34.0) of the Salesforce Analytics Cloud External Data API.
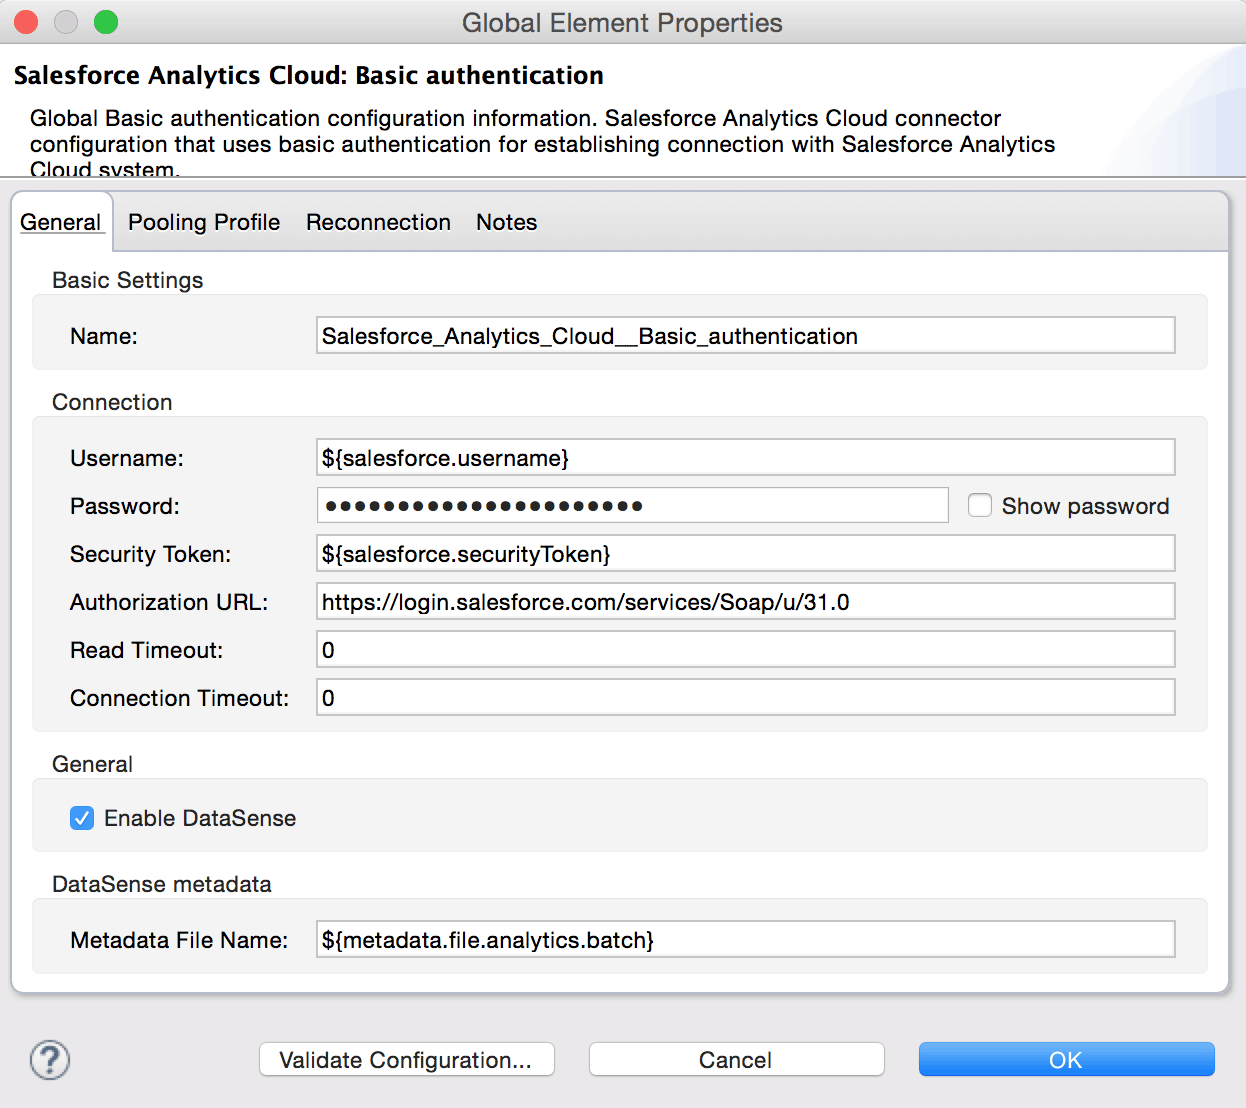
- 4 types of authentication mechanisms – Basic, OAuth 2.0, SAML Bearer Assertion and JWT Bearer Token Flow.
- Support for operations such as Append, Delete, Overwrite and Upsert and fields such as NotificationSent, NotificationEmail and EdgemartContainer
How does the connector work?
Data ingestion using the Salesforce Analytics Cloud Connector happens in the following 3 stages:
Step 1: Prepare the data
This is the where you define the header to create a data set. Salesforce prescribes the use of a metadata.json file to define the header of the data set. The connector operation that does this for you is “Create Data Set”. In this step, you will have to enter the location of the metadata.json file as a part of the connector configuration.
Here, you get the ability to chose whether you want to Overwrite, Upsert, Append or Delete the data set. You also have the ability to enter in the Label, name of the Data Set and the Edgemart Container. You can set up an email notification and set the condition which determines when to send the email notification.


Step 2: Add the Data
Now that you have created the data set, you need to load the data from your external data source into the Wave Analytics Platform. The “Upload external data” operation in the connector does this for you. As prescribed by the External data API documentation, the ingestion of data into the Analytics cloud happens in chunks of data that are smaller than 10MB. The connector caches the data it receives from the source till it reaches a file size of 10MB and then it flushes out the data to the Wave platform. When dealing with very large file sizes the most optimal solution in terms of performance is to proactively split your file into 10MB chunks before it reaches the connector.
Anypoint platform has got the perfect solution to facilitate this in Batch Processing. Now, it may be difficult to estimate how many records in a file makeup 10MB worth of data. To solve this problem the connector throws a warning when the Batch Commit size is greater 10MB. This is your signal to reduce the Batch Commit size (i.e. number of records) till the warning disappears during deployment. Alternatively, for smaller files, you can load the data without using the batch process.

Step 3: Manage the Upload
After the Header has been created and the data has been loaded, use the “Start data processing” connector operation to create a dataflow job. Once the processing starts, you cannot edit any objects. If you have set an email notification, you will get an update notification once the data ingestion is over. You can also check to confirm if the data can be seen in the Wave Analytics UI.

Alternatively, you can combine the aforementioned three steps using a single connector operation “Upload external data into new data set and start processing”. This approach is useful when dealing with smaller files as the batch process is incompatible with this operation.
Keep in mind that as the connector leverages the External Data API in its implementation, the API limitations apply to the connector as well.
Stay updated with the latest features in Anypoint Platform by subscribing to the MuleSoft blogs. Until next time, ciao!
References and Resources
- Analytics Cloud External Data API Developer’s Guide
- MuleSoft’s Batch Processing
- Analytics Cloud Connector User Guide
- Analytics Cloud Connector Technical Reference with Demo Samples
- Analytics Cloud Connector Release Notes


