This week’s MuleSoft Champions guest blogger is Ruman Khan, a polyglot programmer who loves to code.
If you are looking for options to have Mule running in Microsoft Azure to claim PaaS, one of the best ways is by using Worker Roles. Worker Roles are VMs with IIS disabled (this can be enabled if needed) and are generally used to perform any complex processing tasks. We can leverage this ability to run Mule standalone service inside an Azure Worker Role.
The idea is to be able to script the process of running Mule (either as a service / standalone) and deploying an app on it within Azure.
This can be achieved in two ways which I am aware of:
- Use Visual Studio to create worker role and write batch file / power shell script to run Mule with apps to be deployed
- Using Azure toolkit for Eclipse and configuring the scripted process while writing minimal lines of code
In this blog post, I will be walking through the steps for the second approach. We will be limiting this post to testing this locally using Azure Emulator and refrain from the deployment process to Azure portal.
Note: Here is more information about approach 1.
Step 1: To begin, open Anypoint Studio and install Azure toolkit for Eclipse by choosing Helpà Install New Software and entering the URL:
Reference: https://github.com/MSOpenTech/WindowsAzureToolkitForEclipseWithJava

Note: I am using the newest beta version of Anypoint Studio 6 and Mule runtime 8.0, but these steps should work fine for the older versions as well.
Step 2: Once the toolkit is successfully installed, open a new project and select Azure Deployment Project.

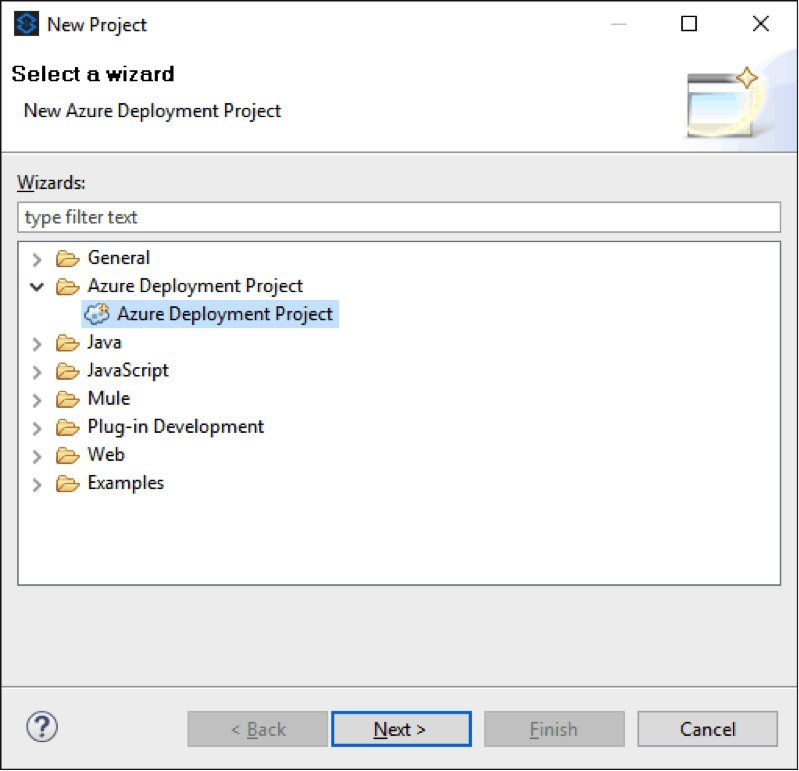
Enter the name of the project and hit Next. Don’t hit Finish at this point as that will skip the additional configurations which are required.
Step 3: Once Next is clicked, it will bring up the below window which provides options regarding how to use JDK. For the scope of this blog post, select the option Deploy my local JDK (Windows only) as this is required for using Azure Emulator to test locally.

Once this setting is done, hit Next. Again don’t hit Finish at this point yet.
Step 4: Now we will need to choose option to deploy Mule server. Unfortunately, this option is not available in the toolkit. However, we can edit the configuration file used by the toolkit to deploy the type of server. To see the path of the file, click on Customize.

This should open the componentsets.xml. Observe the path of this file and open the xml in any editor. In the componentsets.xml navigate to the end and add the below section before the closing tag of </componentsets>.
At a high level, the configuration indicates following:
- Which batch file should be run to start mule server – referenced by the detectpath
- What is the location to copy any app – referenced by SERVER_APPS_LOCATION
- Where can the server be deployed from – this is only when we choose not to use local copy
Once this is copied, reopen the project configuration wizard and now you should see Mule Standalone as an option in the drop down.

Choose the option to Deploy my local server as we need this to be tested locally using the Emulator.
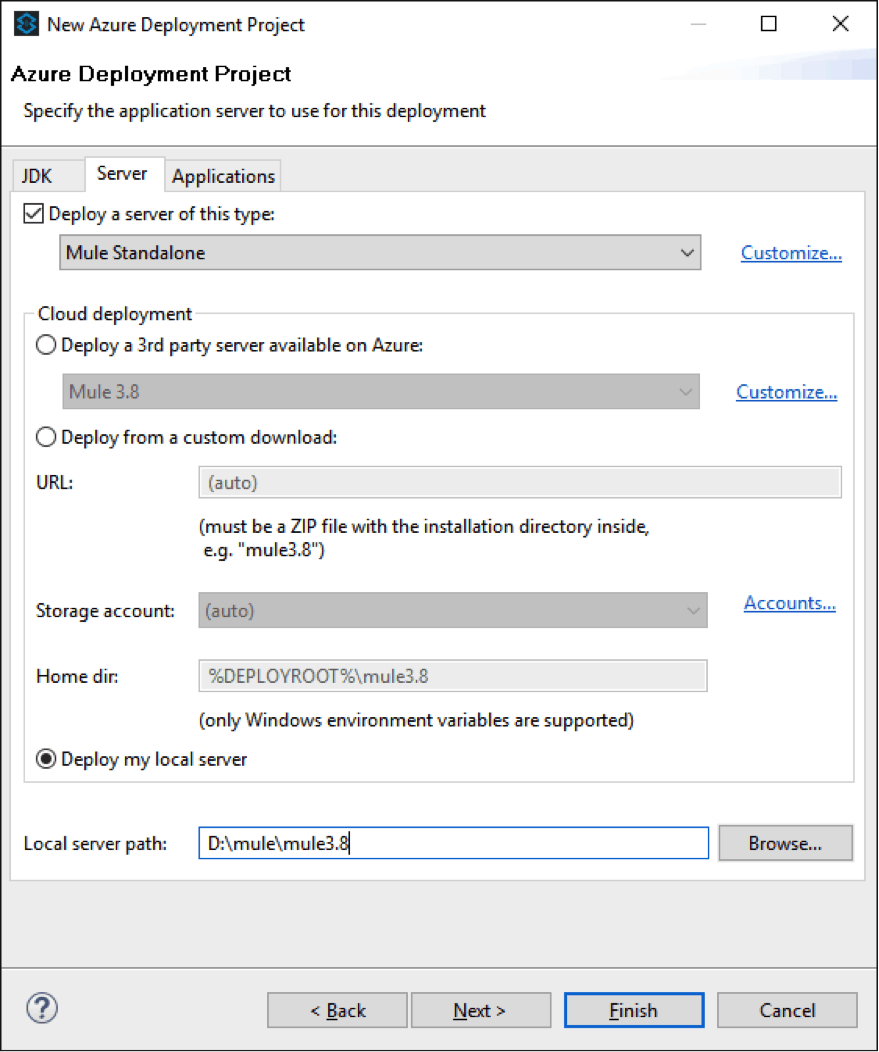
Note: The folder mule3.8 is the folder containing 3.8 runtime for Mule
After this click Next to configure the Application to be deployed.
Step 5: At this step we need to configure the app(s) need to be deployed on the Mule server. By default, HelloWorld.war is added, remove this and add the mule app you need to deploy.
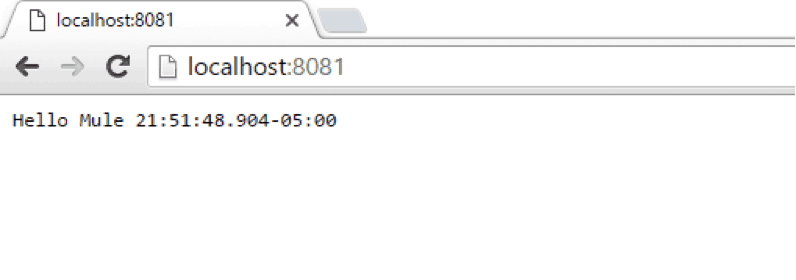
For this blog post, I am using a simple Mule app (HelloMule-1.0.0-SNAPSHOT.zip) packaged using maven. The app has http inbound end point and sets payload response as – Hello Mule #[server.dateTime.getTime()]
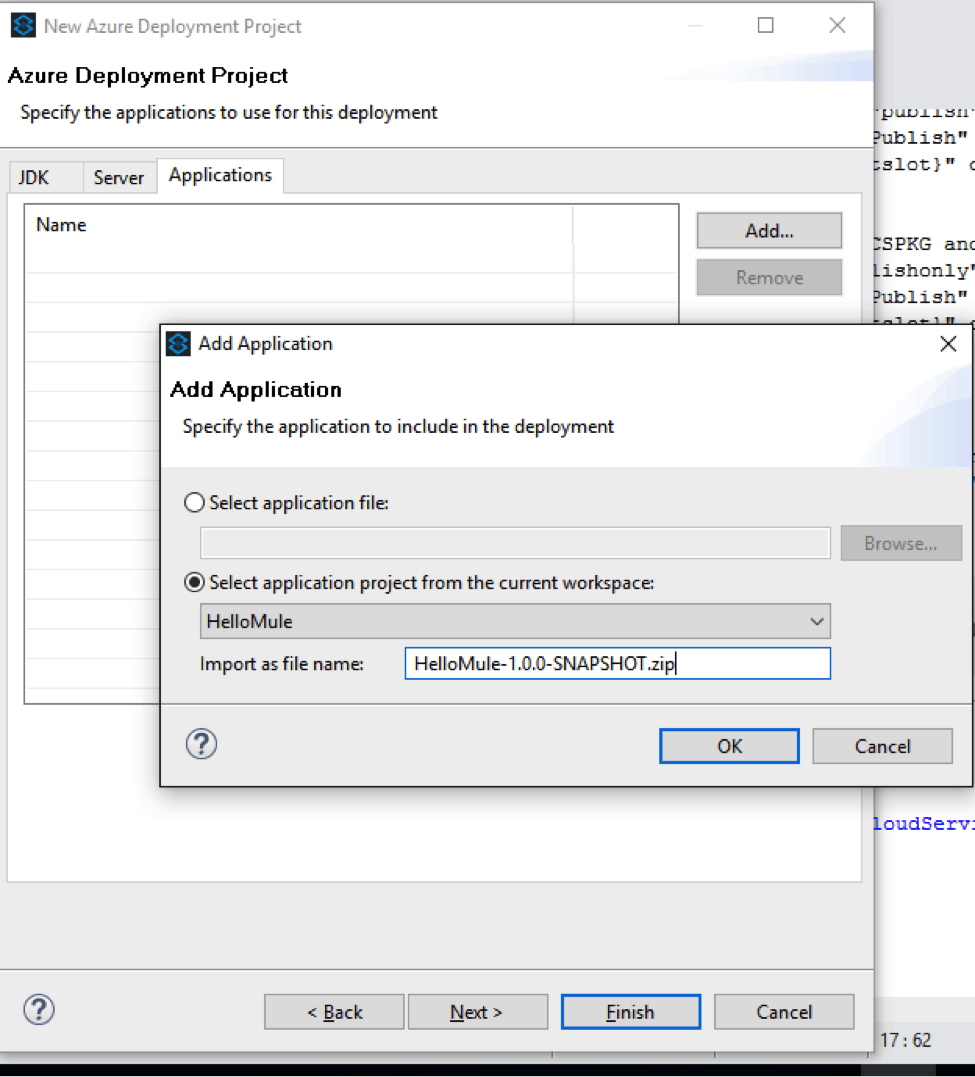
NOTE: You have to make sure the zip file HelloMule-1.0.0-SNAPSHOT.zip exists in the folder HelloMule. Usually when maven is used to build the final zip will reside under HelloMuletarget folder. This path can be changed later in the package.xml if you want it to be picked from the target folder.
One issue noticed is, even though we mention in the dialog to import file as .zip, the file was copied as HelloMule-1.0.0-SNAPSHOT.zip.jar. If you see this, please go ahead and delete the HelloMule-1.0.0-SNAPSHOT.zip.jar and copy HelloMule-1.0.0-SNAPSHOT.zip under approot folder manually.
Once this configuration is complete, hit Finish.
Step 6: You should now see the Azure project successfully created:

Everything which was configured for JDK and Mule server will be inside package.xml. This xml is used to generate the worker role package. In case you require any modifications to the JDK or Mule Server or the app to be deployed, you can do it on the package.xml.
Step 7: You can now run this project by clicking on the “Run in Azure Emulator” icon:
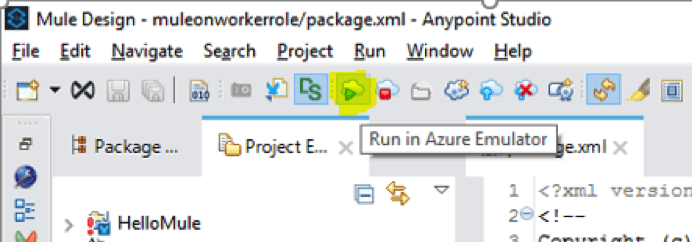
Once you hit this, you should be able to see the project building. If there were any errors in the project/configuration, the deployment will be stopped until the errors are fixed.
One of the common errors is the path exceeding more than 256 characters. If you run into this issue, you may have to copy Anypoint Studio and the other directories to the base drive location instead of subfolders.
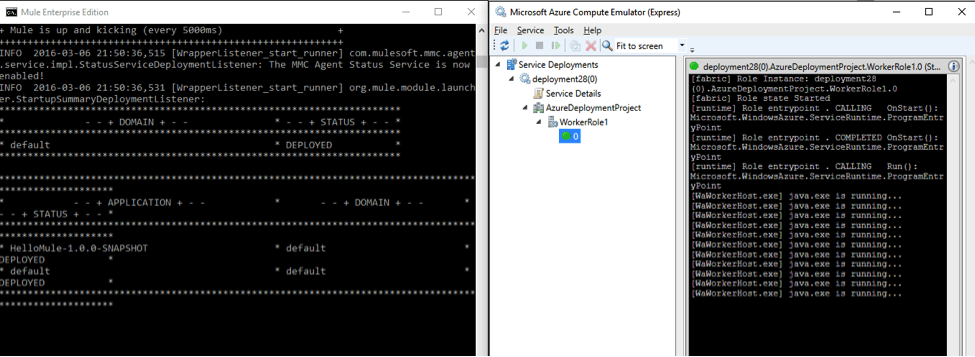
Step 8: By now if everything builds successfully, you should see Azure Emulator started and also Mule Standalone kicked off with successful deployment of HelloMule application. The below screenshots show the Mule Standalone and Azure emulator running side by side:
You should be able to confirm the application is deployed by navigating to the endpoint exposed by the HelloMule application:
Although you are running this using Azure Emulator, technically, you can claim to have Mule deployed as a Worker Role in Microsoft Azure.
Improvements
Since Mule is running as a standalone, you may want to consider the below two improvements:
- Have healthchecks running against the app/Mule server to alert you in case Mule shuts down for some reason and the Worker Role is still running.
- Have Mule deployed as a Windows service (within worker role) instead of running Mule as a standalone, as the service provides JVM hooks.
Thanks Ruman! You can read more about Ruman, and check out the MuleSoft Champions program!