
Efficient data loading is essential for businesses to thrive, especially as data continues growing with the increased digitization of the workforce. Dataloader.io is a simple, yet powerful tool for importing, exporting, and deleting data in Salesforce. In this tutorial, we’ll guide you through the basics of Dataloader.io, and how you can efficiently import and export your data in Salesforce in fewer than 10 minutes.
How to get started with Dataloader.io
Follow these steps to get started with Dataloader.io!
Sign up and log in
Log into Dataloader.io using your Salesforce credentials to activate your account. Follow the prompts to authorize Dataloader.io to access your Salesforce data. That’s it – your account has been created!
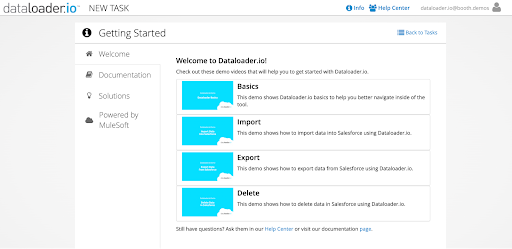
Understand the interface
Familiarize yourself with the Dataloader.io interface, which consists of tabs such as “Tasks”, “Settings”, and “Help”. The “Tasks” tab is where you’ll perform data import, export, and delete operations.
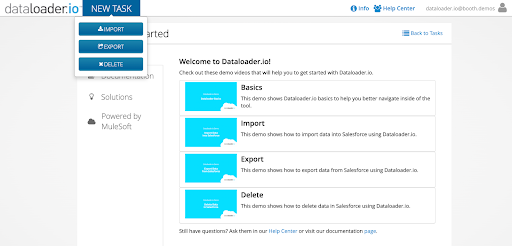
Import data into Salesforce
Create a new task: Click on the “New Task” button under the “Tasks” tab to initiate a new data import task. Select your desired operation (in this case, import).
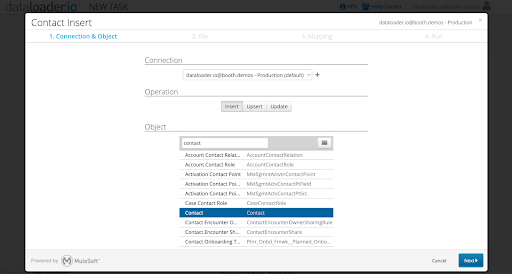
Select the desired connection and object: Select your connection from the dropdown menu. Your login credential will be your default connection, but you can select a different Salesforce connection by selecting the + icon next to the connection dropdown. Explore the wide range of supported objects that are dynamically populated from your Salesforce organization, and select the object you wish to import data into.
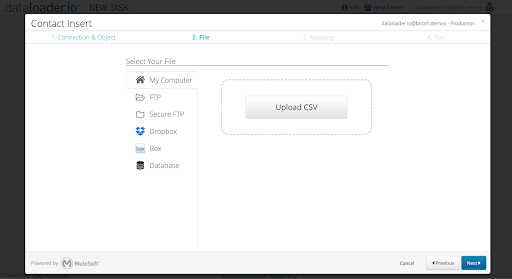
Upload your file: Select from five out-of-the-box connectors to easily connect CSV files via FTP, SFTP, Dropbox, or directly from your desktop.
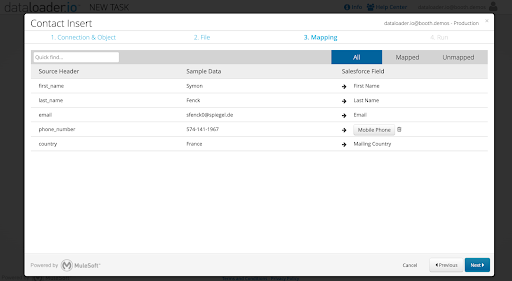
Map data fields: Use intelligent data mapping to easily map data fields between the source and target. See which fields have been automatically mapped and which ones need to be manually updated using simple object lookups.
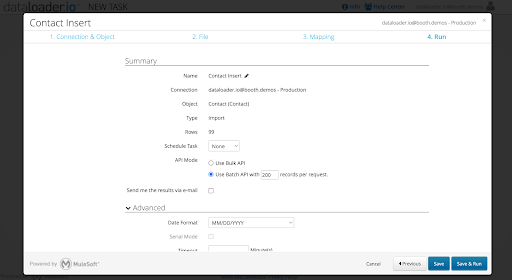
Run the import: Review the task summary and choose run options such as scheduling tasks, API mode, and advanced settings before saving and running the import.
Export data from Salesforce
Create a new export task: Similar to importing data, click on the “New Task” button and select the “Export” option.

Select the desired object: Select your connection from the dropdown menu and choose the Salesforce object from which you want to export data from.

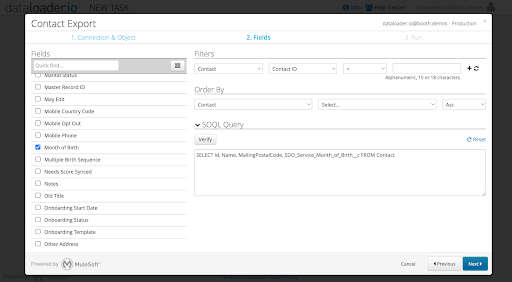
Build your query: Select the fields you would like from the selected object and its related objects too. Add query filters to only export the rows that match these criteria. Modify the auto-generated SOQL query as needed, or build your own SOQL query from scratch.
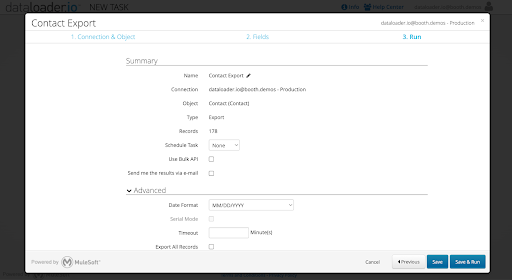
Run the export: Review the task summary and choose run options such as scheduling tasks, API mode, and advanced settings before saving and running the export.
Manage your tasks
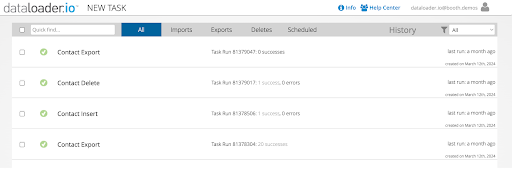
Monitoring tasks: View all of your tasks you’ve built and their runs on your home page. Ensure all tasks have been completed successfully, or dig into any errors.
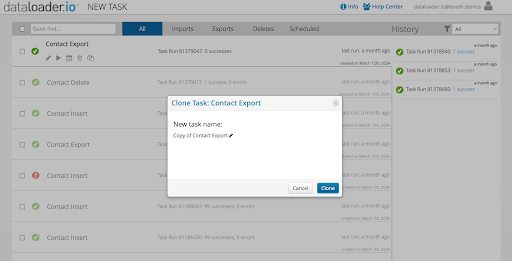
Cloning a task: If you’d like to create a similar task to one previously created, you can clone your existing tasks and edit any properties as needed.
Data = loaded
That’s it! Within minutes, we were able to create import and export tasks for Salesforce that will continue to run on their own, helping to save time and boost productivity. By following this tutorial, you’ve learned how to leverage Dataloader.io effectively to manage your Salesforce data. Experiment with different task settings and explore advanced features to further enhance your data management capabilities with Dataloader.io.
Interested in learning more? Check out our product spotlight video to see the solution in action. Happy data loading!


