
Keeping up to date with the latest versions of NodeJS comes with several advantages including access to the latest language features (as seen in Node Green) as well as performance improvements that can have a direct impact on your web services. The benefits are even more prominent in the context of a microservice architecture where there’s a constant need to orchestrate and maintain different versions of NodeJS across many instances.
That being said, managing and upgrading a NodeJS environment can be a tedious task. Fortunately, there is a tool to make the process easier. In this article, we will discuss how to install the latest version of NodeJS through NVM and run a simple Express server.
To get started you need to install NodeJS (to run server-side javascript) and npm (to consume node packages). Both of these can be installed in a single step with NVM. To install NVM just run the following command:
curl -o- https://raw.githubusercontent.com/creationix/nvm/v0.33.1/install.sh | bash
Note for Windows users: NVM does not currently support Windows, but you can try an alternative tool like nvm-windows
Note for OSX users: If you don’t have Xcode installed, you should look into installing the Command Line Tools as a lightweight alternative.
If everything was installed correctly you should now be able to restart your terminal or follow the instructions at the end of the installation to enable NVM:
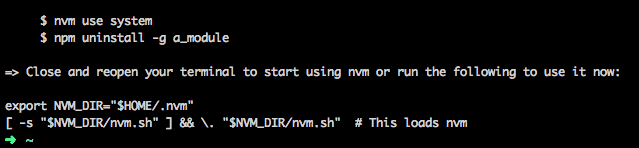
Additionally, you can run the following command to verify the installation:
command -v nvm
If you see ‘nvm’ printed in the terminal you are good to go. Otherwise, please review the installation steps in the source repository.
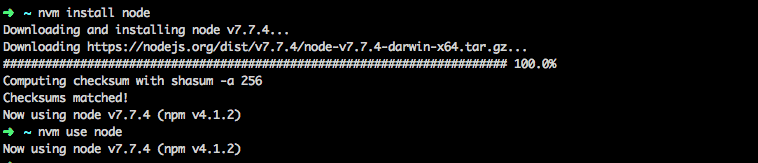
You can now run the following command to install the latest version of NodeJS (and npm):
nvm install node
To use it run the following in a new shell:
nvm use node
Keep in mind that NVM facilitates the transition between versions of NodeJS, so if you wanted to execute an arbitrary script using a specific NodeJS version you would run nvm exec 4.2 node app.js –version
To create a new project, begin by creating a new folder where you will store your project’s source. Then run the following command to enable npm for the project:
npm init
This will take you through a wizard resulting in the creation of a package.json file which will contain a reference to your npm dependencies as well as other project details.
Once it’s done, you are ready to install Express.
Express is a framework that will allow you to create and serve web applications easily. We will only cover the basics by running a simple Hello World example, but for more in-depth information and documentation, please visit the official Express website.
You can install it by running the following npm command:
npm install express –save
A reference to the Express module should now appear in the dependencies field in your package.json file.
You are now ready to build your first Express application. Begin by creating an index.js file and typing-in the following script:
const express = require(‘express’);
const app = express();
app.get(‘/’, function (req, res) {
res.send(‘Hello World!’);
});
app.listen(3000, function () {
console.log(‘Example app listening on port 3000!’);
});
Now you can run it with NodeJS, by typing the following in your terminal:
node index.js
If everything went right, you can now open your favorite web browser and navigate to
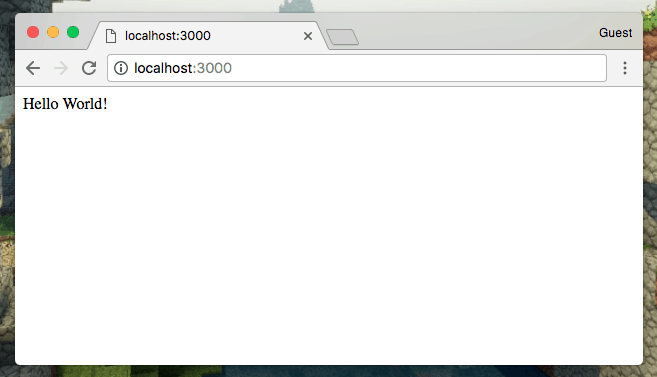
If you are greeted with a “Hello World!” message, then congratulations: you are up and running with NVM and Express, and you are now ready to create amazing software!
At Mulesoft we have the need to move fast and to stay up to date with the latest most performant technologies. Taking that into account, NVM allows us to quickly manage, change, and update versions of NodeJS across all of our microservices, preventing stagnation and increasing flexibility across teams. If you wish to learn more about the way we work at Mulesoft, feel free to explore the rest of our blog.


