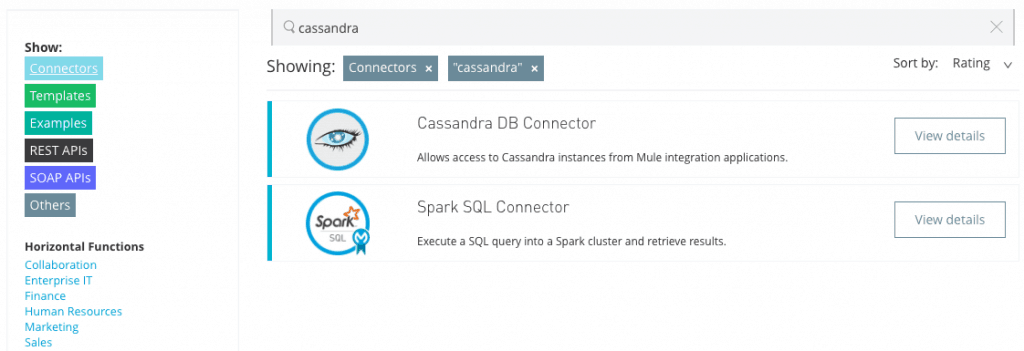
Check out Anypoint Connector for Cassandra in Exchange.
Apache Cassandra is an open-source NoSQL database management system designed to handle large amounts of data across commodity hardware. Cassandra was initially developed at Facebook to power the Facebook inbox search feature, and became an Apache project in 2009. Since then, it has been adopted by more than 1,500 companies including Walmart, Netflix, Sony, Macy’s and UBS.
There are many ways customers use Cassandra within their organizations: to replace Oracle DB/SAN Storage with Cassandra, for front-end caching their e-commerce platform, or for storing historical financial data from a range of different sources. For those customers and others interested in exploring Cassandra, we are thrilled to announce the release of Anypoint Connector for Cassandra.
In this blog, I’d like to walk you through a simple demo app to show how to use the Cassandra Connector. Before you start with the demo app, please make sure you have the Cassandra Connector v2.0.0 downloaded from the Exchange.
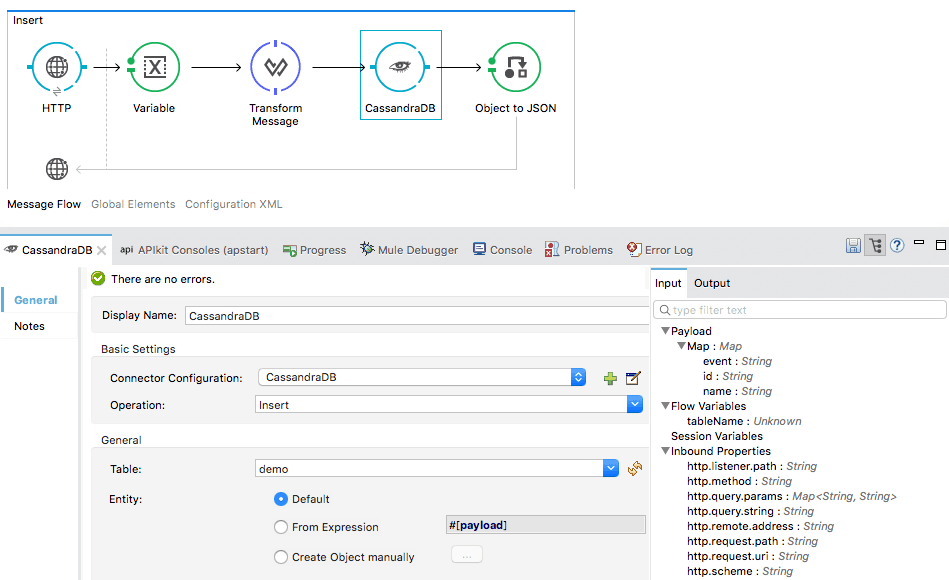
After you install the Cassandra Connector and import the demo app into Studio, you will see the following flows.
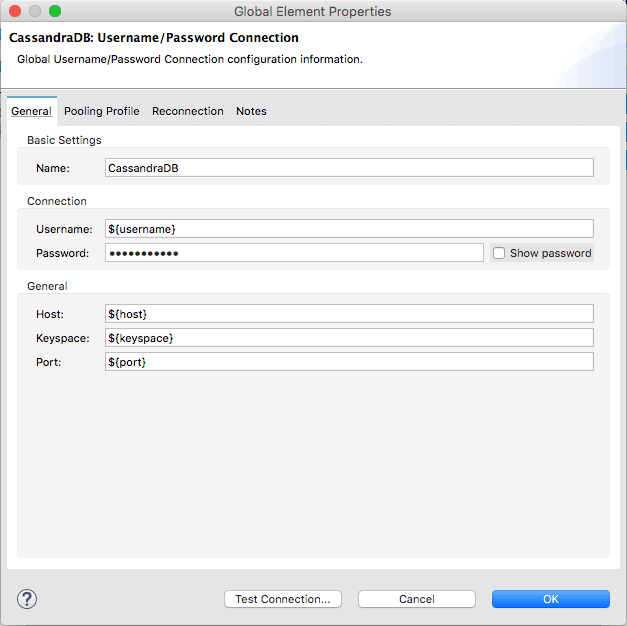
Let us configure this Cassandra Connector first. If you go to Global Elements, you will find “CassandraDB.” After selecting “CassandraDB,” please click on “Edit.”
In the CassandraDB: Configuration, you can specify the configuration of your Cassandra server. You can directly add your Cassandra information in the configuration, but I recommend you use the properties file to add your configuration information.
mule-app.properties include the following keys-value pairs:
- username=
- password=
- host=
- keyspace=demo (In this demo, I will use a “demo” key space.)
- port=
After you complete configuration for your Cassandra environment, let us run this app. When you open up a browser and hit localhost:8081, your browser will show the following page.
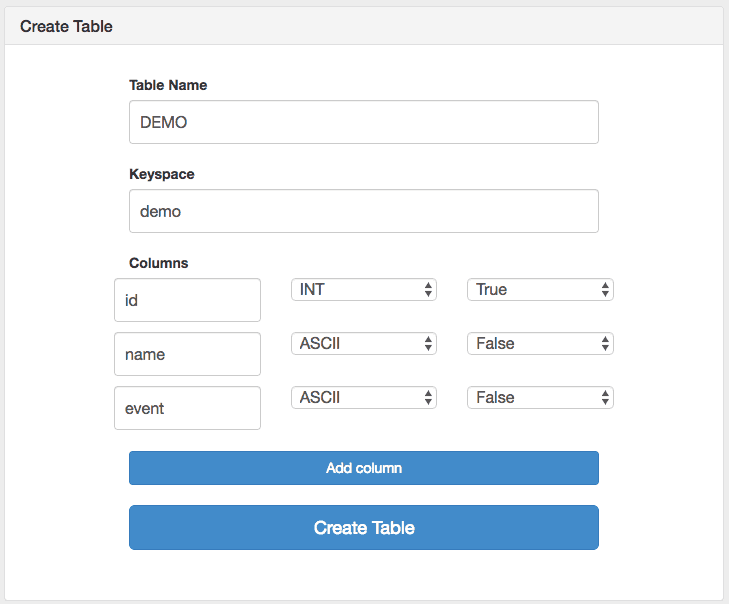
I will create a “demo” table with three columns: id, name, and event. As you can see below, id is set as a Partition Key (Primary Key) in the Mule table.
Before we start to add items to a “demo” table, I should mention that one of the key features the connector offers is showing you the metadata. If you go to the “Insert” flow in Studio, you can see the demo table has id, name, and event as columns.
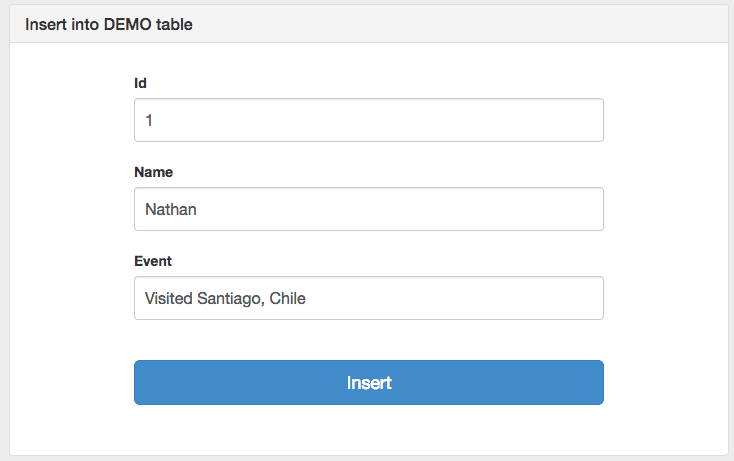
Let us add a couple of items with the “Insert into DEMO table.”
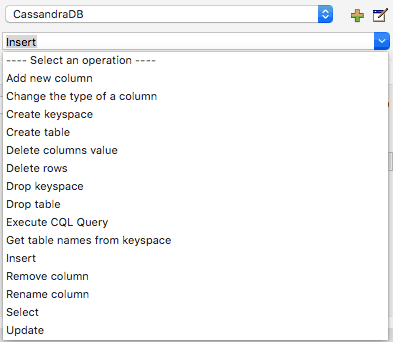
After you added items, you can execute a CQL statement to retrieve items from the table. The connector supports “Execute a CQL statement,” but also provides easier ways to execute the CRUD operations with following operations: Select, Insert, Update, and Delete.
Let us retrieve items from the demo table.
For new users, try the above example to get started, and for others, please share with us how you are planning to use the Cassandra Connector!


