
At MuleSoft, we work with a number of hospitals, healthcare systems, insurers, and other healthcare organizations. These organizations use different computer systems–from billing and Electronic Health Records (EHRs) to laboratory and pharmaceutical management systems. A common and critical use case that we come across is how we can enable these organizations and their partners to seamlessly exchange data with one another across different systems.
Healthcare providers primarily deal with HL7 standards to exchange, integrate, share, and retrieve electronic health information. HL7 standards support the management, delivery, and evaluation of health services––the standard is considered as one of the most common in the world.
In this blog, I will show you how to leverage MuleSoft’s Anypoint Connectors to handle HL7 messages. We will use the HL7 MLLP connector to send and receive messages, and the HL7 EDI connector to interpret the HL7 message. We will then further process these messages within Anypoint platform prior to sending them out.
Use Case for Handling HL7 Messages
This blog post will show three examples of downstream processing using Anypoint Platform.
- Receive HL7 messages in Anypoint Platform.
- Look up additional information based on incoming data and enhance the HL7 message in the process.
- Check and fix the formatting for certain data fields.
- Map the HL7 message to a data store.
Pre-Requisites
- An Anypoint Platform account. You can sign up for a 30-day trial account here if you don’t have one.
- Download Anypoint Studio
- Download the HL7 MLLP connector and HL7 EDI connector in Anypoint Studio
- Download HAPI test panel to send and receive HL7 messages
Part 1: Create a New Project and Configure the Use Case Flow
1) To start development, download and open Anypoint Studio.
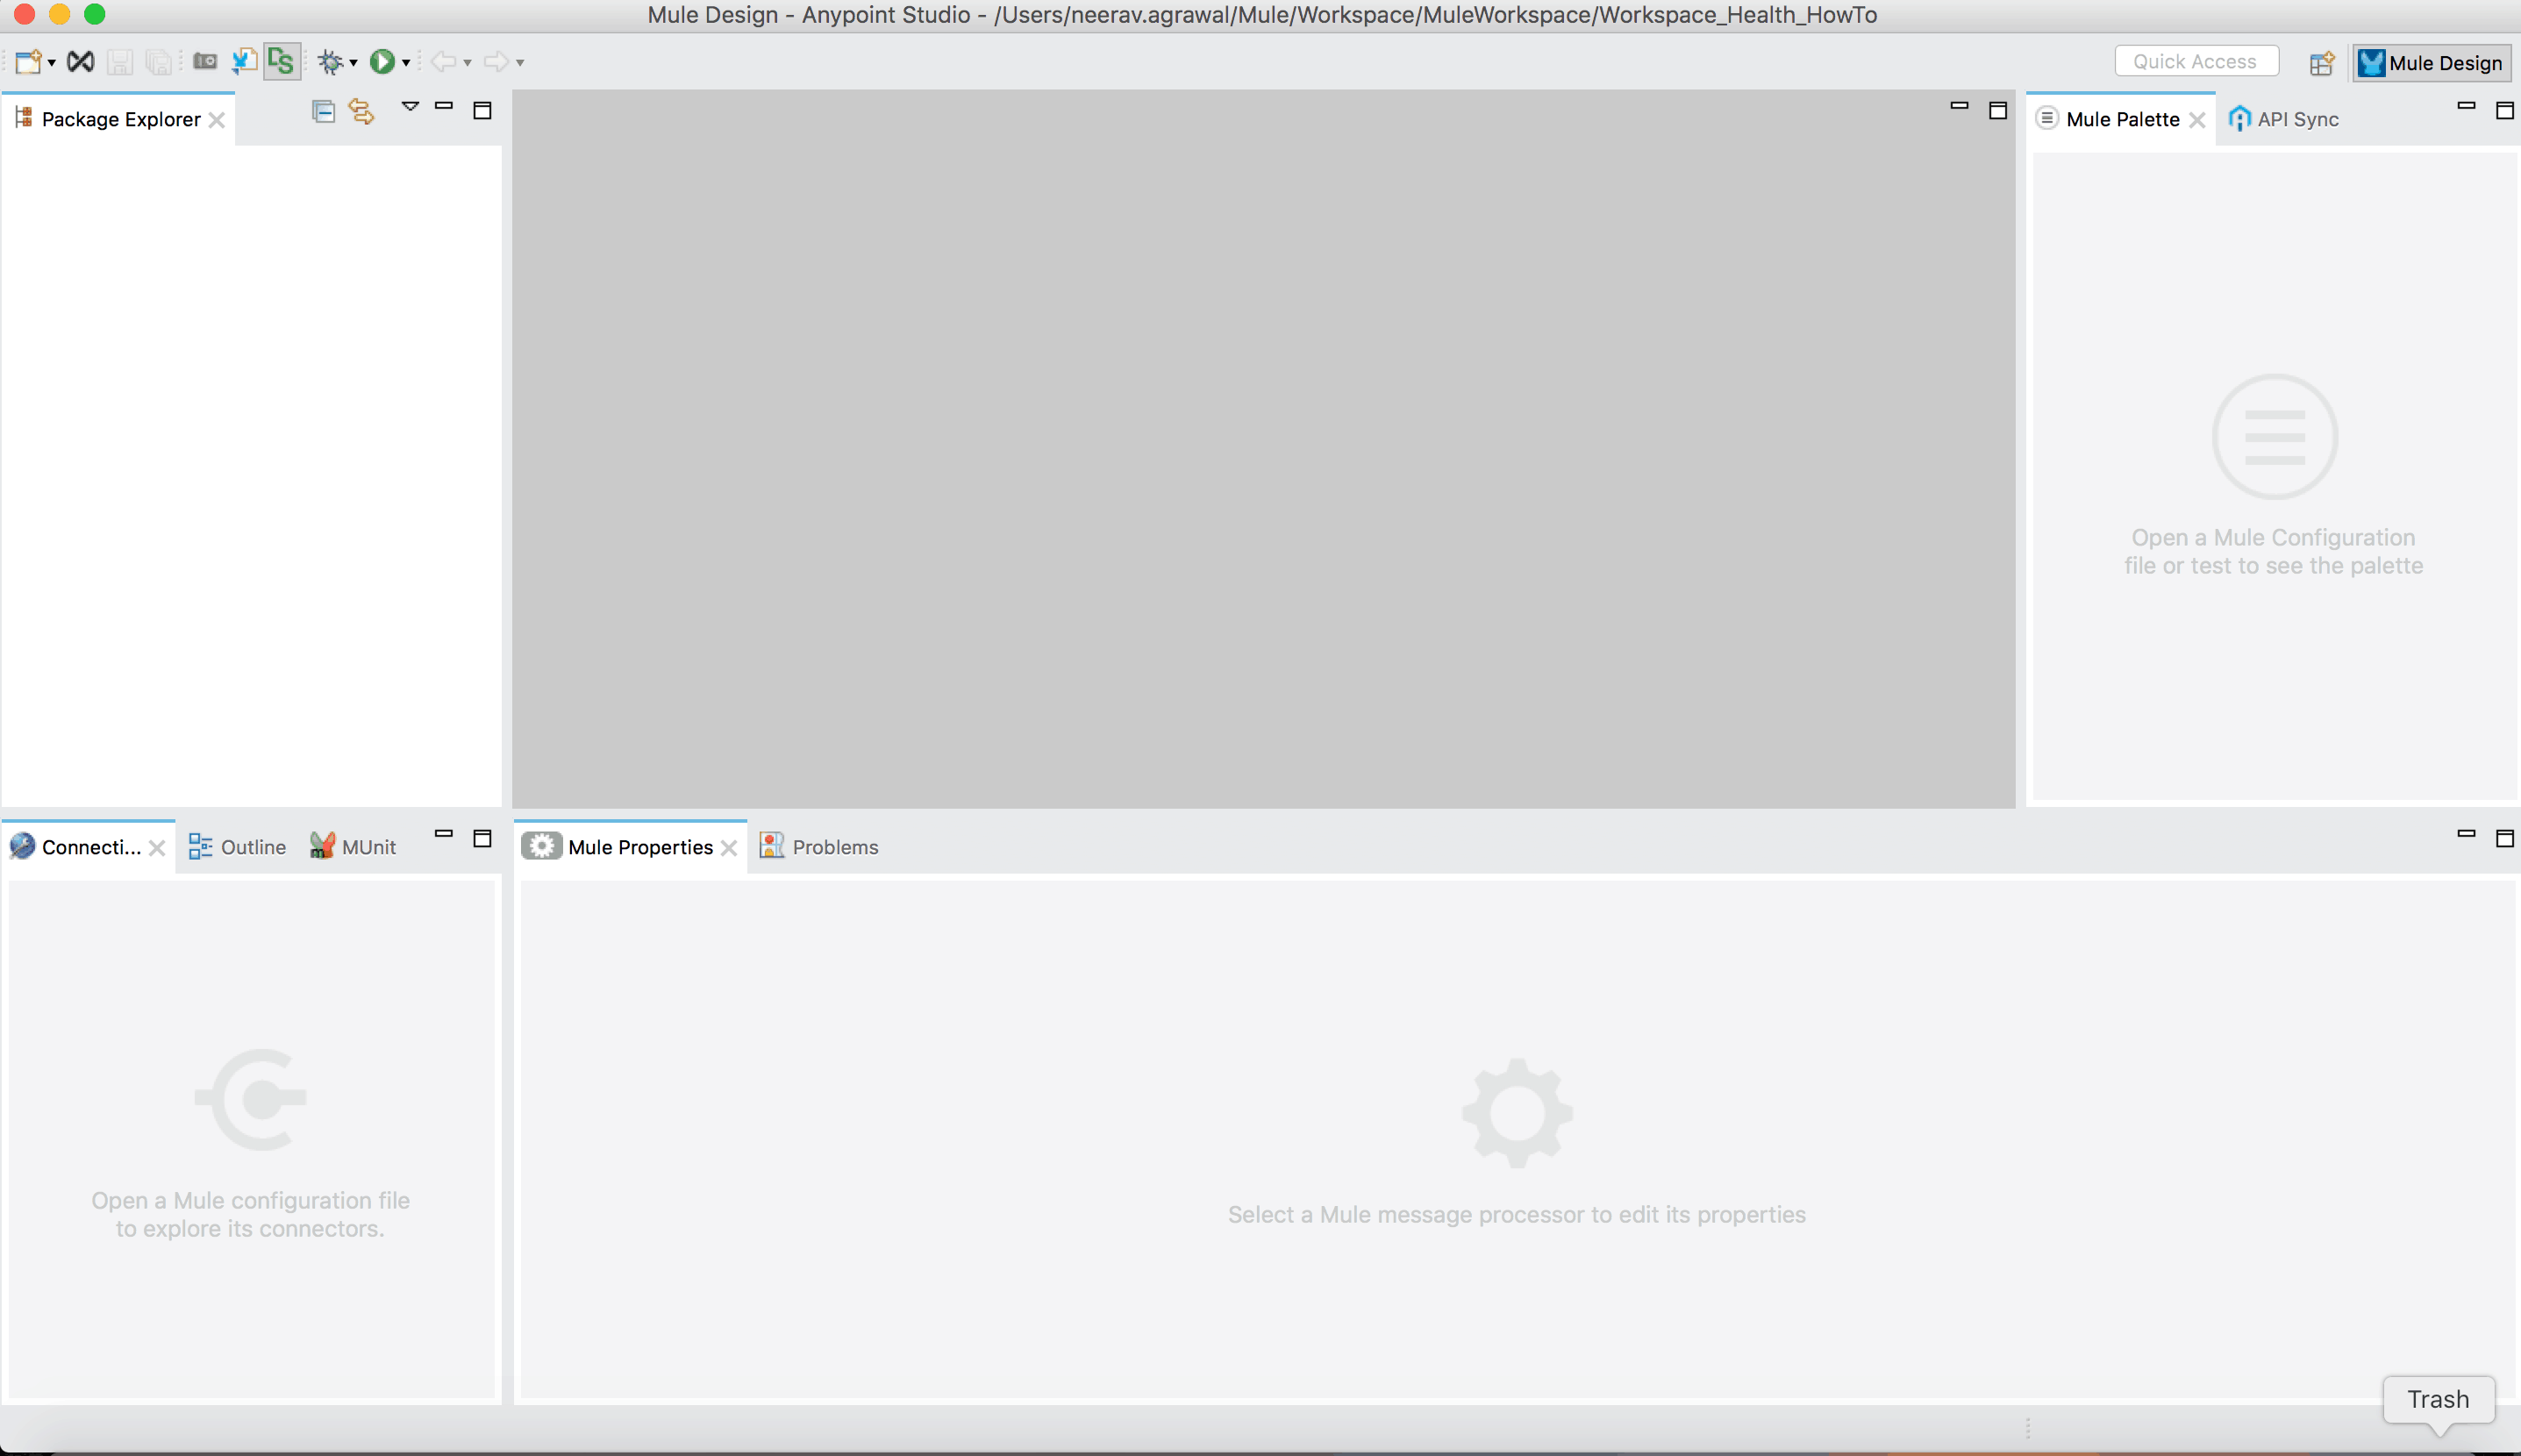
2) Create a new project.

3) Configure the use case flow in the canvas in the center.

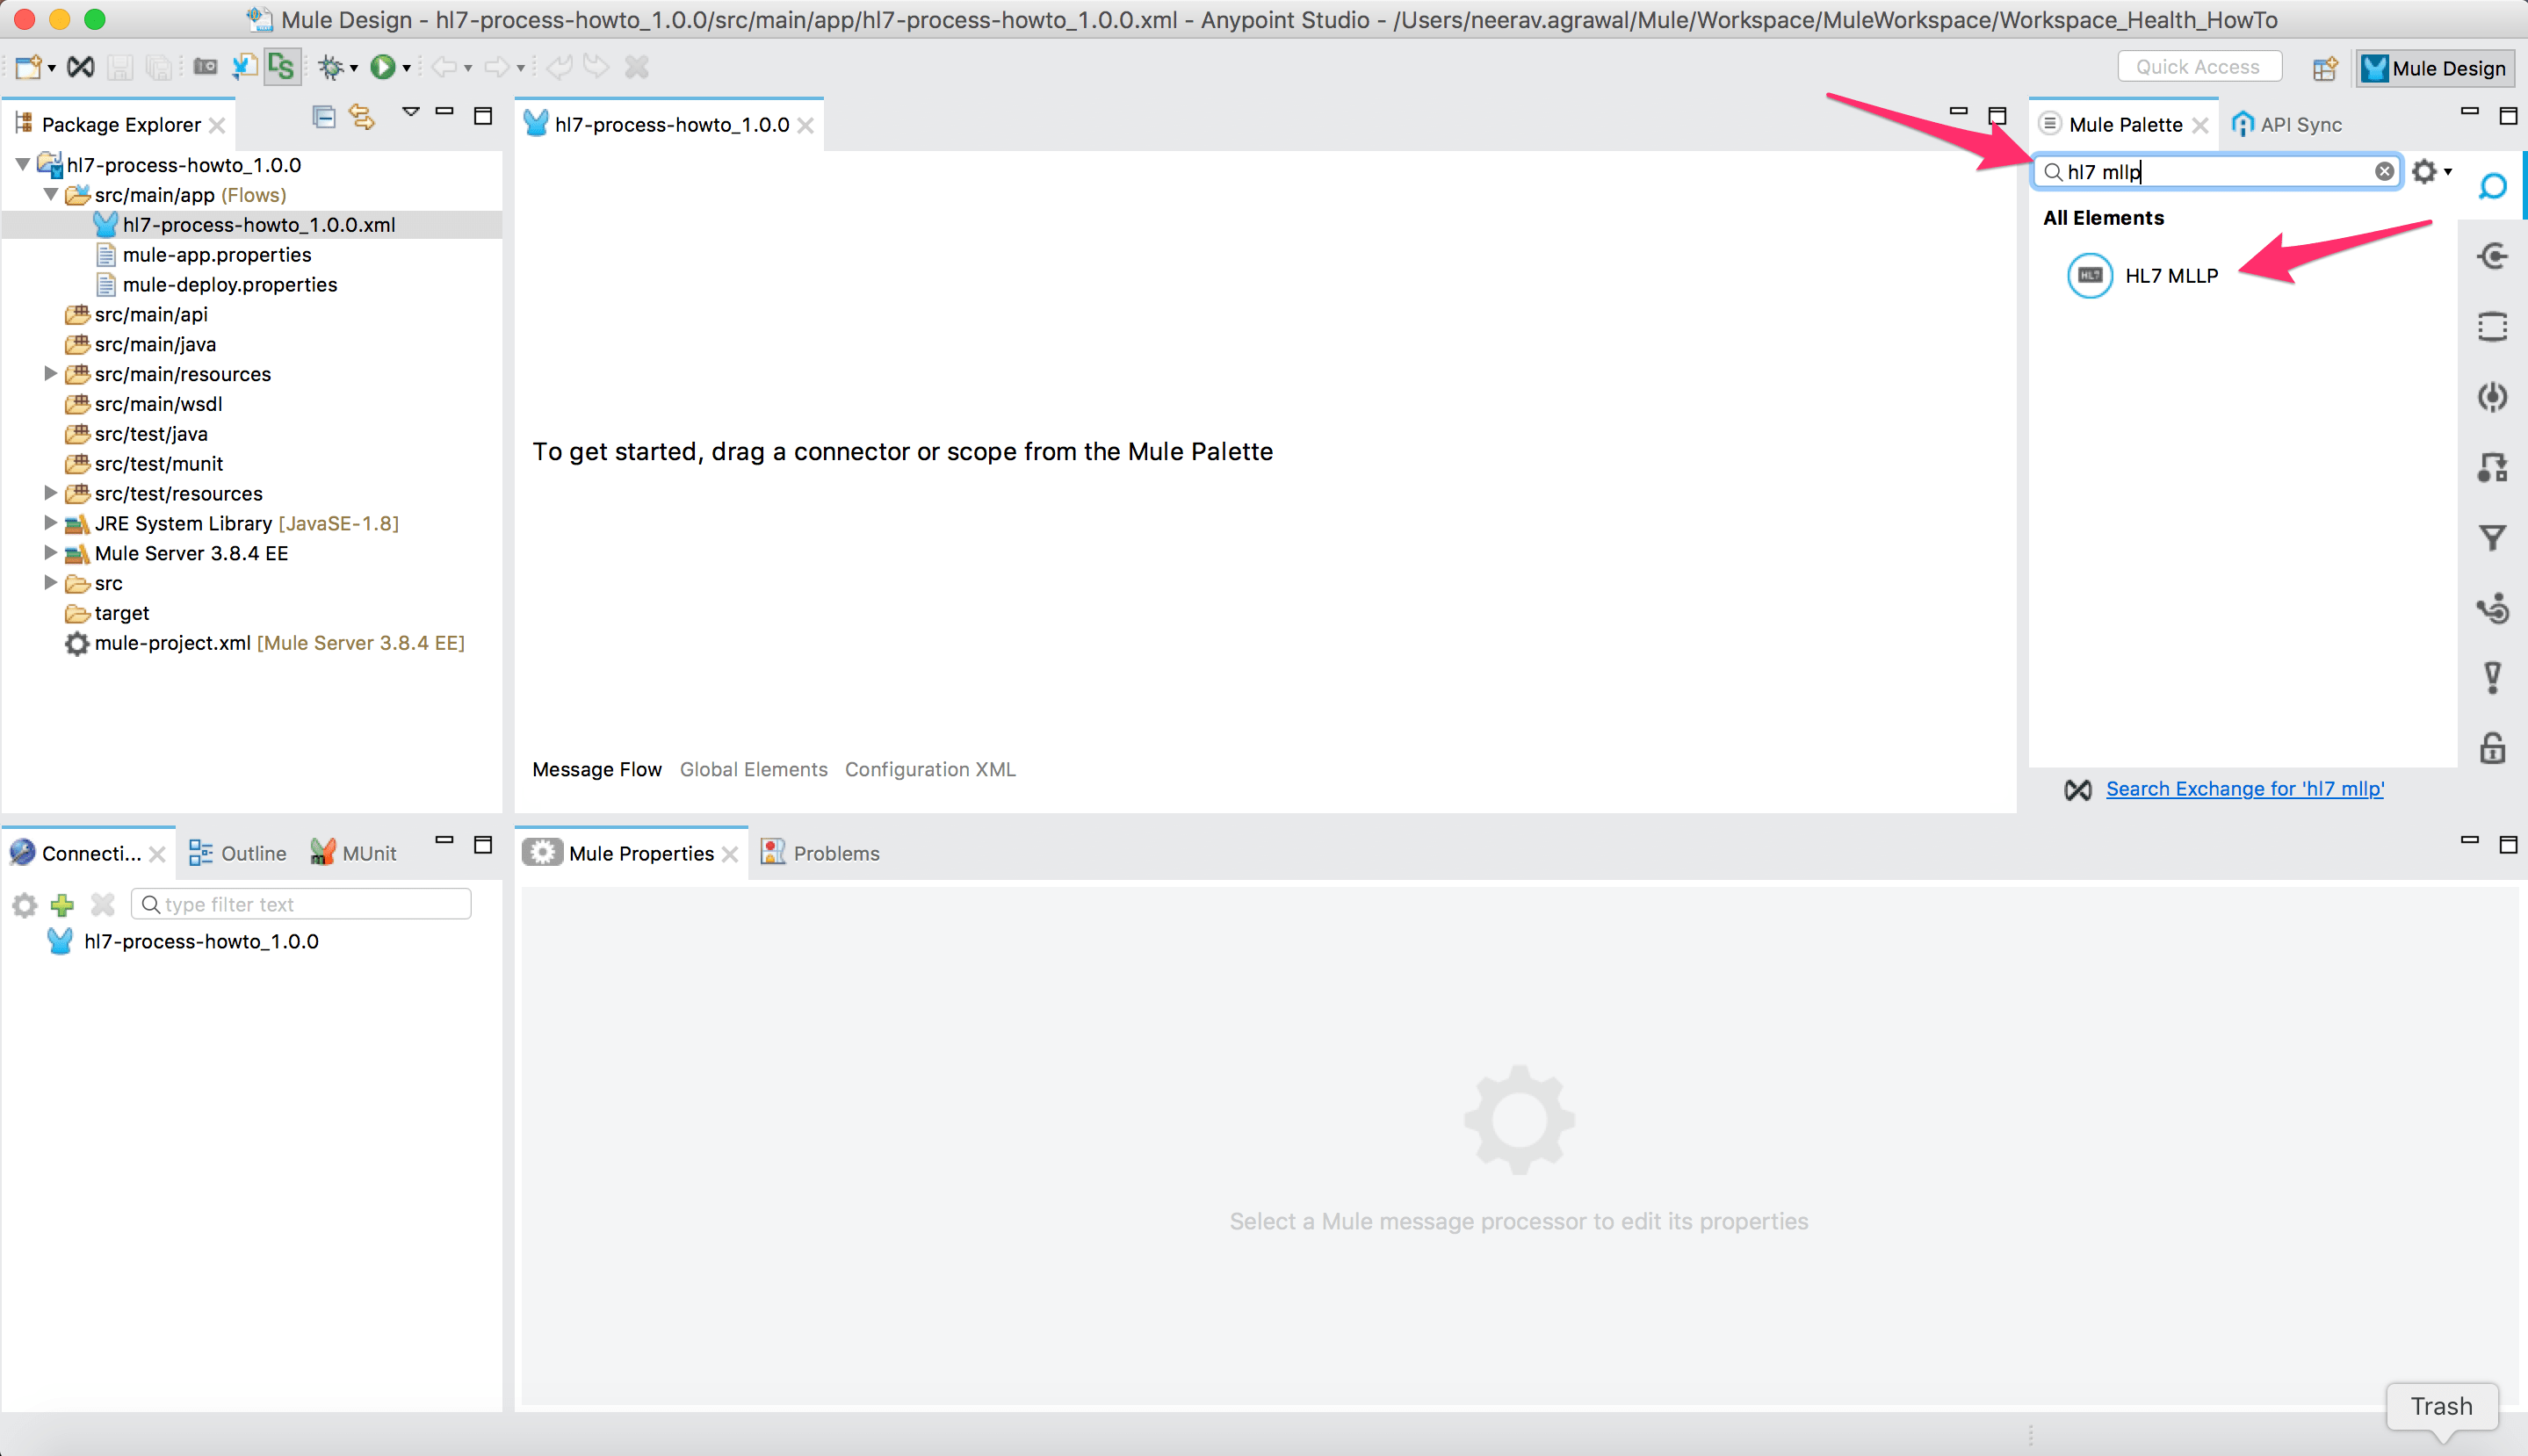
Part 2: Install Anypoint Connector Hl7 MLLP and Configure Messages
4) As per the use case, we will first receive the HL7 message over Minimum Lower Layer Protocol (MLLP). For this, we will leverage the MuleSoft Anypoint Connector for HL7 MLLP. First, install the connector in Anypoint Studio and drop the connector into the canvas.
5) Configure the port and host for MLLP.

Part 3: Install Anypoint Connector Hl7 EDI and Interpret the Message
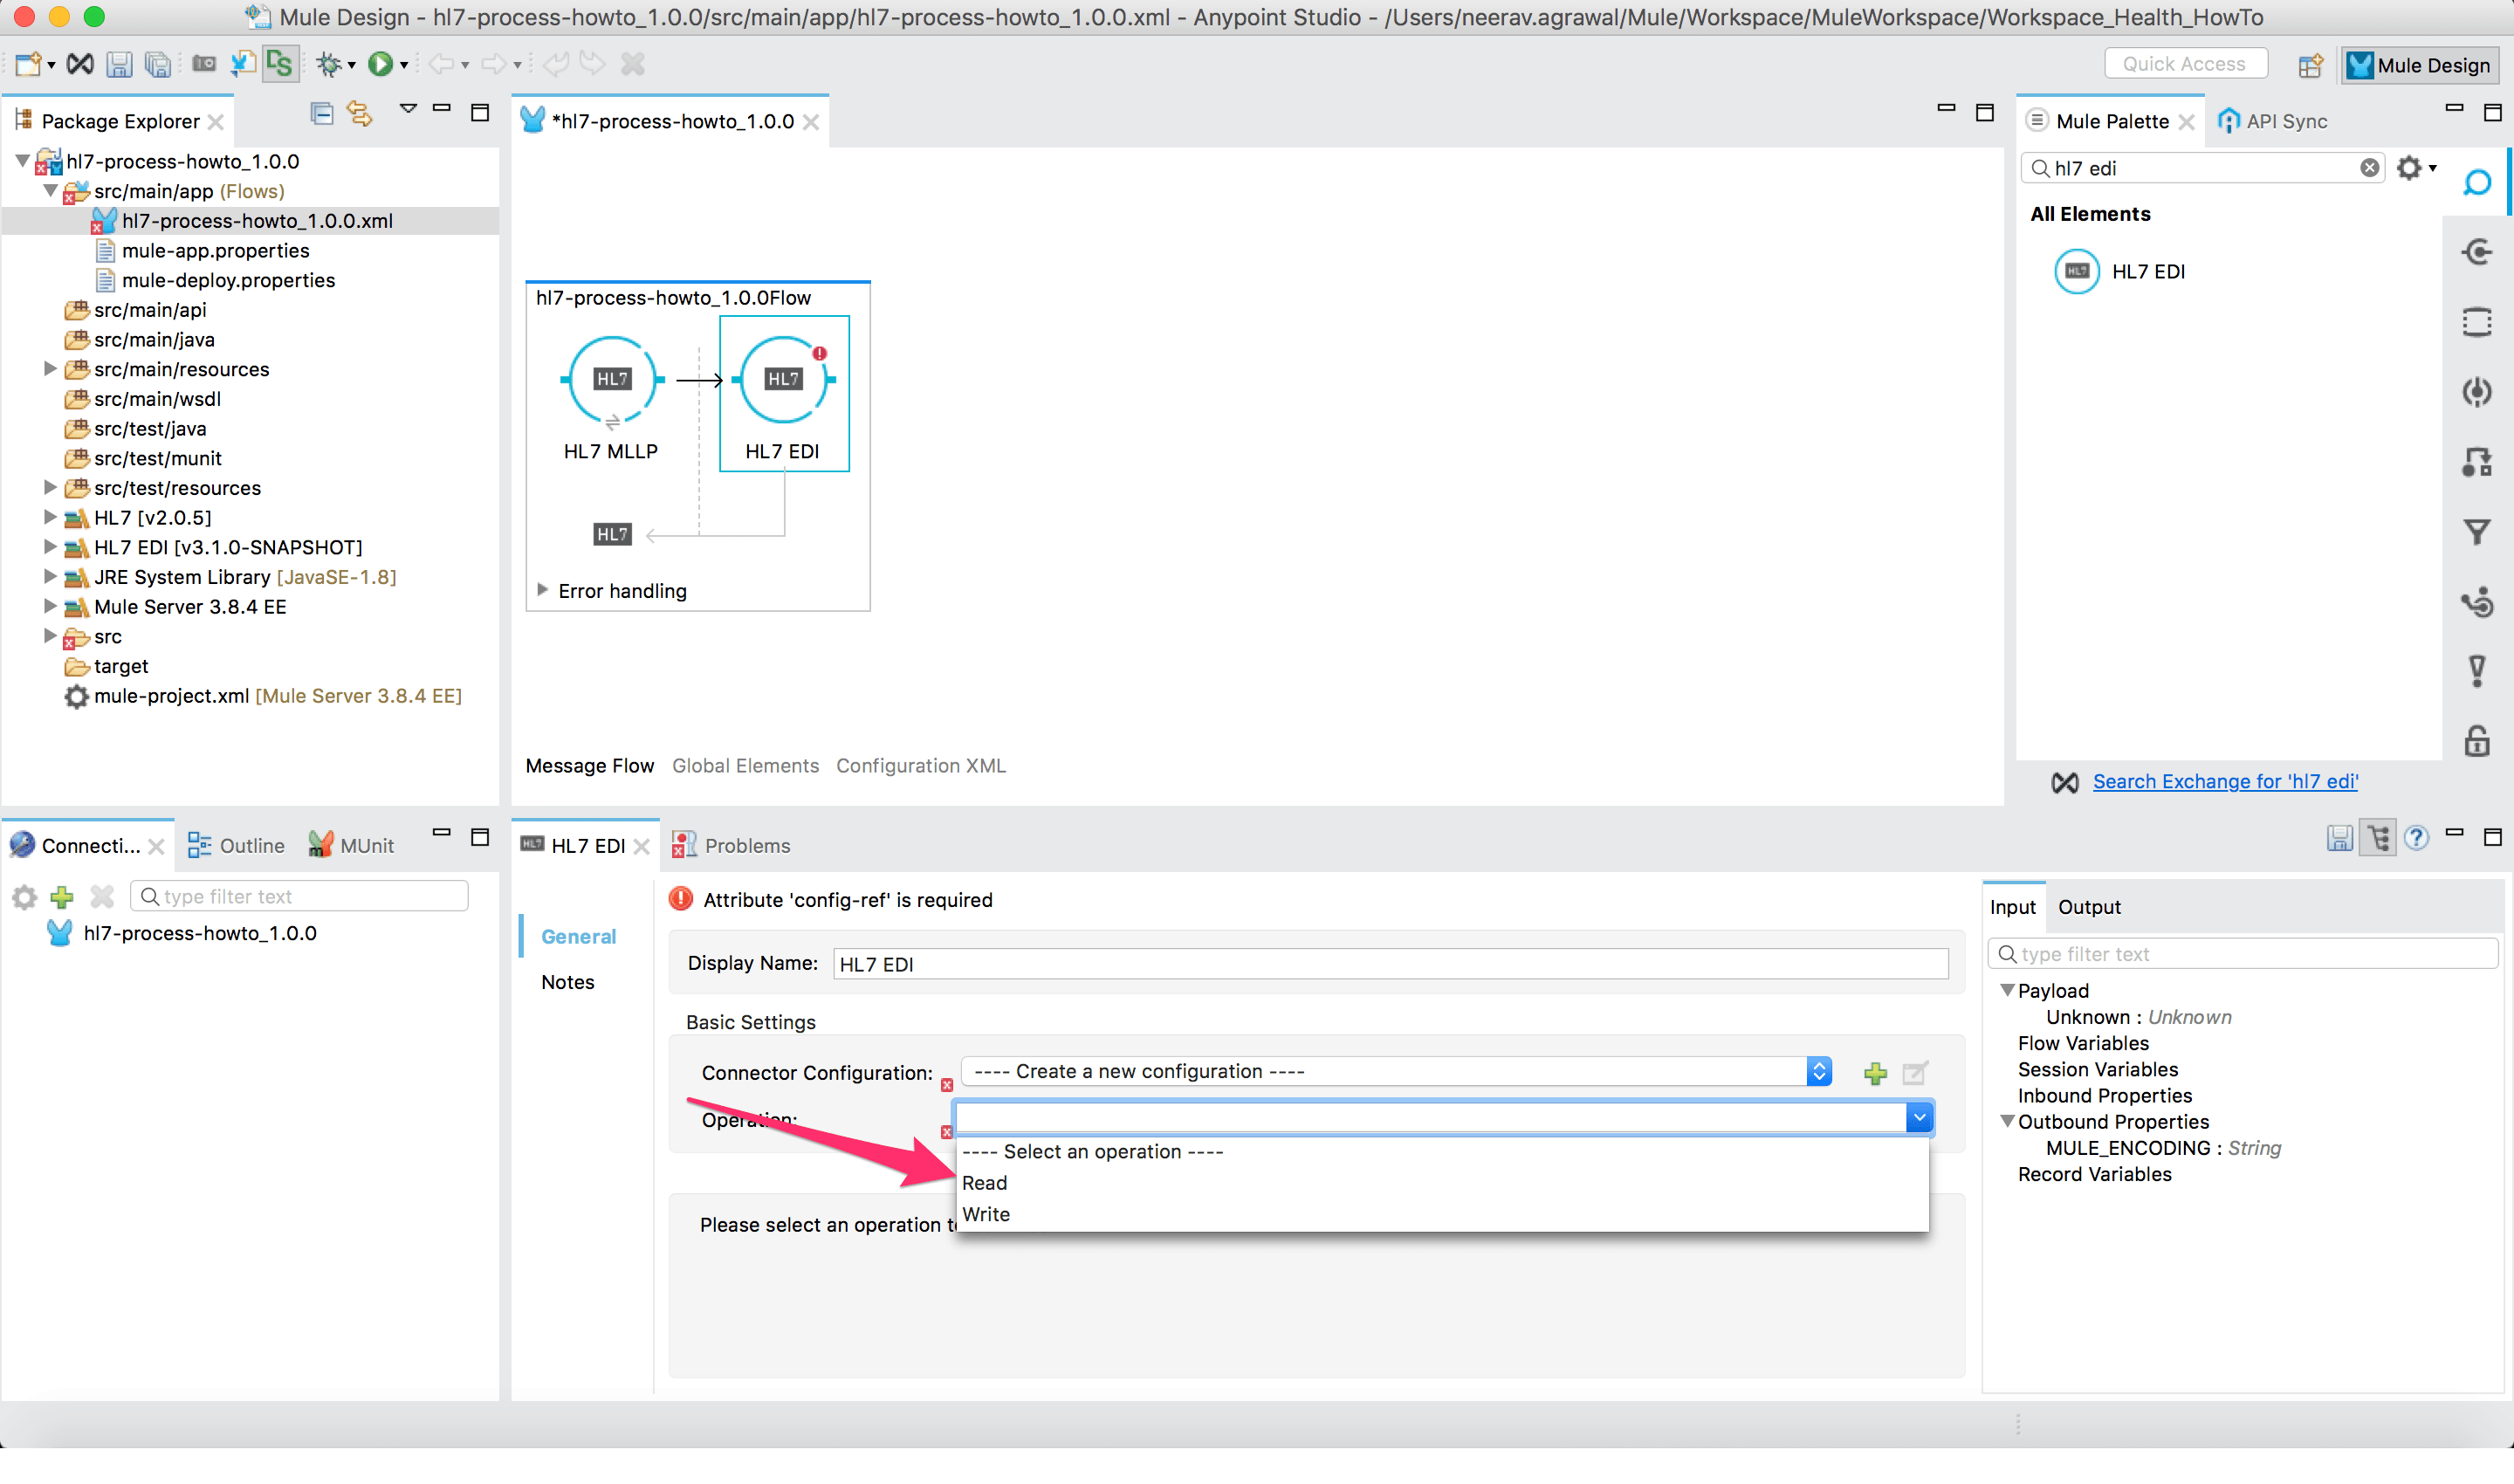
6) Once you receive the message over MLLP, then interpret and parse the HL7 message using MuleSoft’s Anypoint Connector for HL7 EDI. This will allow you to format, manipulate, and validate the data within the HL7 message.

7) Configure the “read” operation on the HL7 EDI connector. Now, click on the connector configuration.
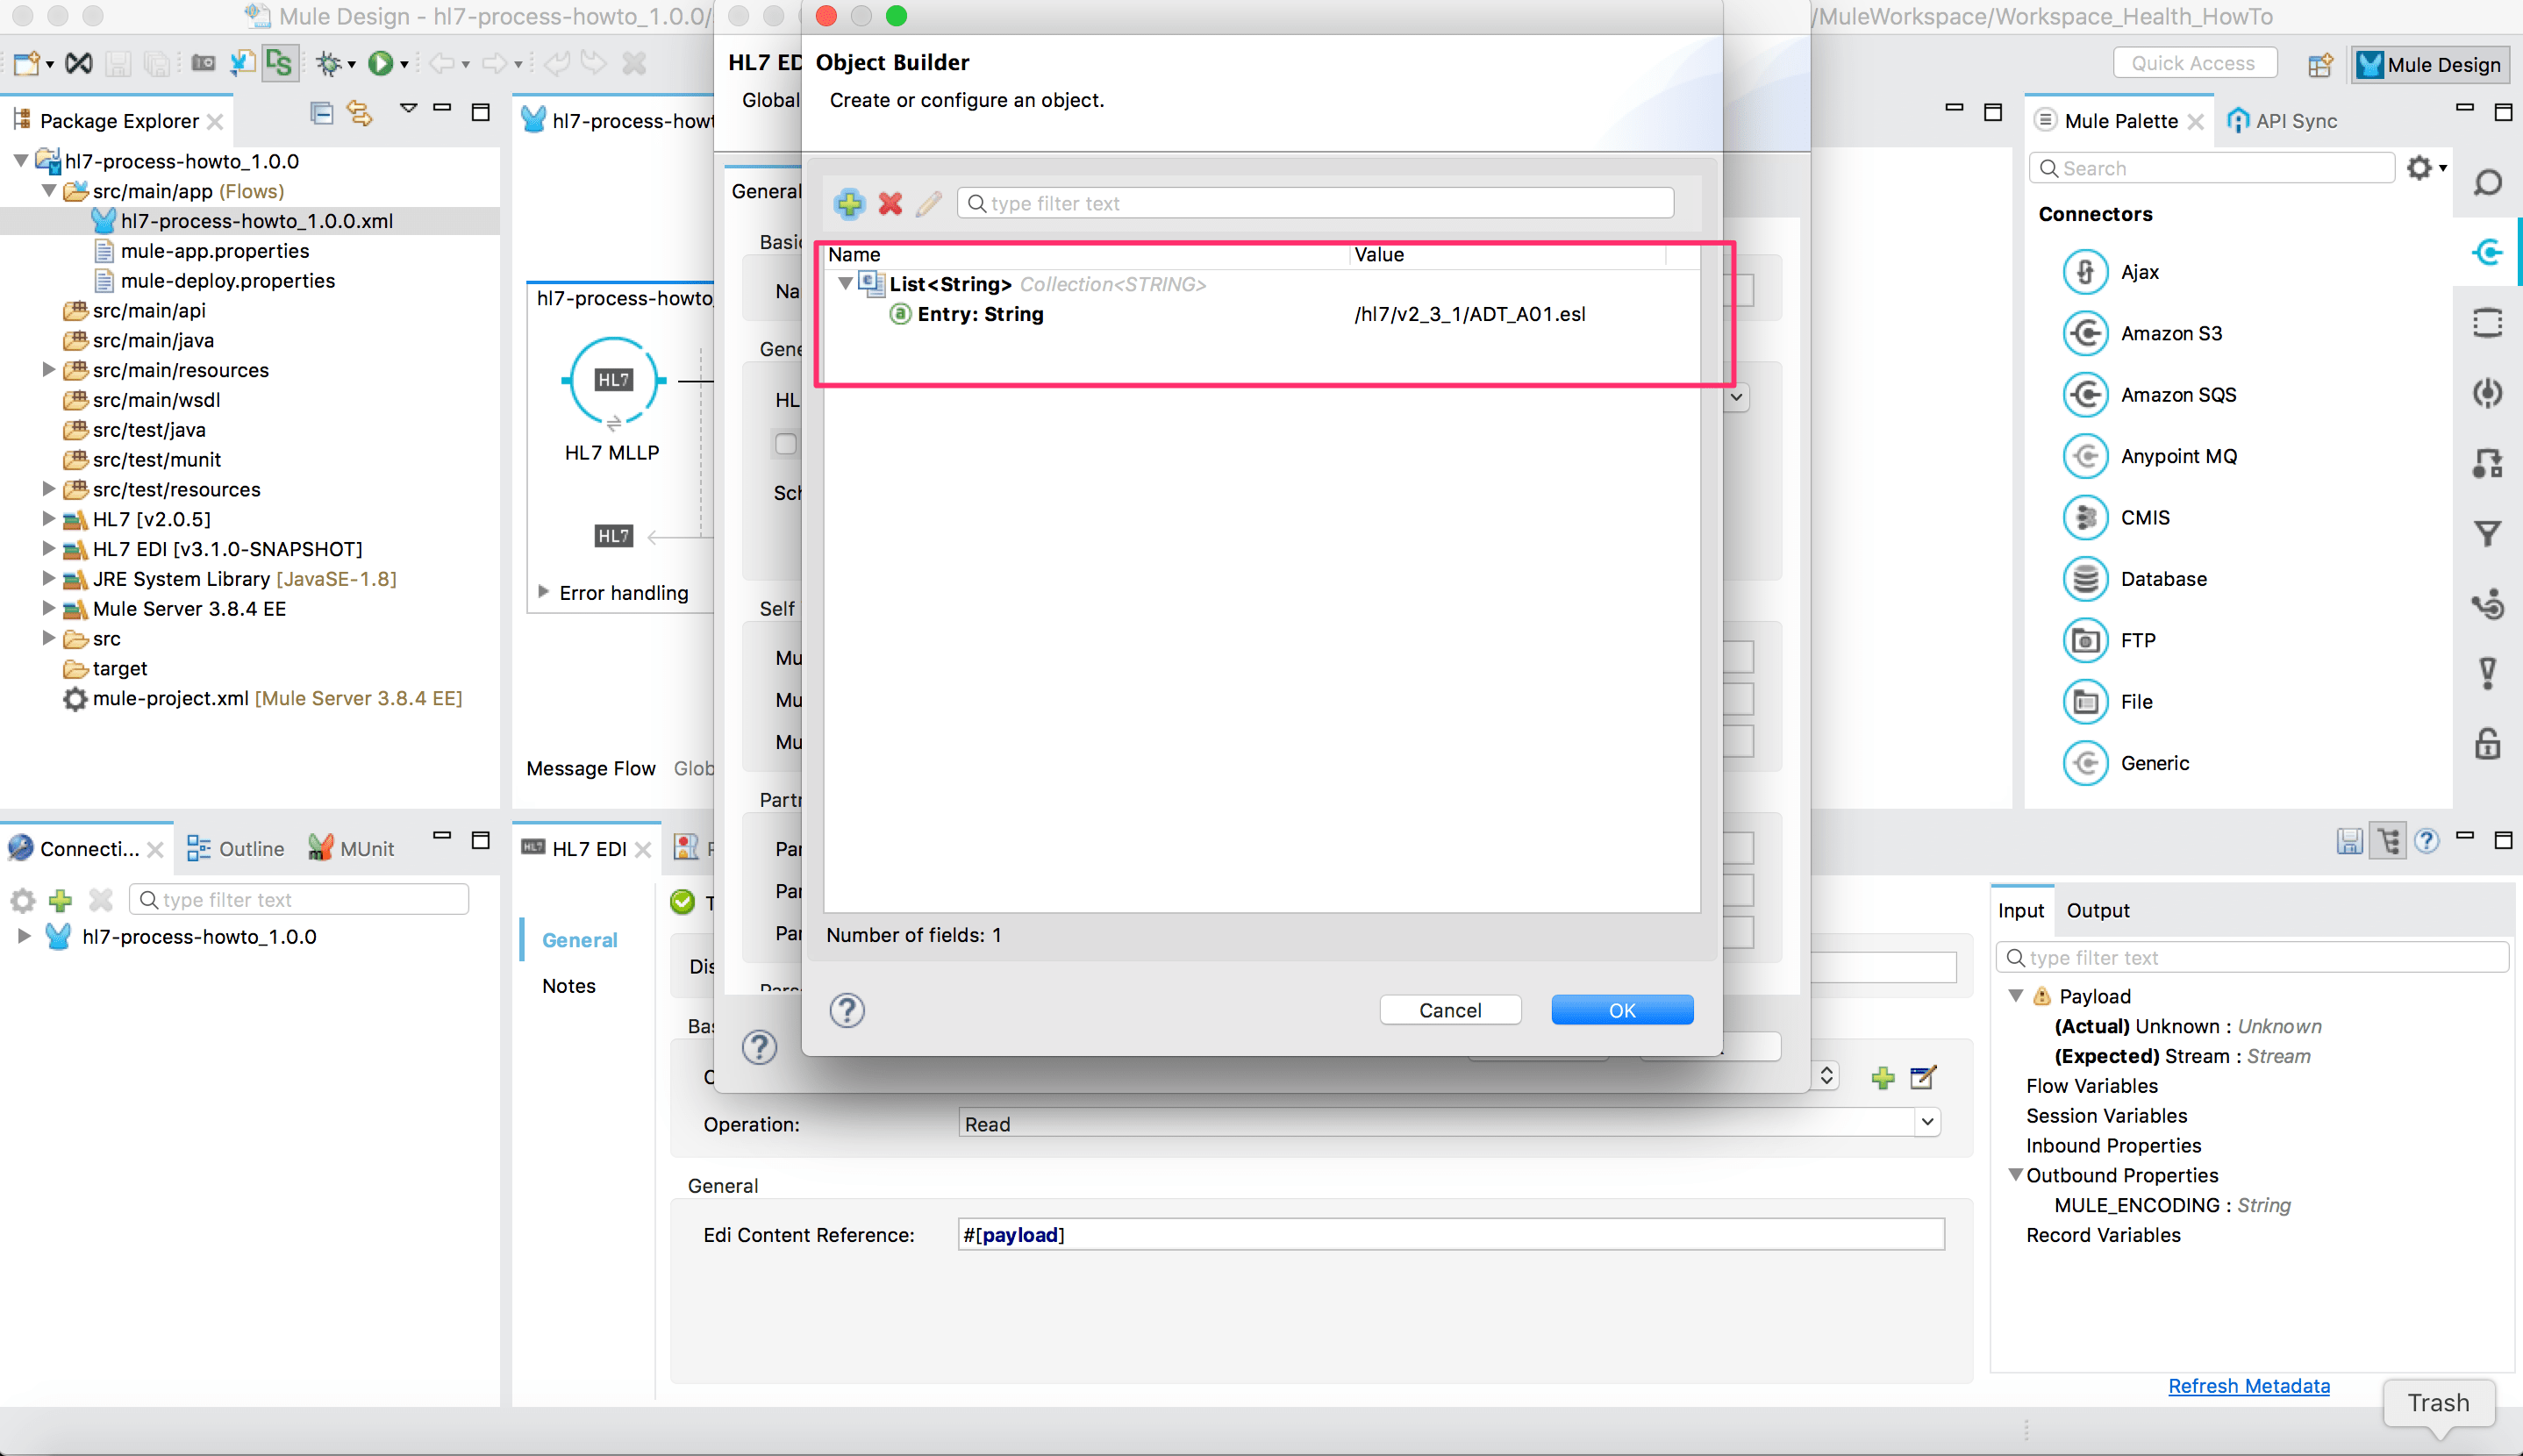
8) Select the “Create Object Manually” radio button.

9) Now, configure the type of HL7 message you are expecting to receive. In the case below, we are receiving ADT A01, which denotes patient admission data. Please follow this guide to understand how to configure this path.
Part 4: Process the Data and Modify the Use Case Flow
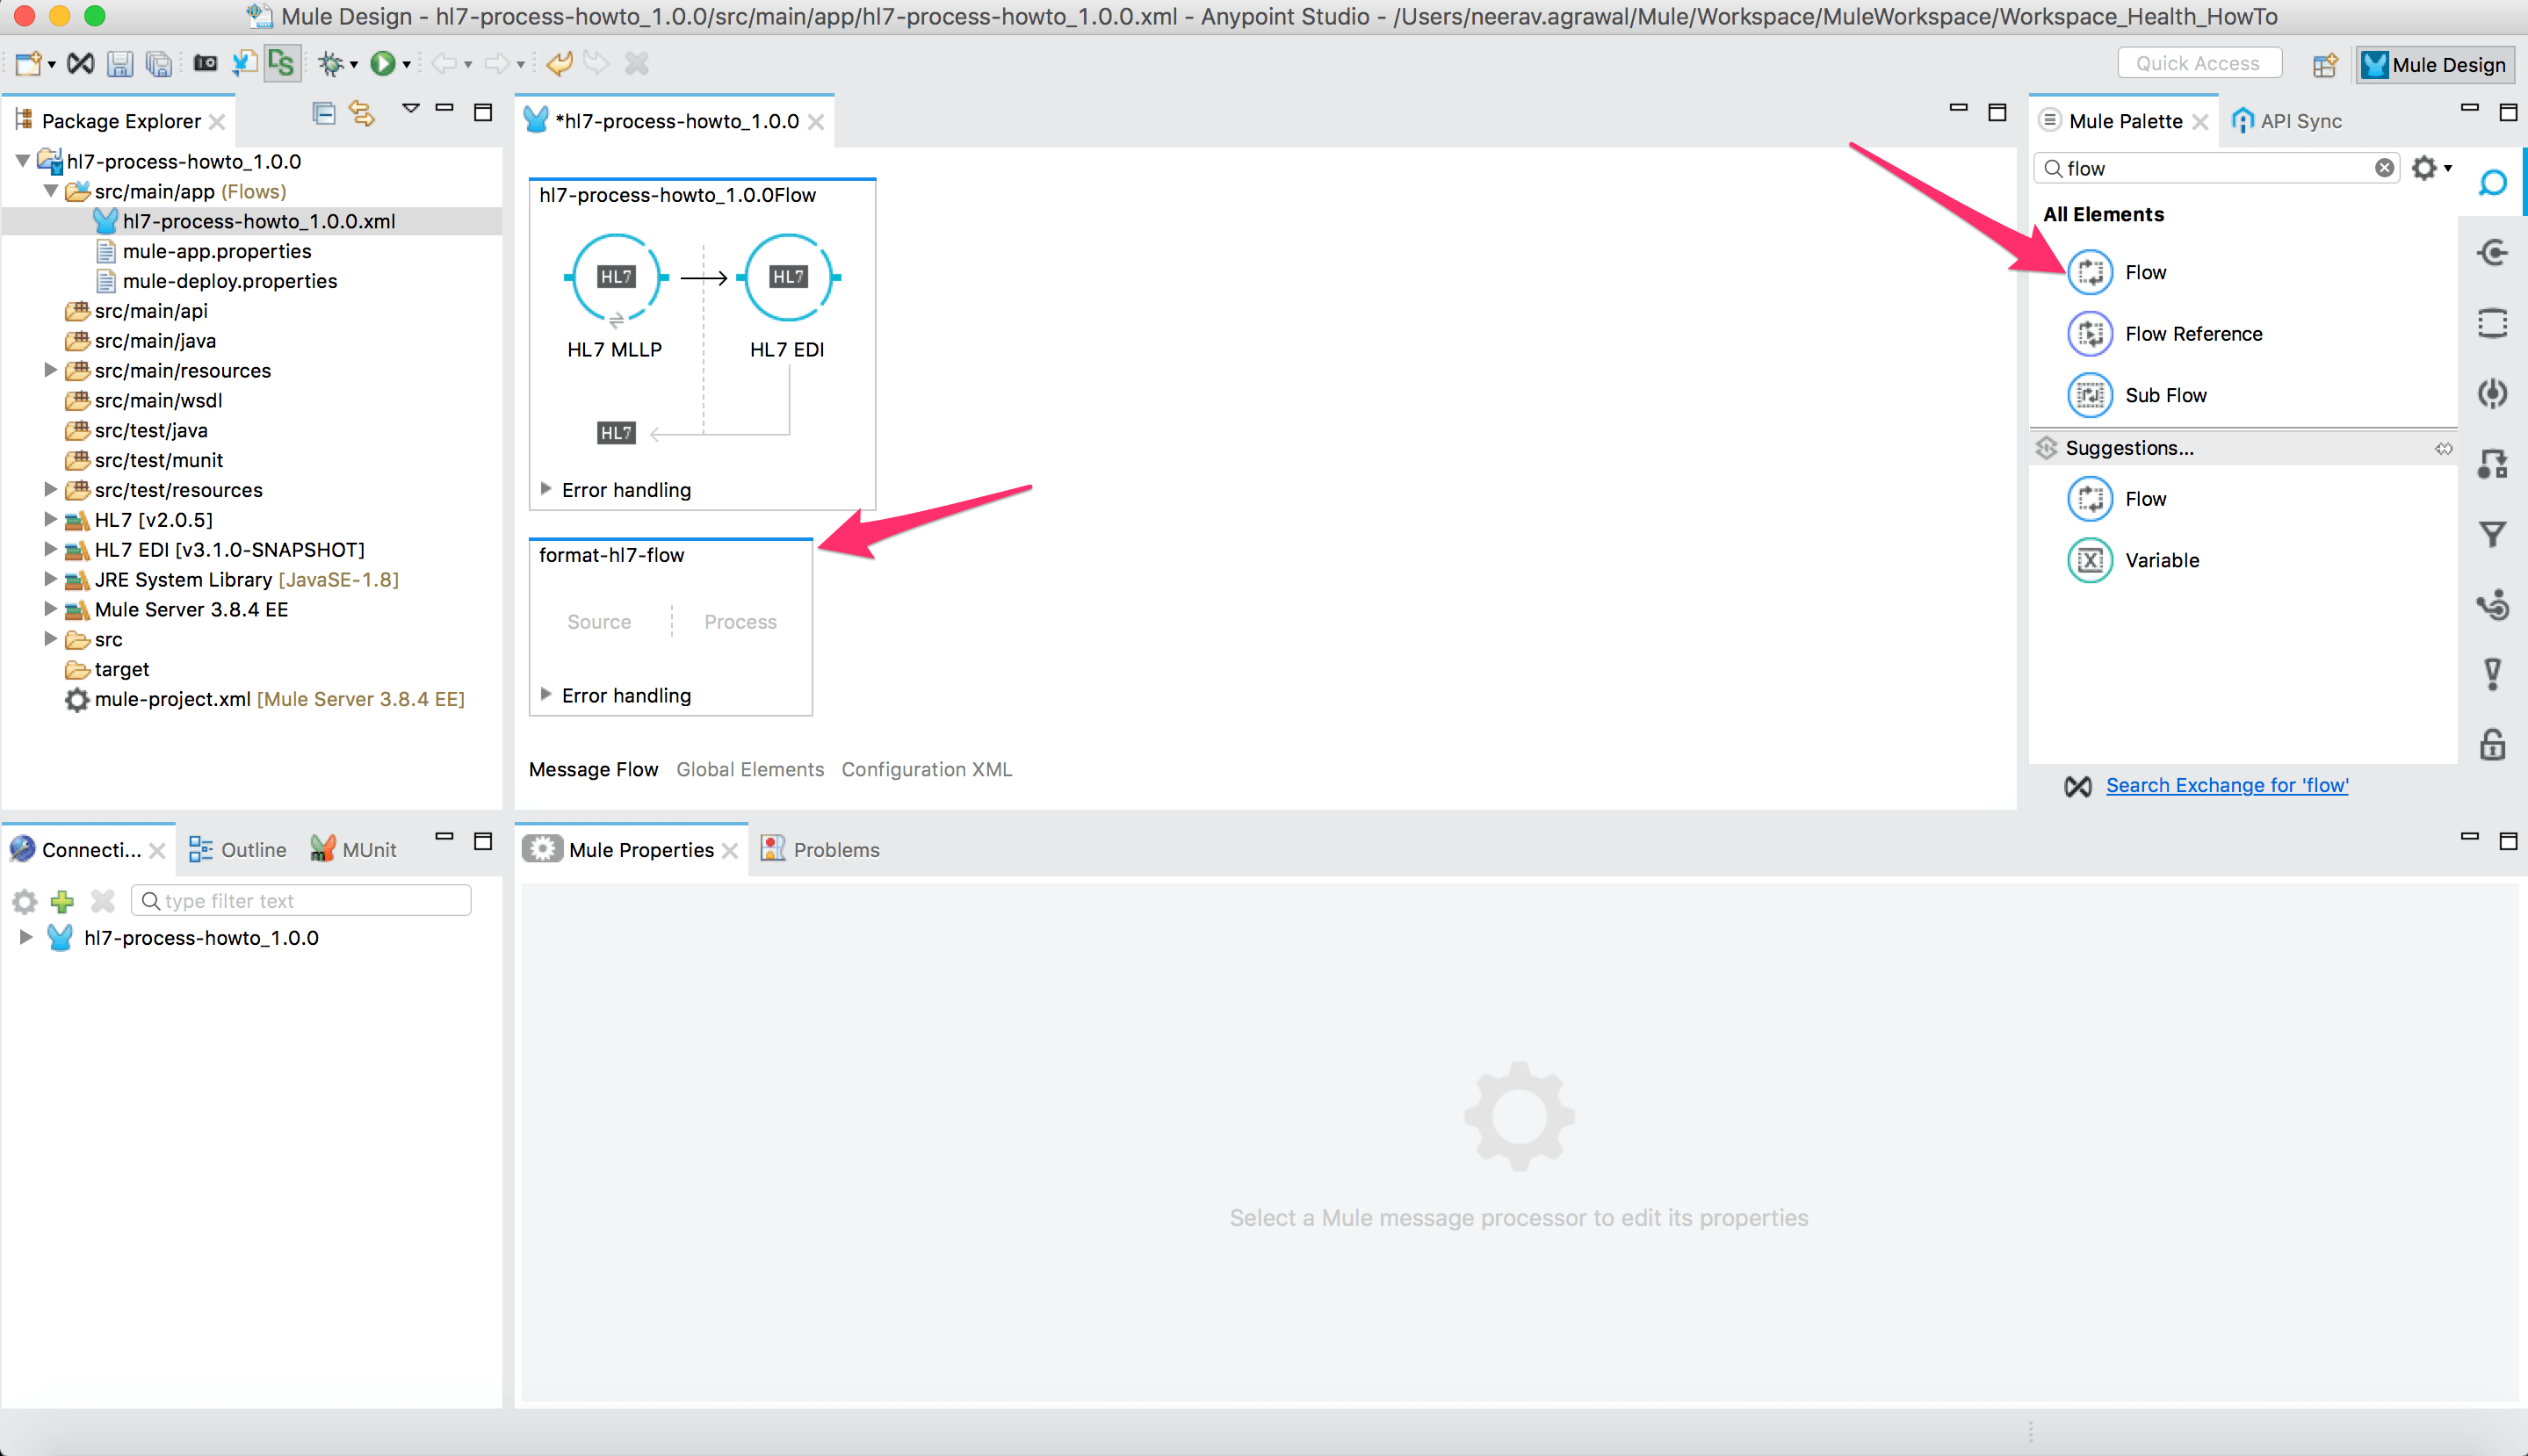
10) Now that we have received the patient admission data, we can start processing it as necessary. In this case, we pick an example where we want to translate the “Patient Class” from the value we received to a value that we look up from an external database. To do this, we will have to create another flow on the canvas.
11) Drop in a transform element into the new flow.

12) In the main flow, add a flow reference that calls out to the new flow.

13) In the new flow, select the transform element. You will then see the incoming HL7 ADT A01 message metadata on the left-hand side.

14) Next, transform the incoming message on the left-hand side to the format needed on the right-hand side. In this example, we will pick the same metadata on the right-hand side as well; this is because we need to keep the HL7 format of the message. Note that we are only translating one of the values in this step.

15) Once you configure the metadata on the right-hand side, drag the parent element from left-hand side to the right. This will map all the elements automatically.

16) Now that you have mapped all the data fields from the input are mapped as is, to the output on the right side.

17) Before we proceed with the translation, we need to look up the value of the incoming “Patient Class” and translate it into the respective value in the database. For this step, we will create a separate flow where we can conduct a simple database lookup.

18) Now, let us go back to our previous flow. Type “PV1-02” in the message transform configuration on the right-hand side panel. This is the field for the “Patient Class.” On the DataWeave scripting panel, you will see the selected field. Here we will use a DataWeave method to call our flow from Step 17 to take the input payload value and return database value. Check out more details on how to perform DataWeave lookups here.

19) After completing these steps, you can now perform translations, formatting, and validations on a number of other data fields. You can then store the data into a database table.

Summary
This HowTo guide used an accessible developer toolset to quickly create an interface to receive, transform, translate, and validate an HL7 message. We then took that message (patient admission data) and stored it in a data store.
The patient admission process is an important one, and the data that the patient shares is later recorded to other systems and devices––where the relevant stakeholders can easily access the patient’s information.
For years, organizations have relied on building point-to-point interfaces between systems. A point-to-point interface is designed to send data from system A to system B through a custom link that only these two systems use. To connect three systems you have to build 6 custom links and to connect 6 systems you have to build up to 30. (following the (N-1)*N interface rule).
In my next blog post, we will implement an API-led connectivity approach to share access to data and systems by reusing interfaces. This integration approach will help users simplify governance and increase the speed of project delivery.
Learn how MuleSoft helps drive innovation in healthcare and check out this project in Anypoint Exchange.


