
This blog post is a continuation of our first How To series, “APIFy your integrations,” where we started off by creating a SOAP API around a database.
Some organizations are entirely invested in either SOAP or RESTful web services. There is plenty of material already written on SOAP vs. REST, so there’s no need for us to take that on here.
It can be a use case driven decision where SOAP and REST can co-exist. With this approach, it is a common scenario to have a hybrid environment where some system APIs exist as SOAP based web services that need to have a REST interface defined.
In this blog, we will walk through creating such a REST API proxy on top of an existing SOAP web service.
To get the best fit for our REST API, we will adopt a design first approach. Before we touch a line of code to build the API, consider what value our API needs to offer its consumers and exactly how they will need to consume it. Allow time to get this interface right. Iterate on the design, mock the implementation to enable consumer interaction, and in parallel ensure it’ll be deliverable by your implementers.
We will make use of an API description language called RAML that:
1) provides a blueprint to design APIs from the top down with your team before you decide on an implementation or begin to code.
2) acts as a contract by which we communicate with the API consumers/partners/developers what this API will do and decouple them from implementation.
3) acts as the metadata that facilitates system-to-system and machine-to-machine interactions as well as a place to describe human readable descriptions about the API.
4) provides tooling and specification that is very simple and clean for API stakeholders to use.
System prerequisites:
- MuleSoft Anypoint Studio.
- API Designer.
- An existing SOAP web service. (refer to part 1 of this series to create and deploy a SOAP web service using Anypoint platform). The project for part 1 is downloadable here).
Final Project
- Download the finished project here.
Steps:
- If there is no existing SOAP web service to proxy to, check part 1 of this series.
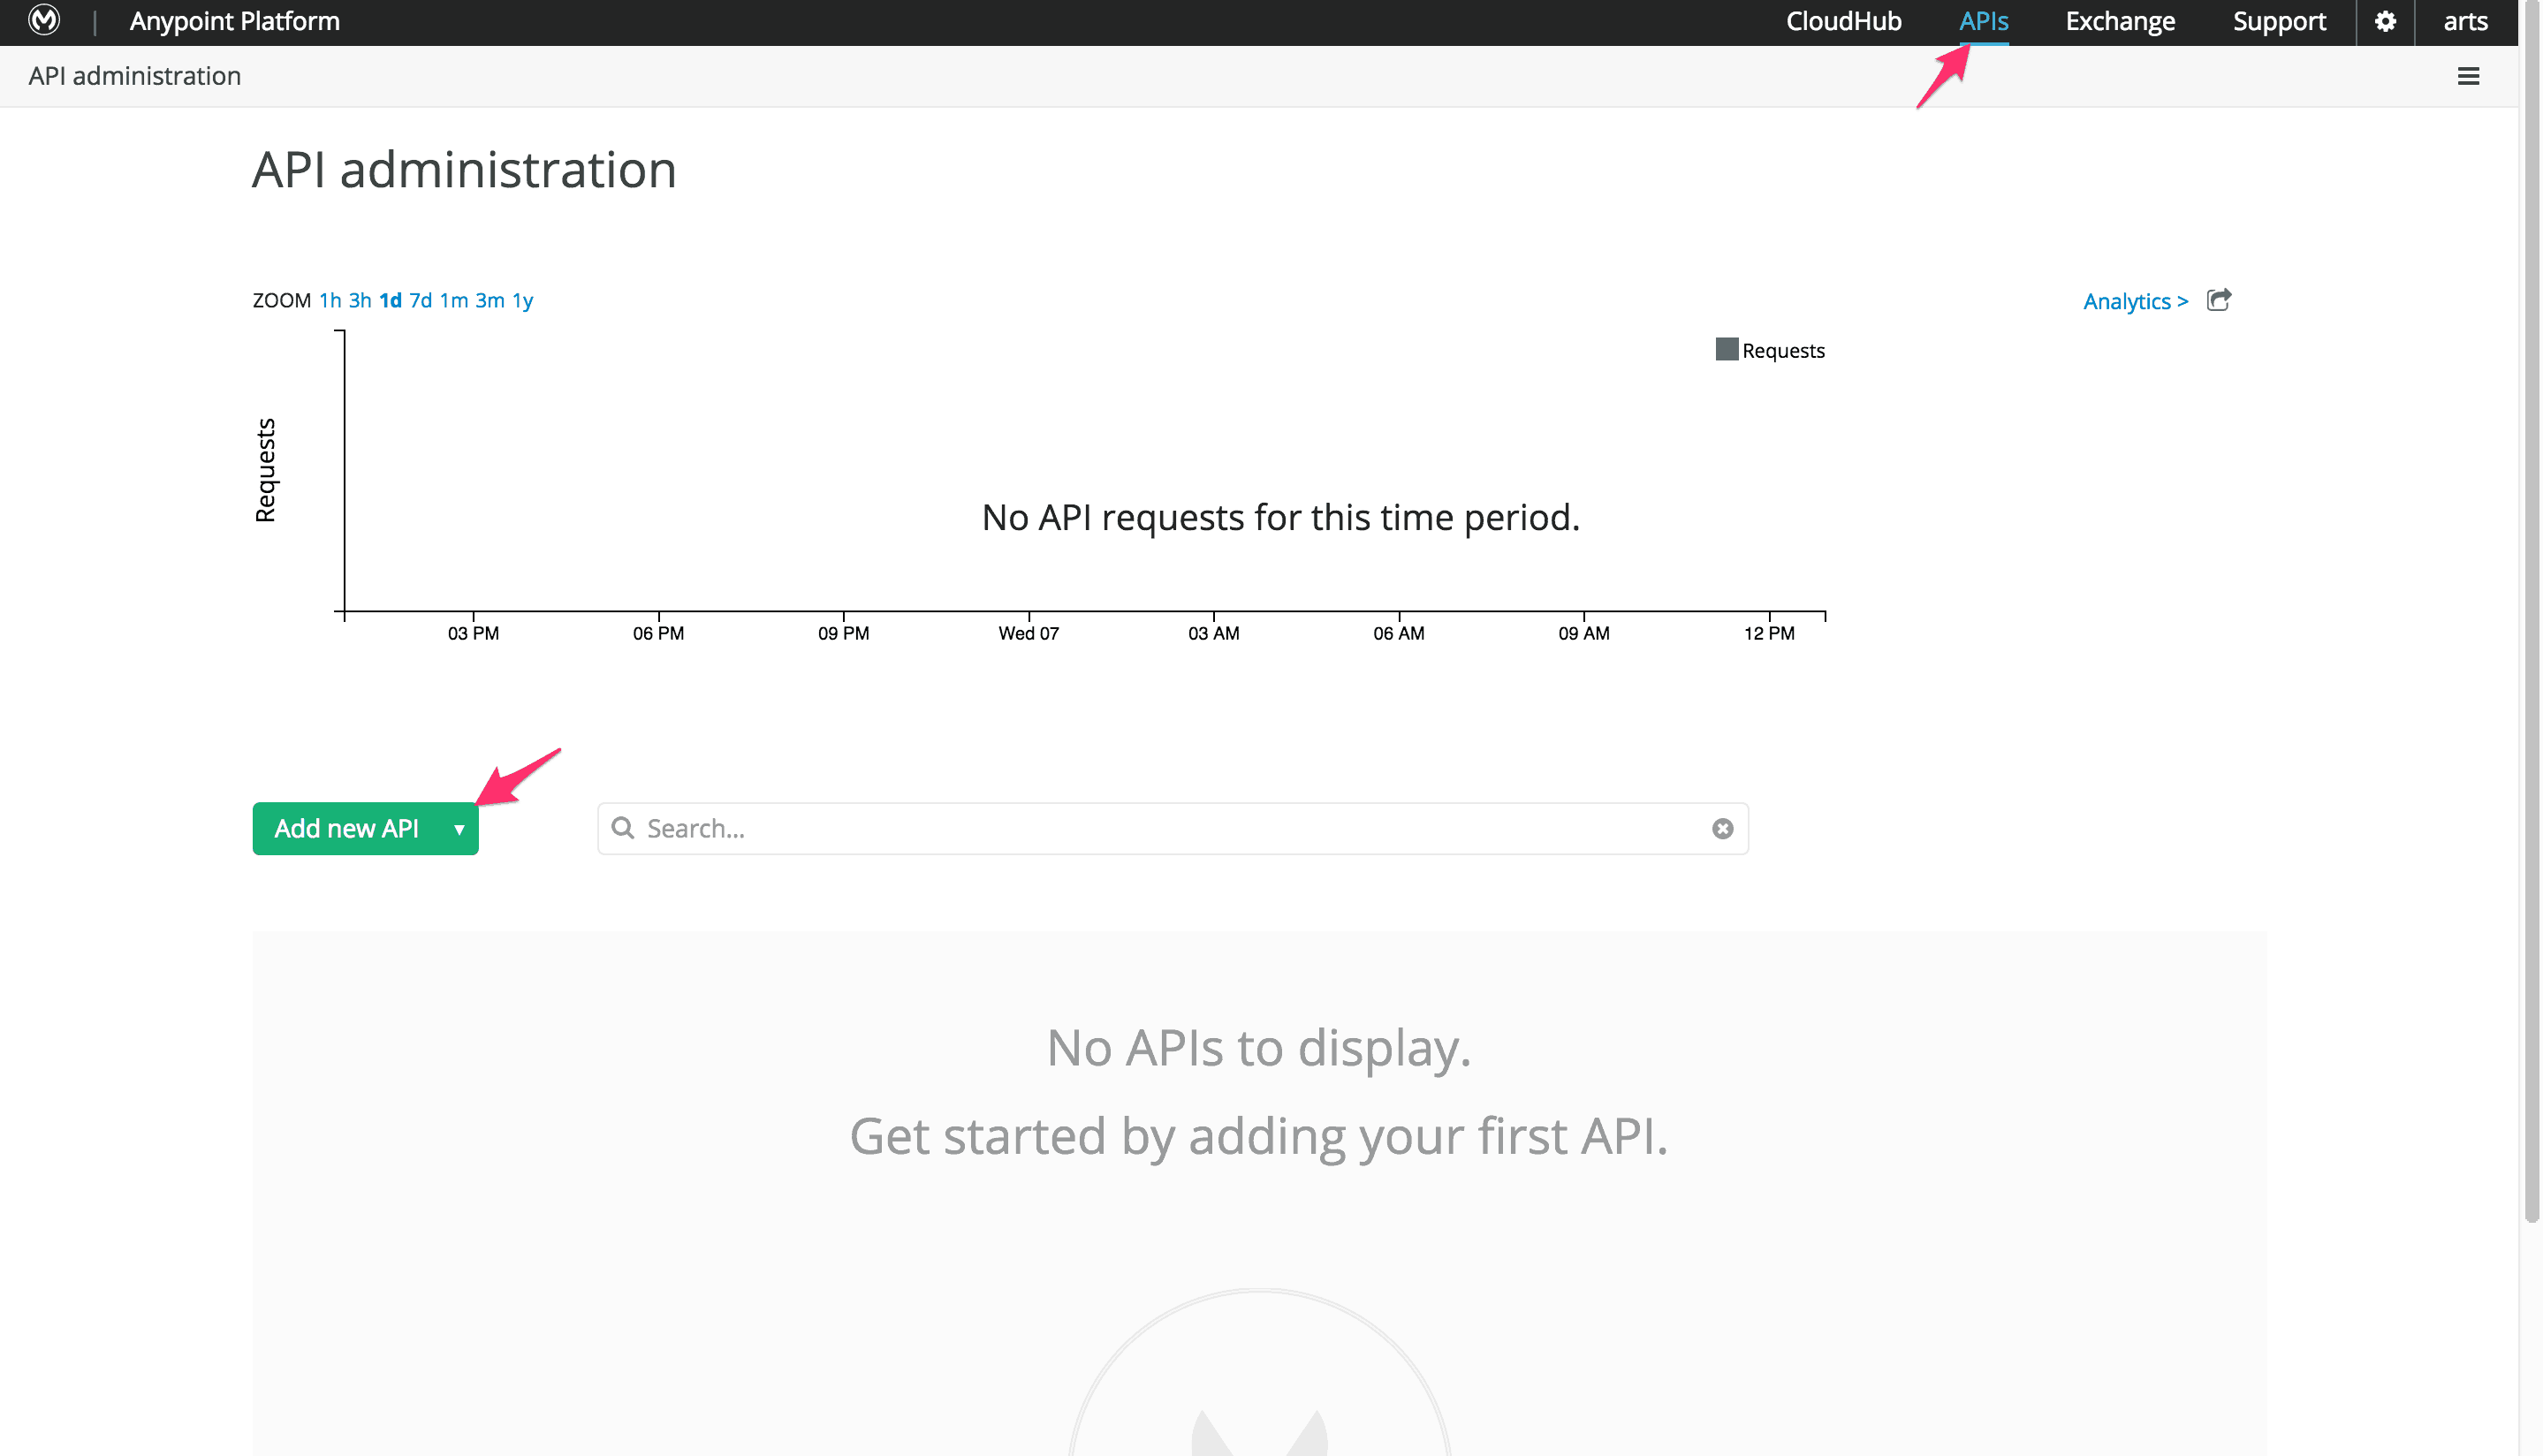
- Sign up for an Anypoint account. Log into Anypoint Management Console and create a new API.

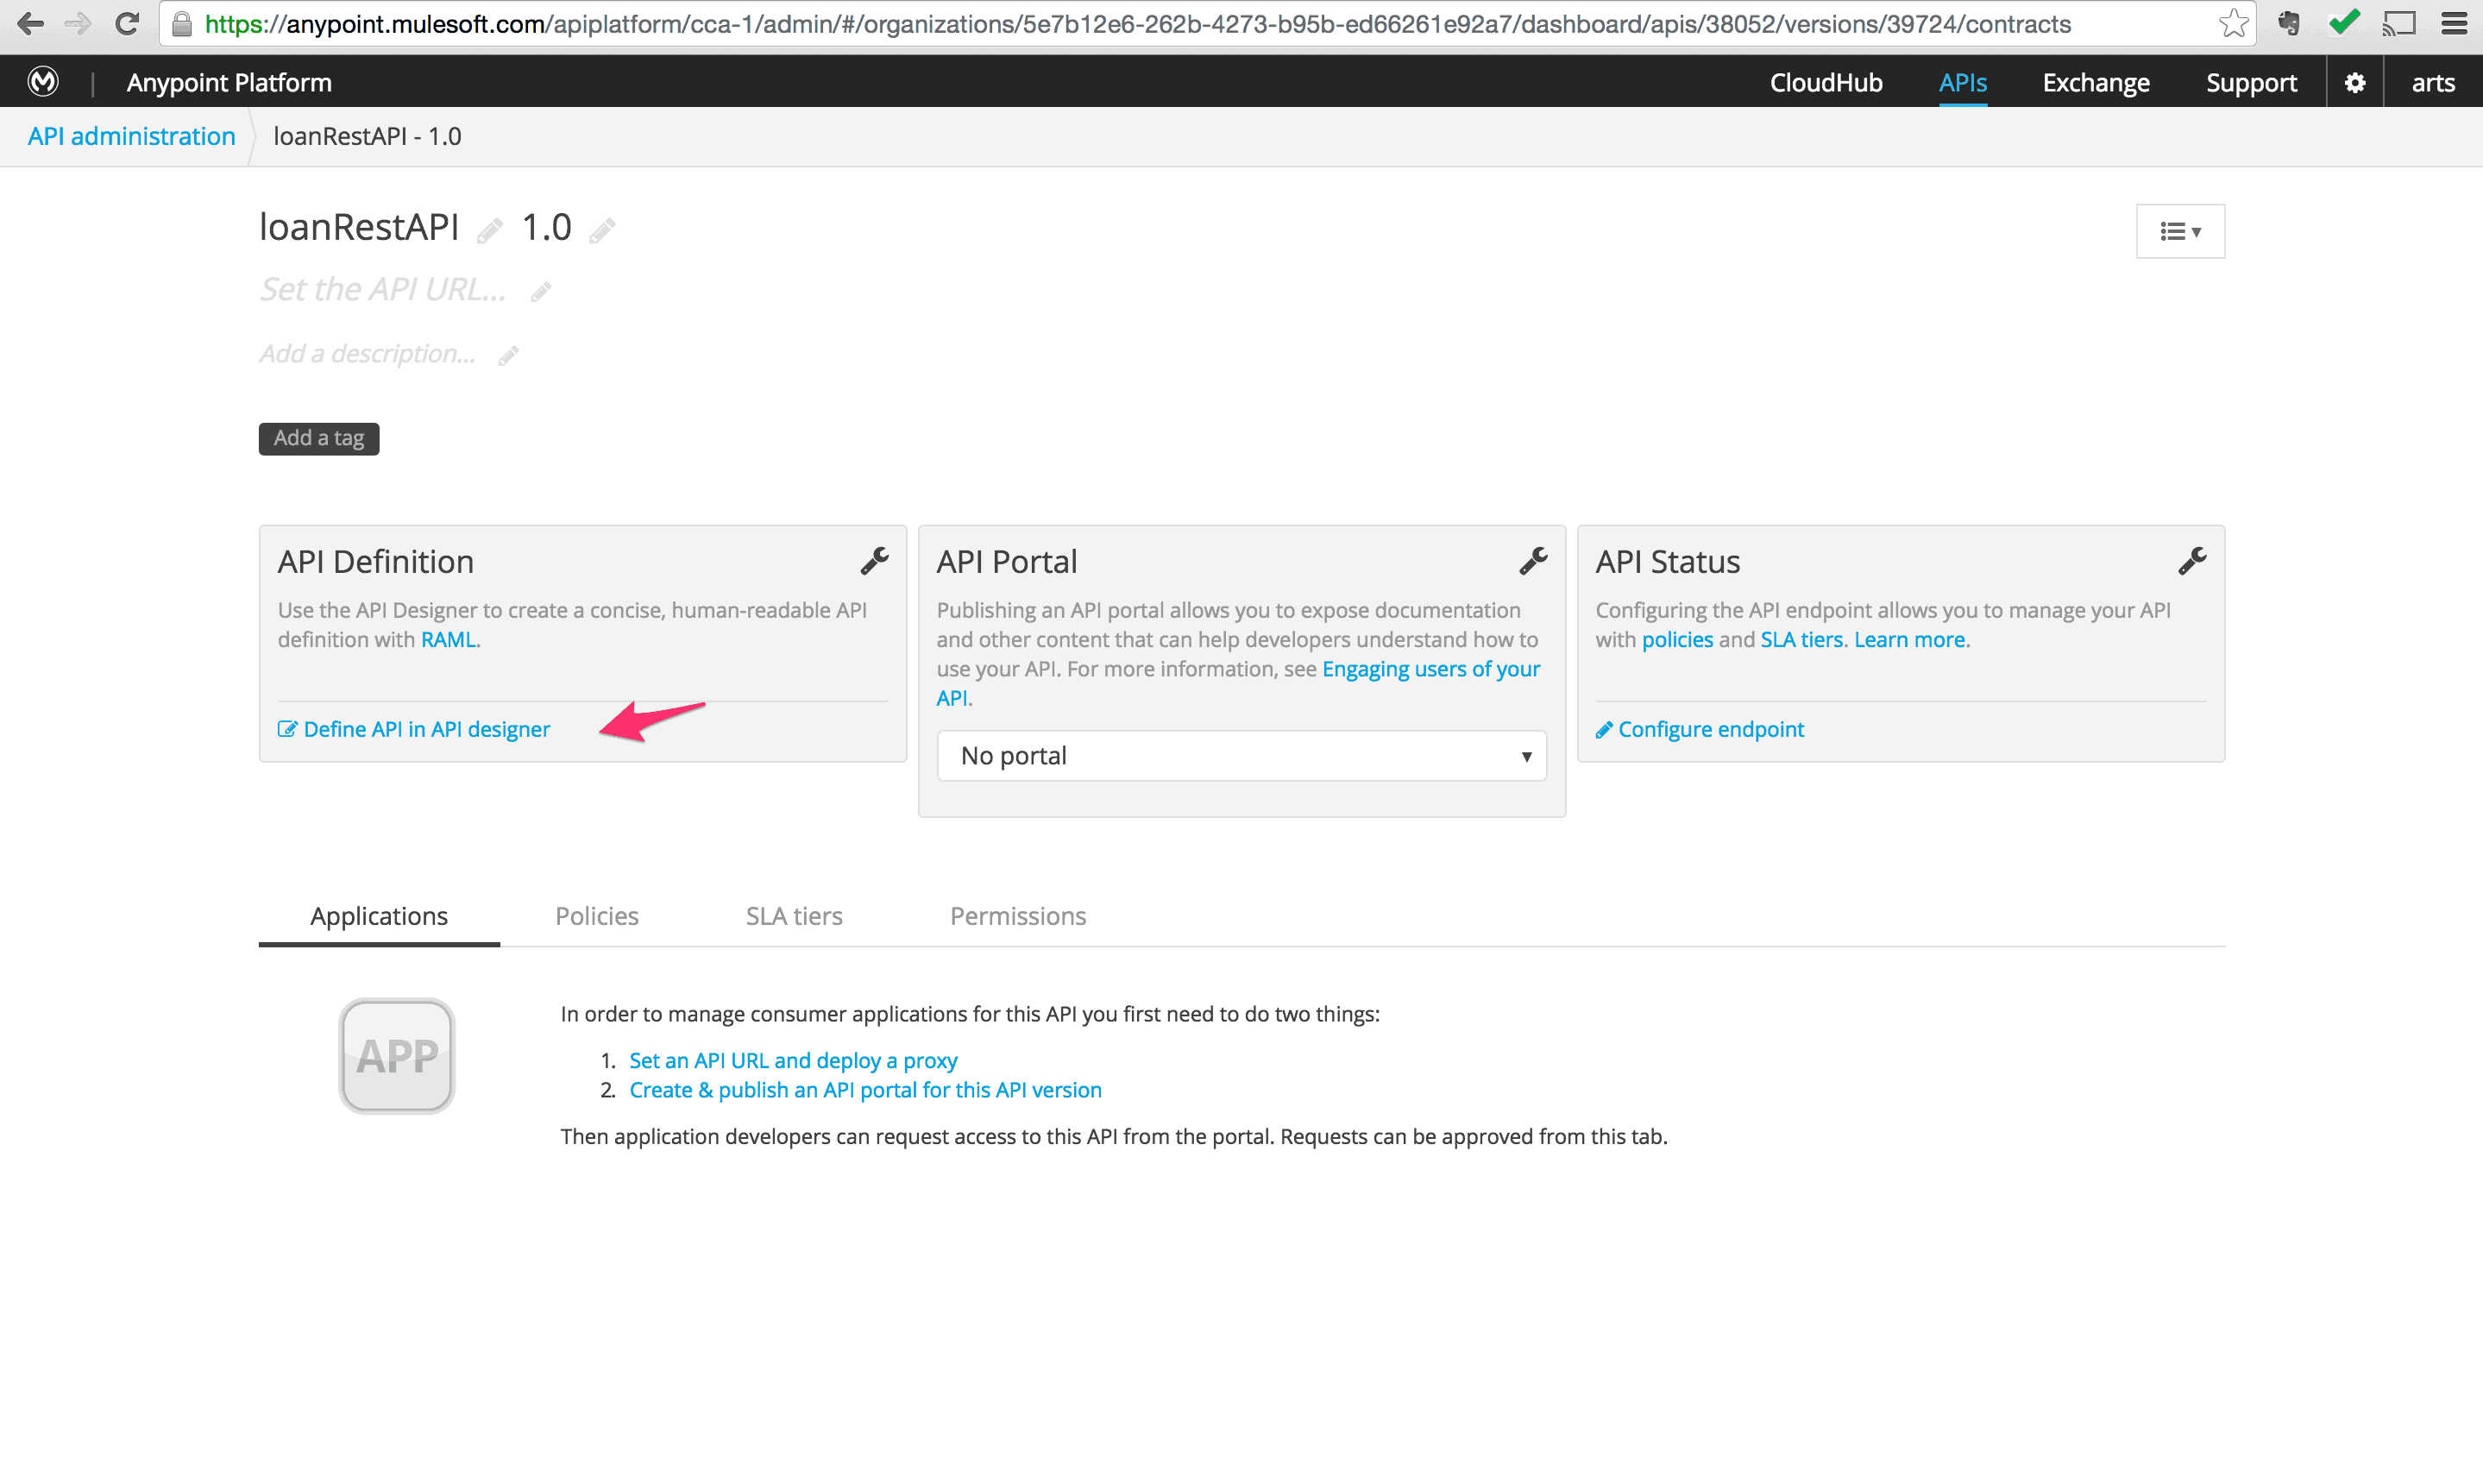
- Open API Designer in the API detail page.
- Create a RAML file and document the interface as desired for the REST API
http://raml.org/
(Note: If you are using the sample web service from part 1 of this series then refer to the RAML file in attached project). - Export the api.raml file.
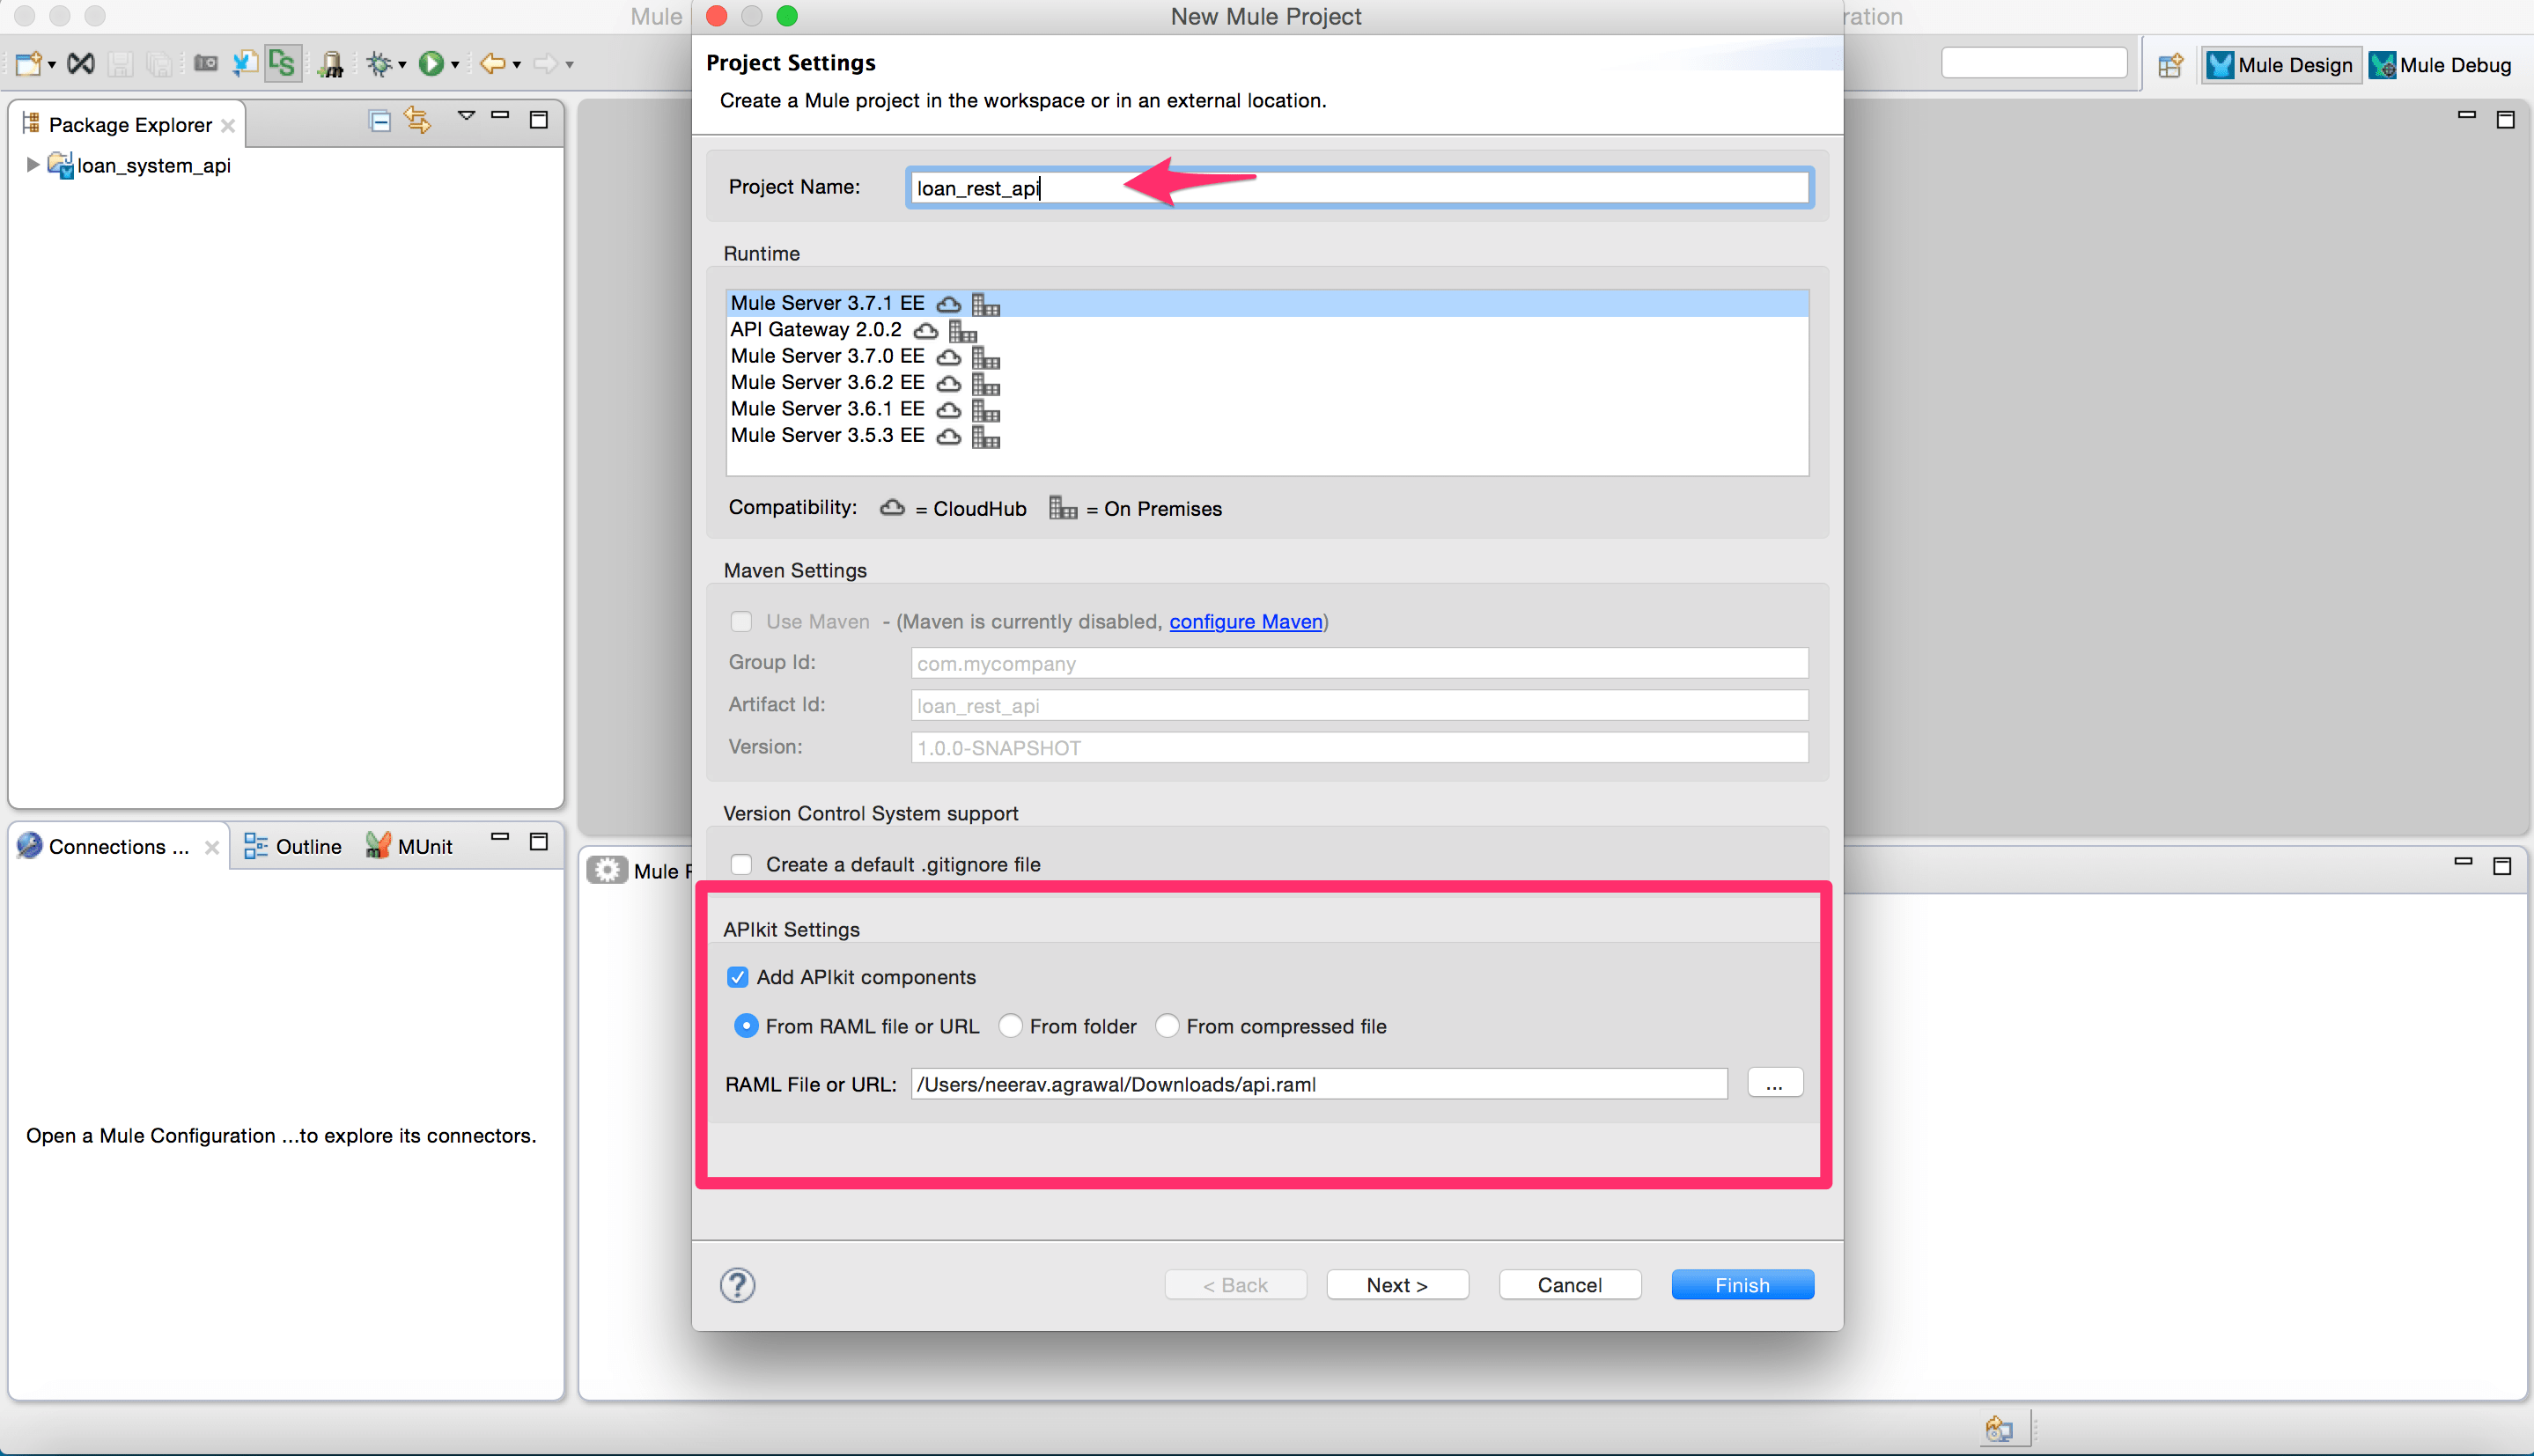
- Open Anypoint Studio and create a new project. Check “Add APIkit components” and select the RAML file created in step 4. Click Finish.
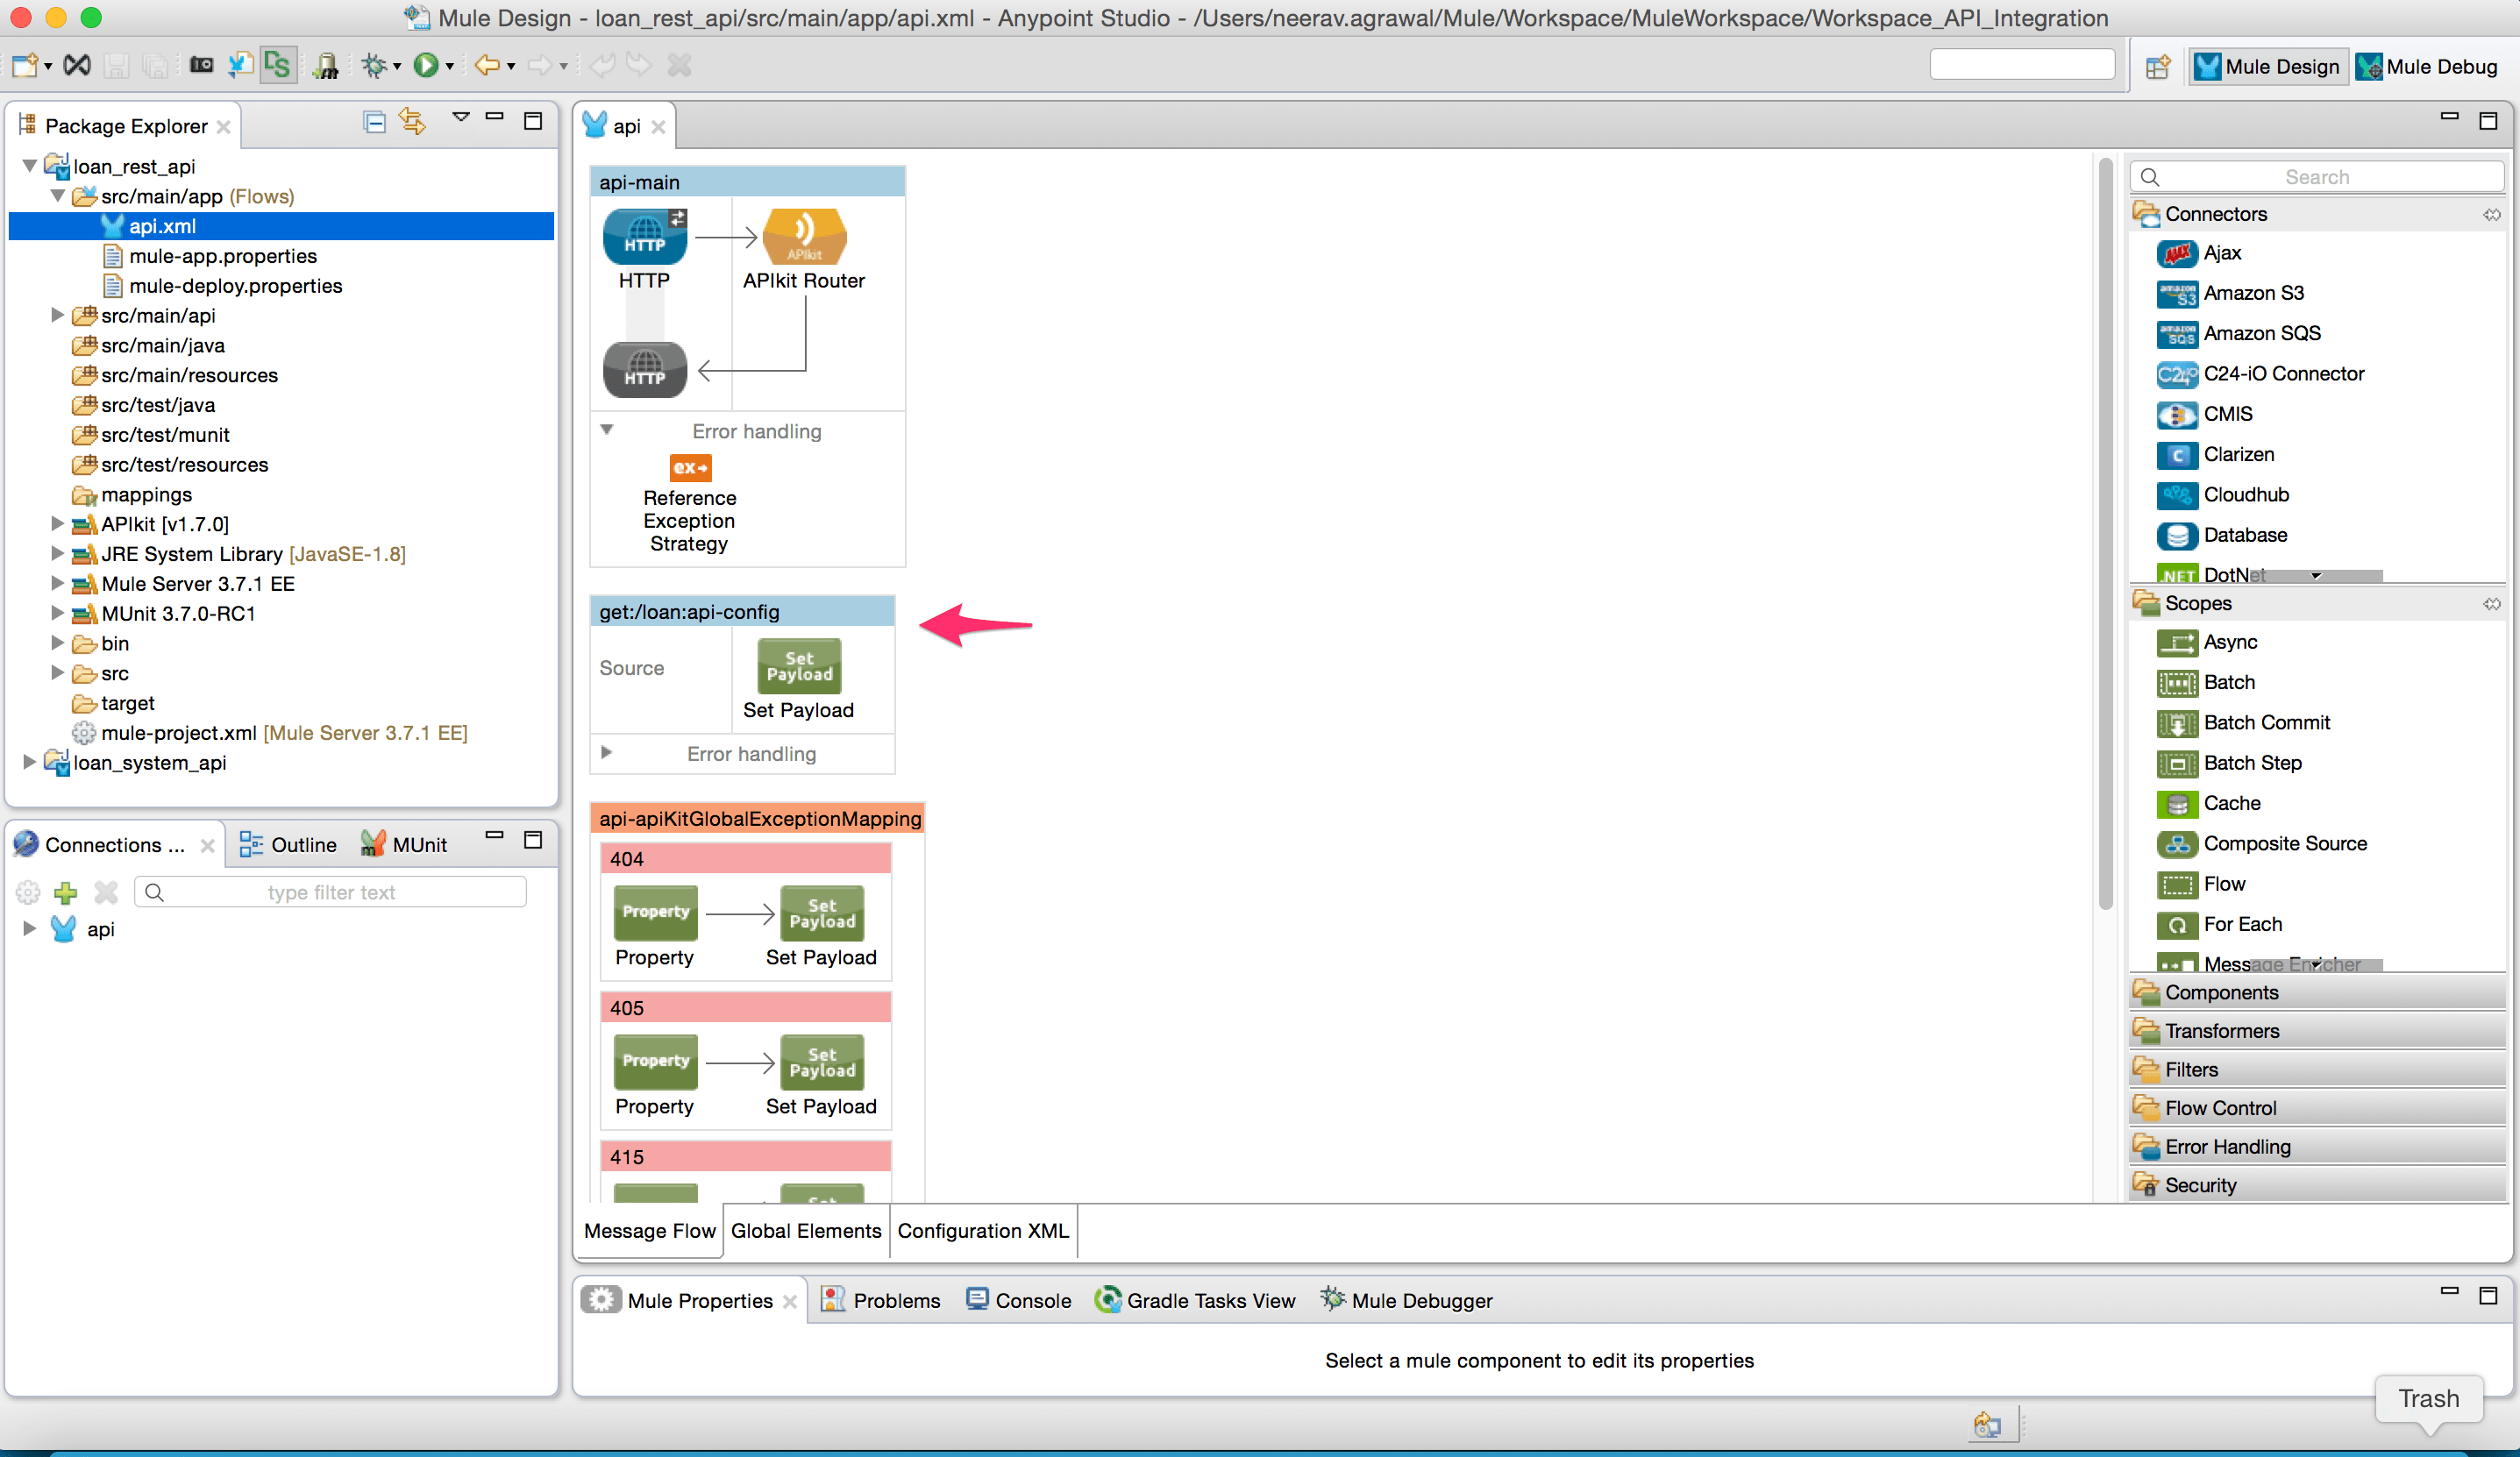
- When you create a new APIkit project and click Finish, Anypoint Studio uses the imported RAML file to generate skeletal backend flows, one for each resource-action pairing in the RAML file. Furthermore, Studio pre-populates each of the flows with one or more message processors that perform “mock” activities based on the content of the example response included with each resource-action pairing in the RAML file.
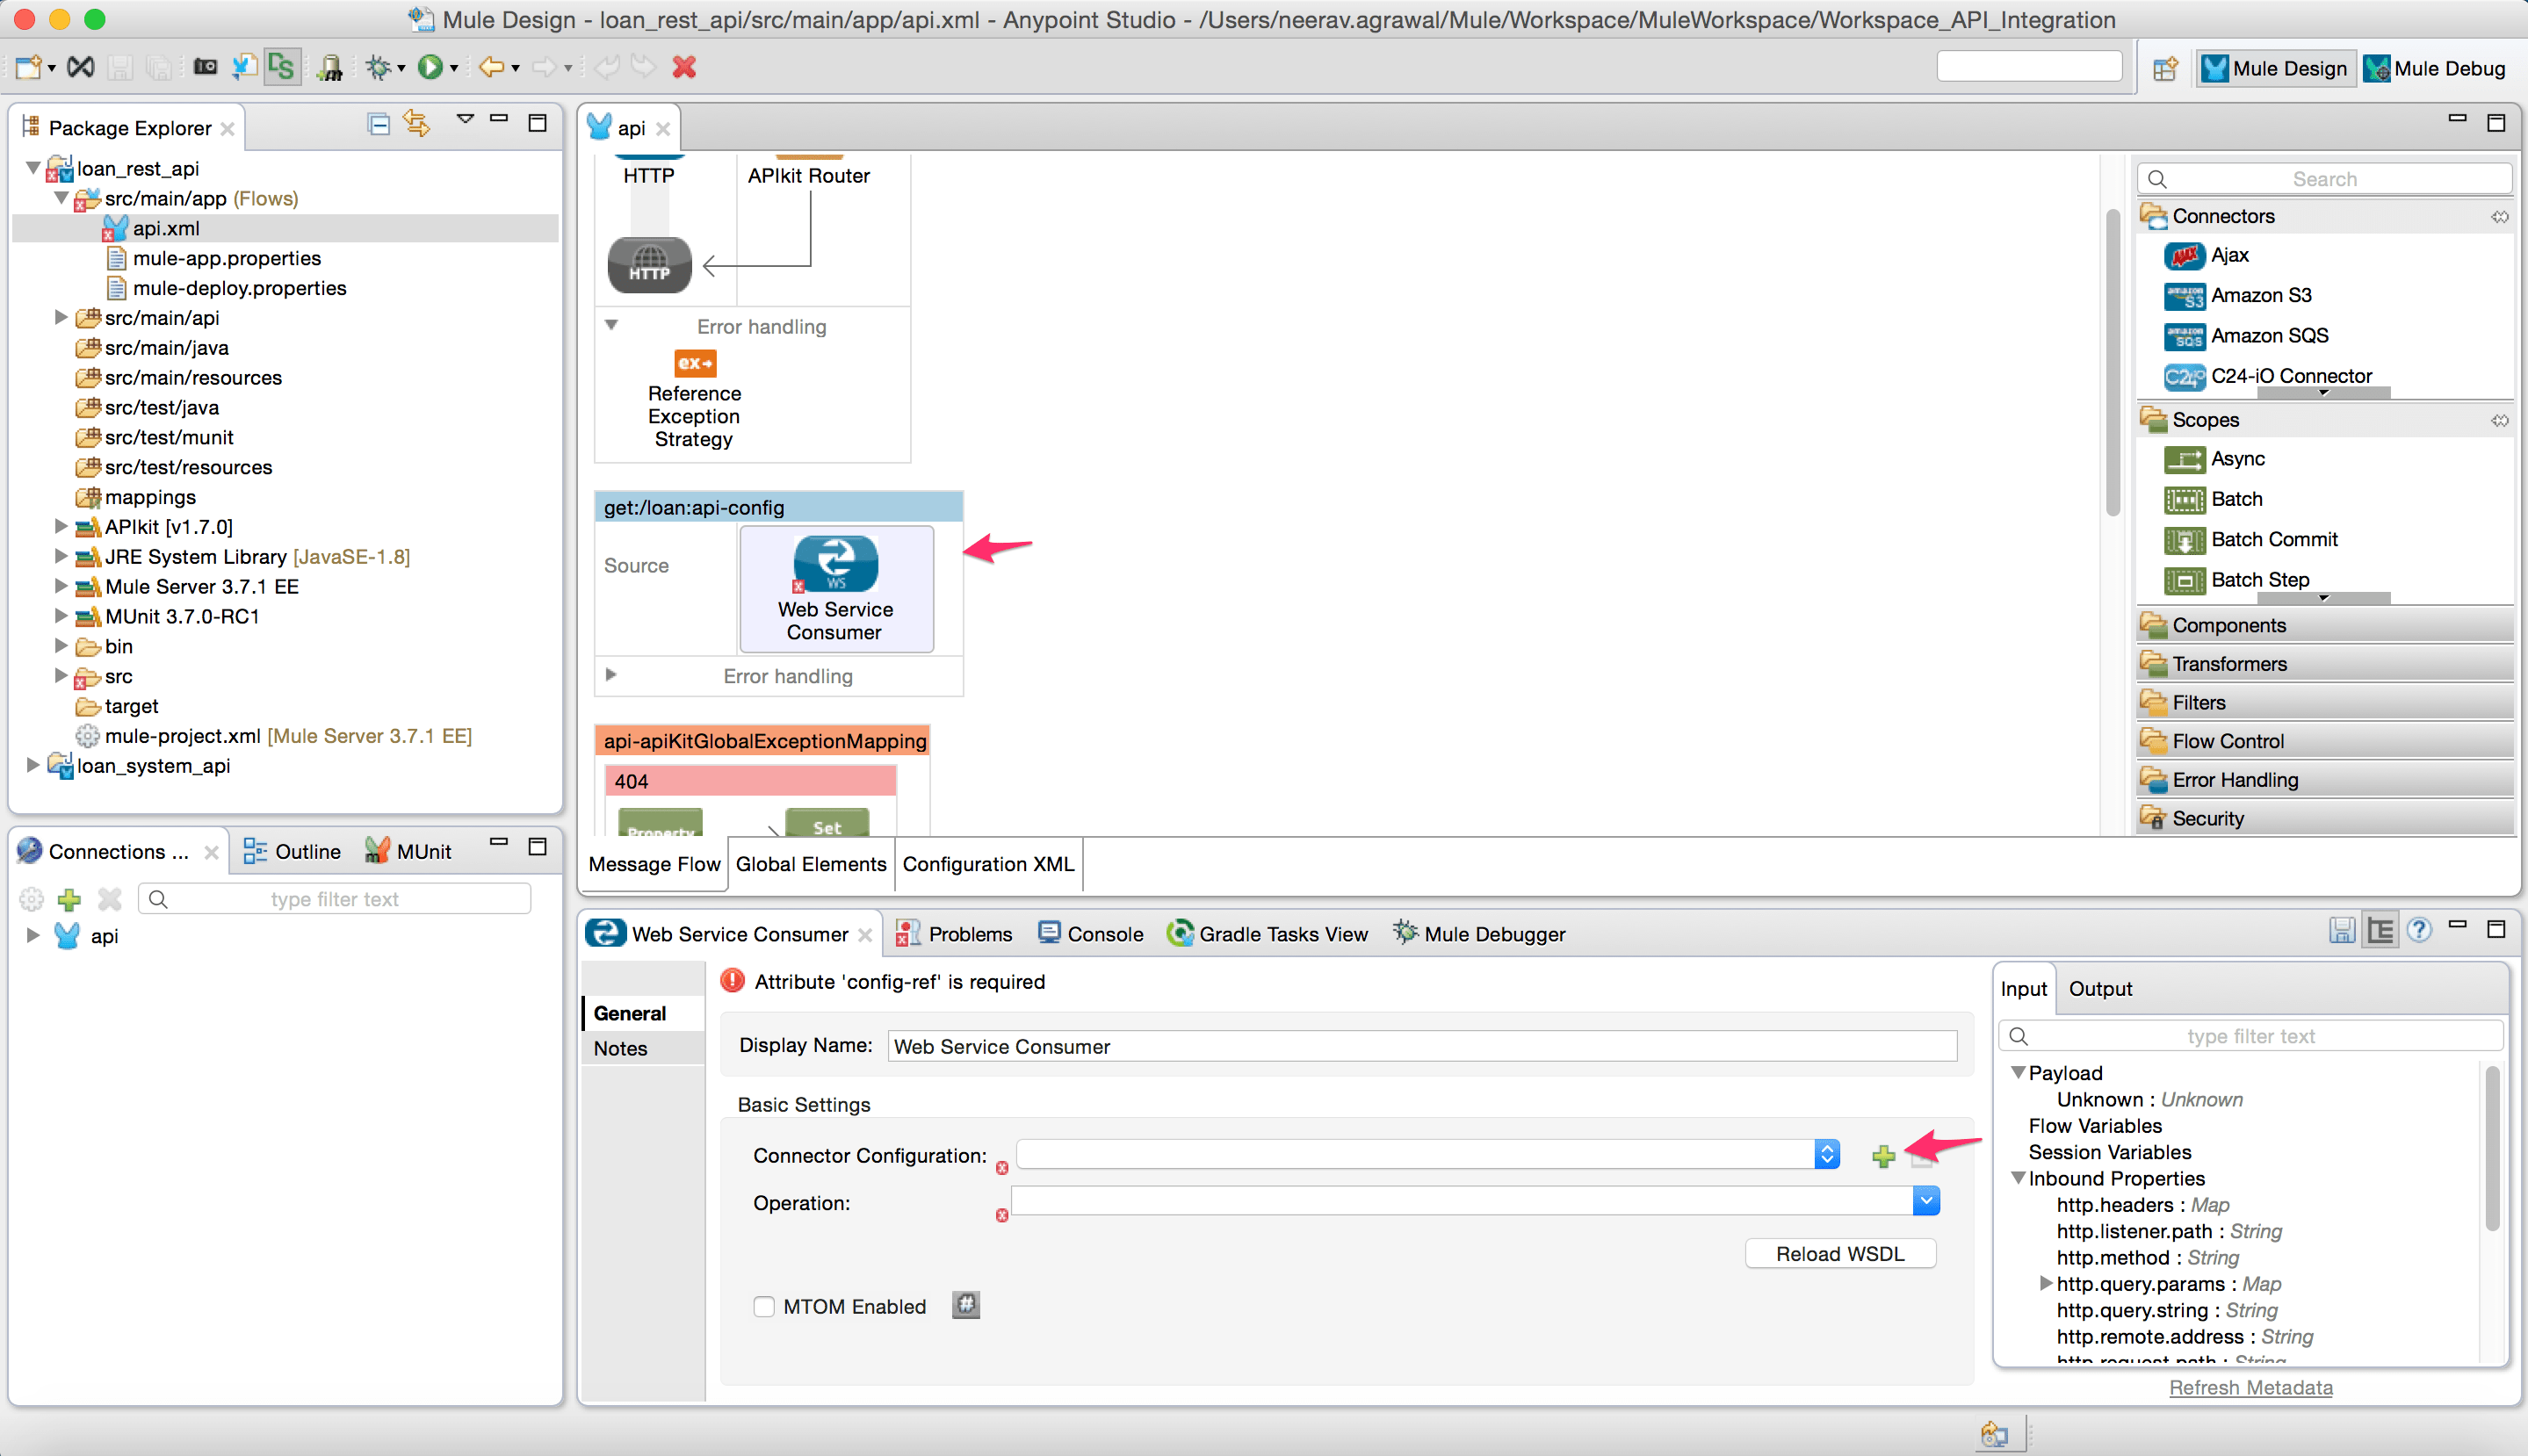
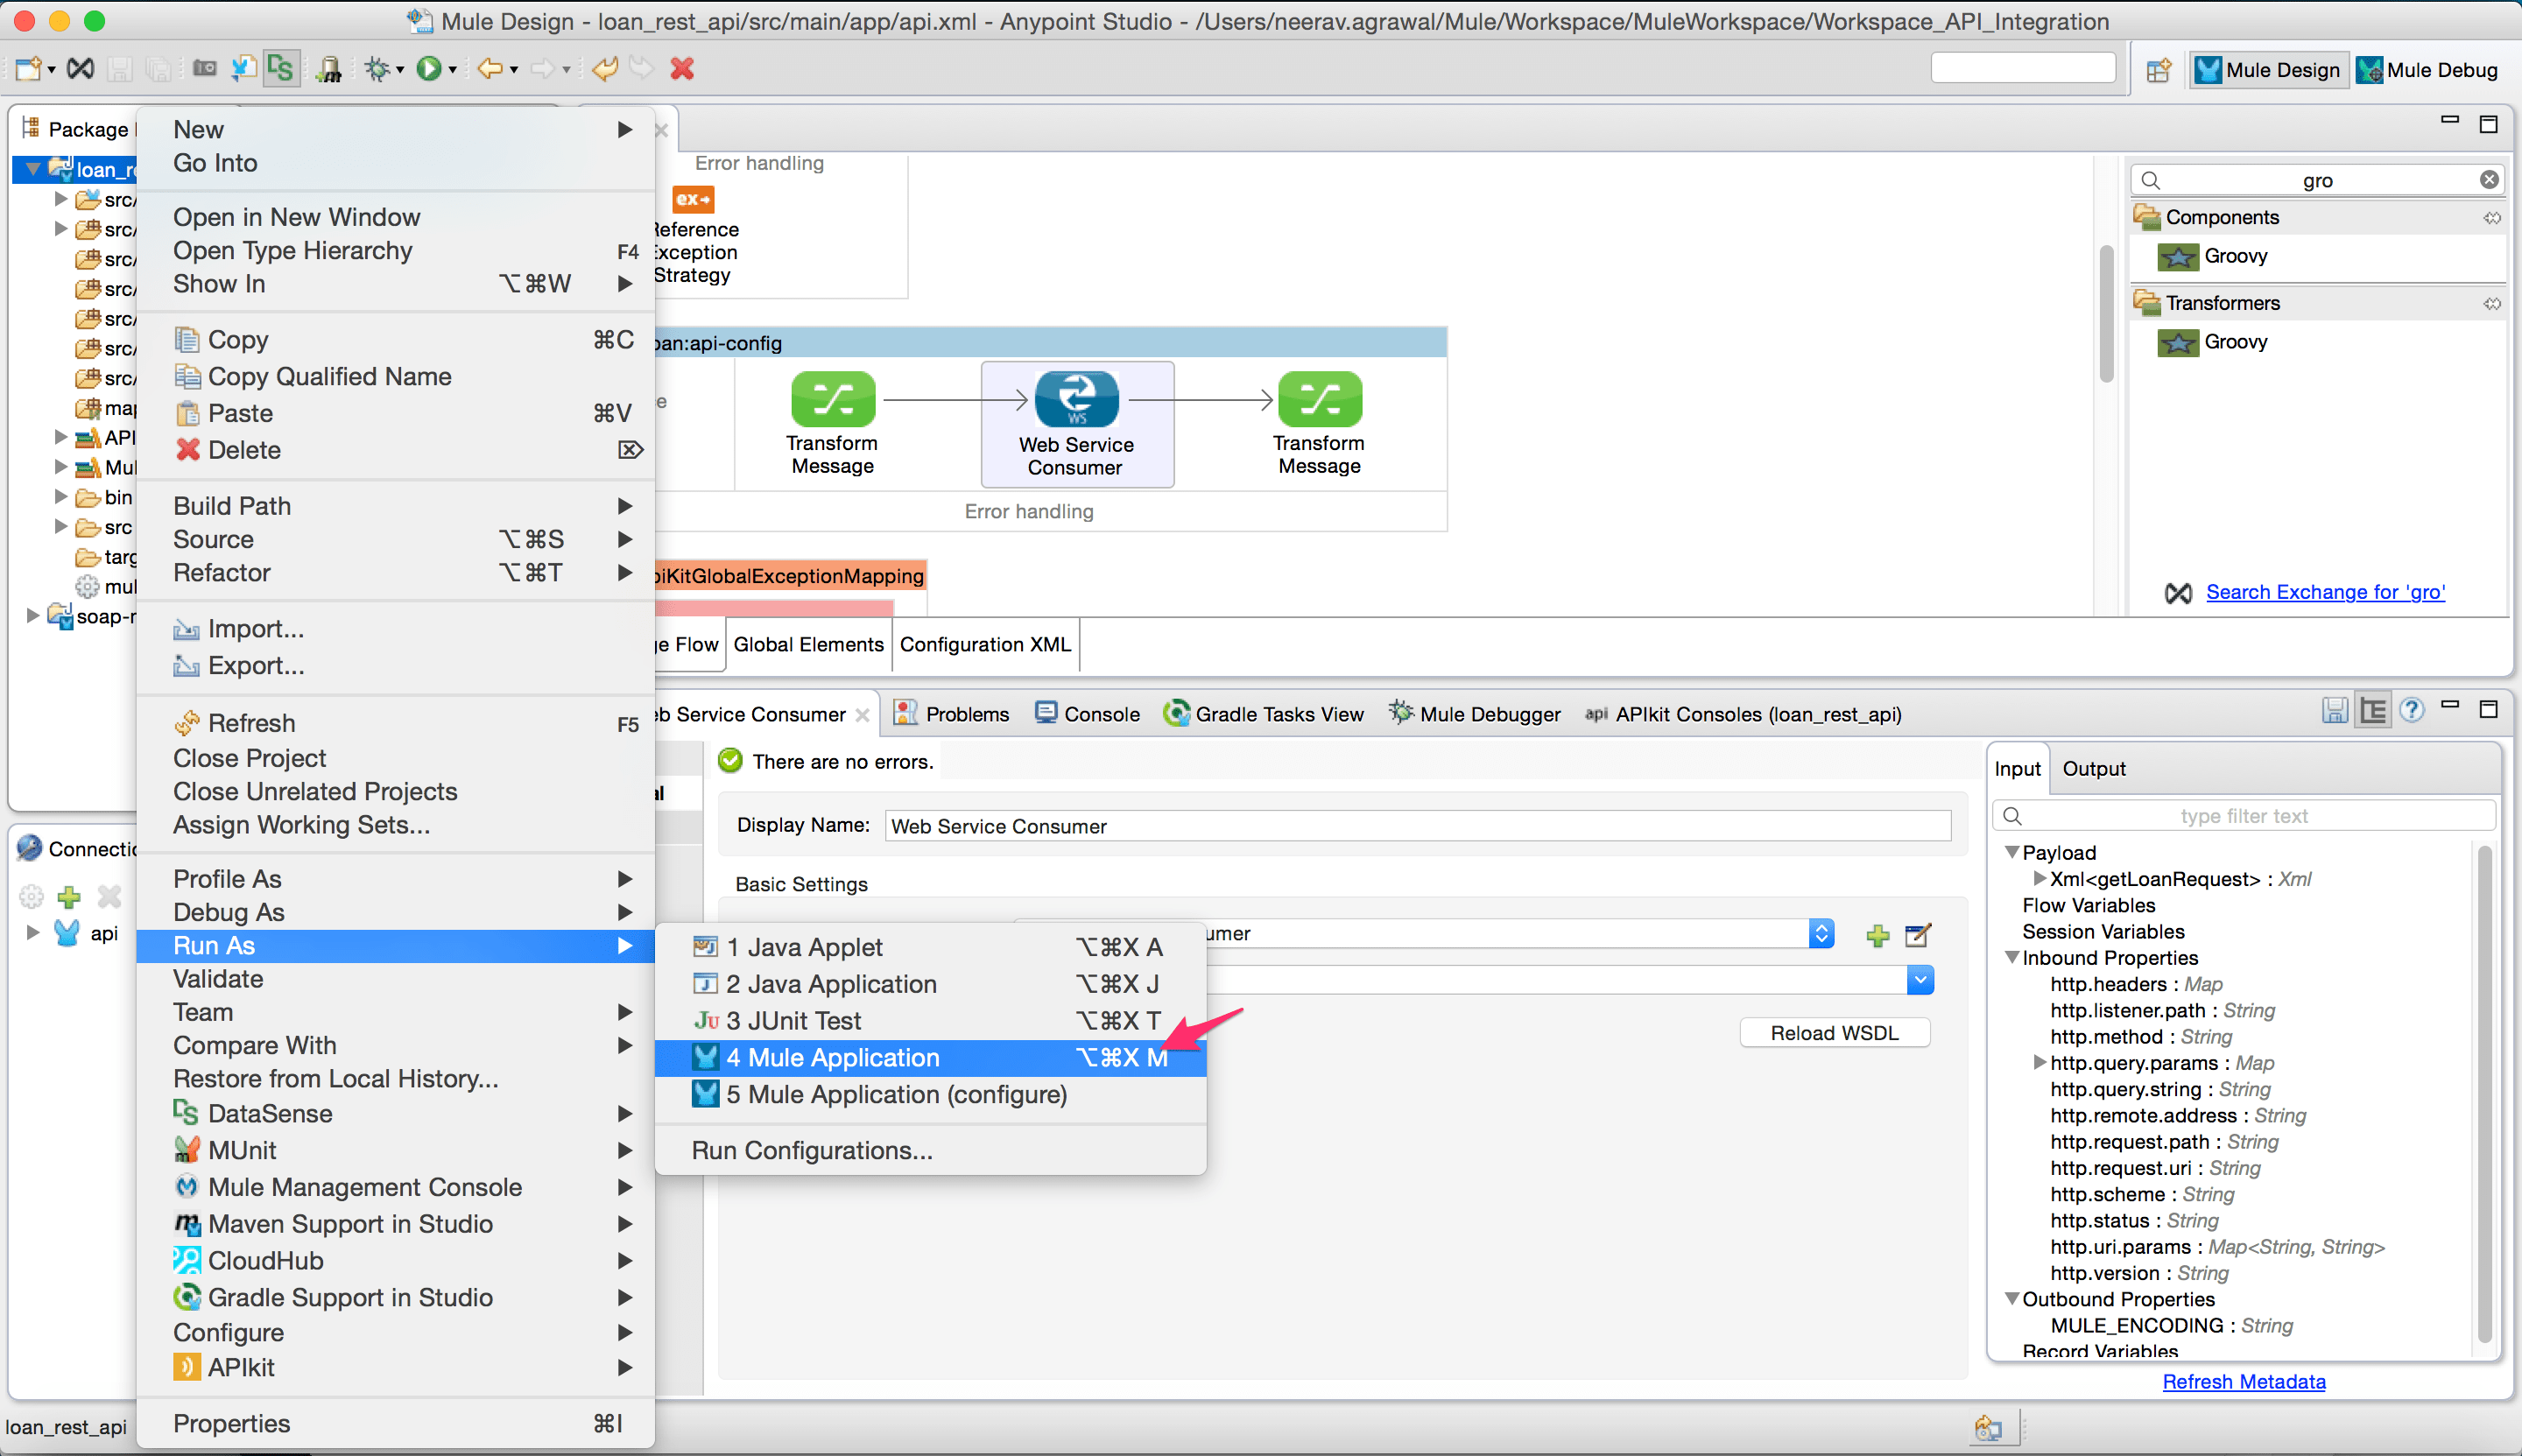
- Delete the “Set Payload” activity from the flow “get:/loan:api-config.”
- Add a “Web Service Consumer” connector to the flow “get:/loan:api-config”. Click on connector configuration.
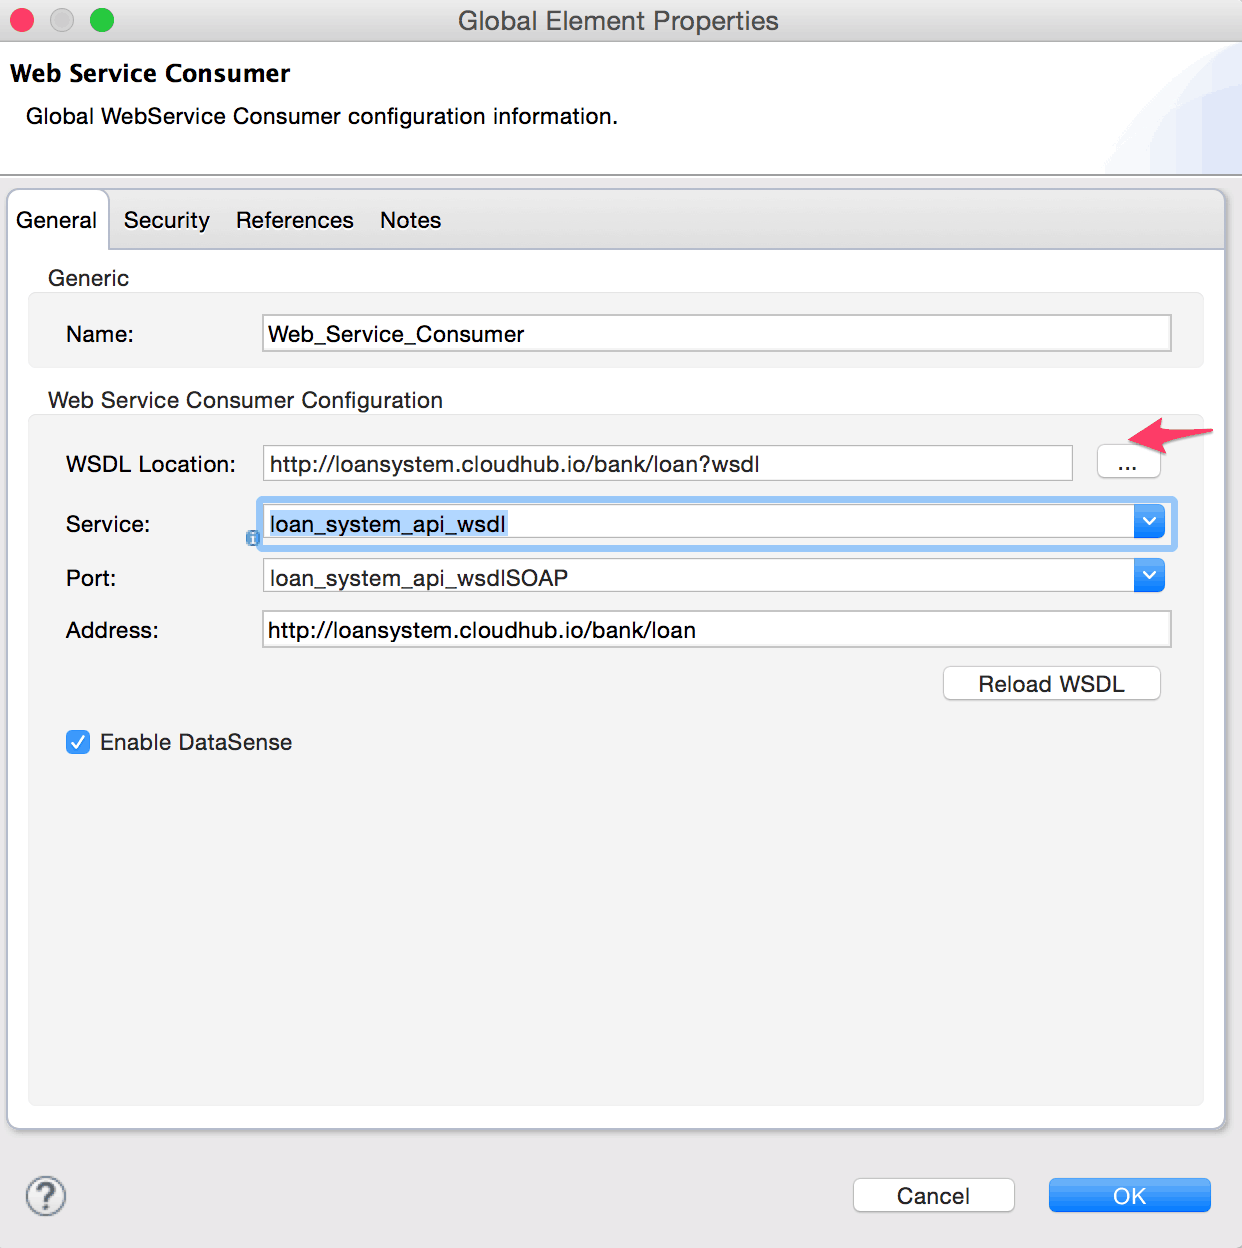
- In Connector configuration add the WSDL location for the SOAP web service. If the WSDL path is correctly configured it will automatically populate the remaining fields. Click Ok. (Note: Enter the WSDL URL of the web service you want to proxy to).
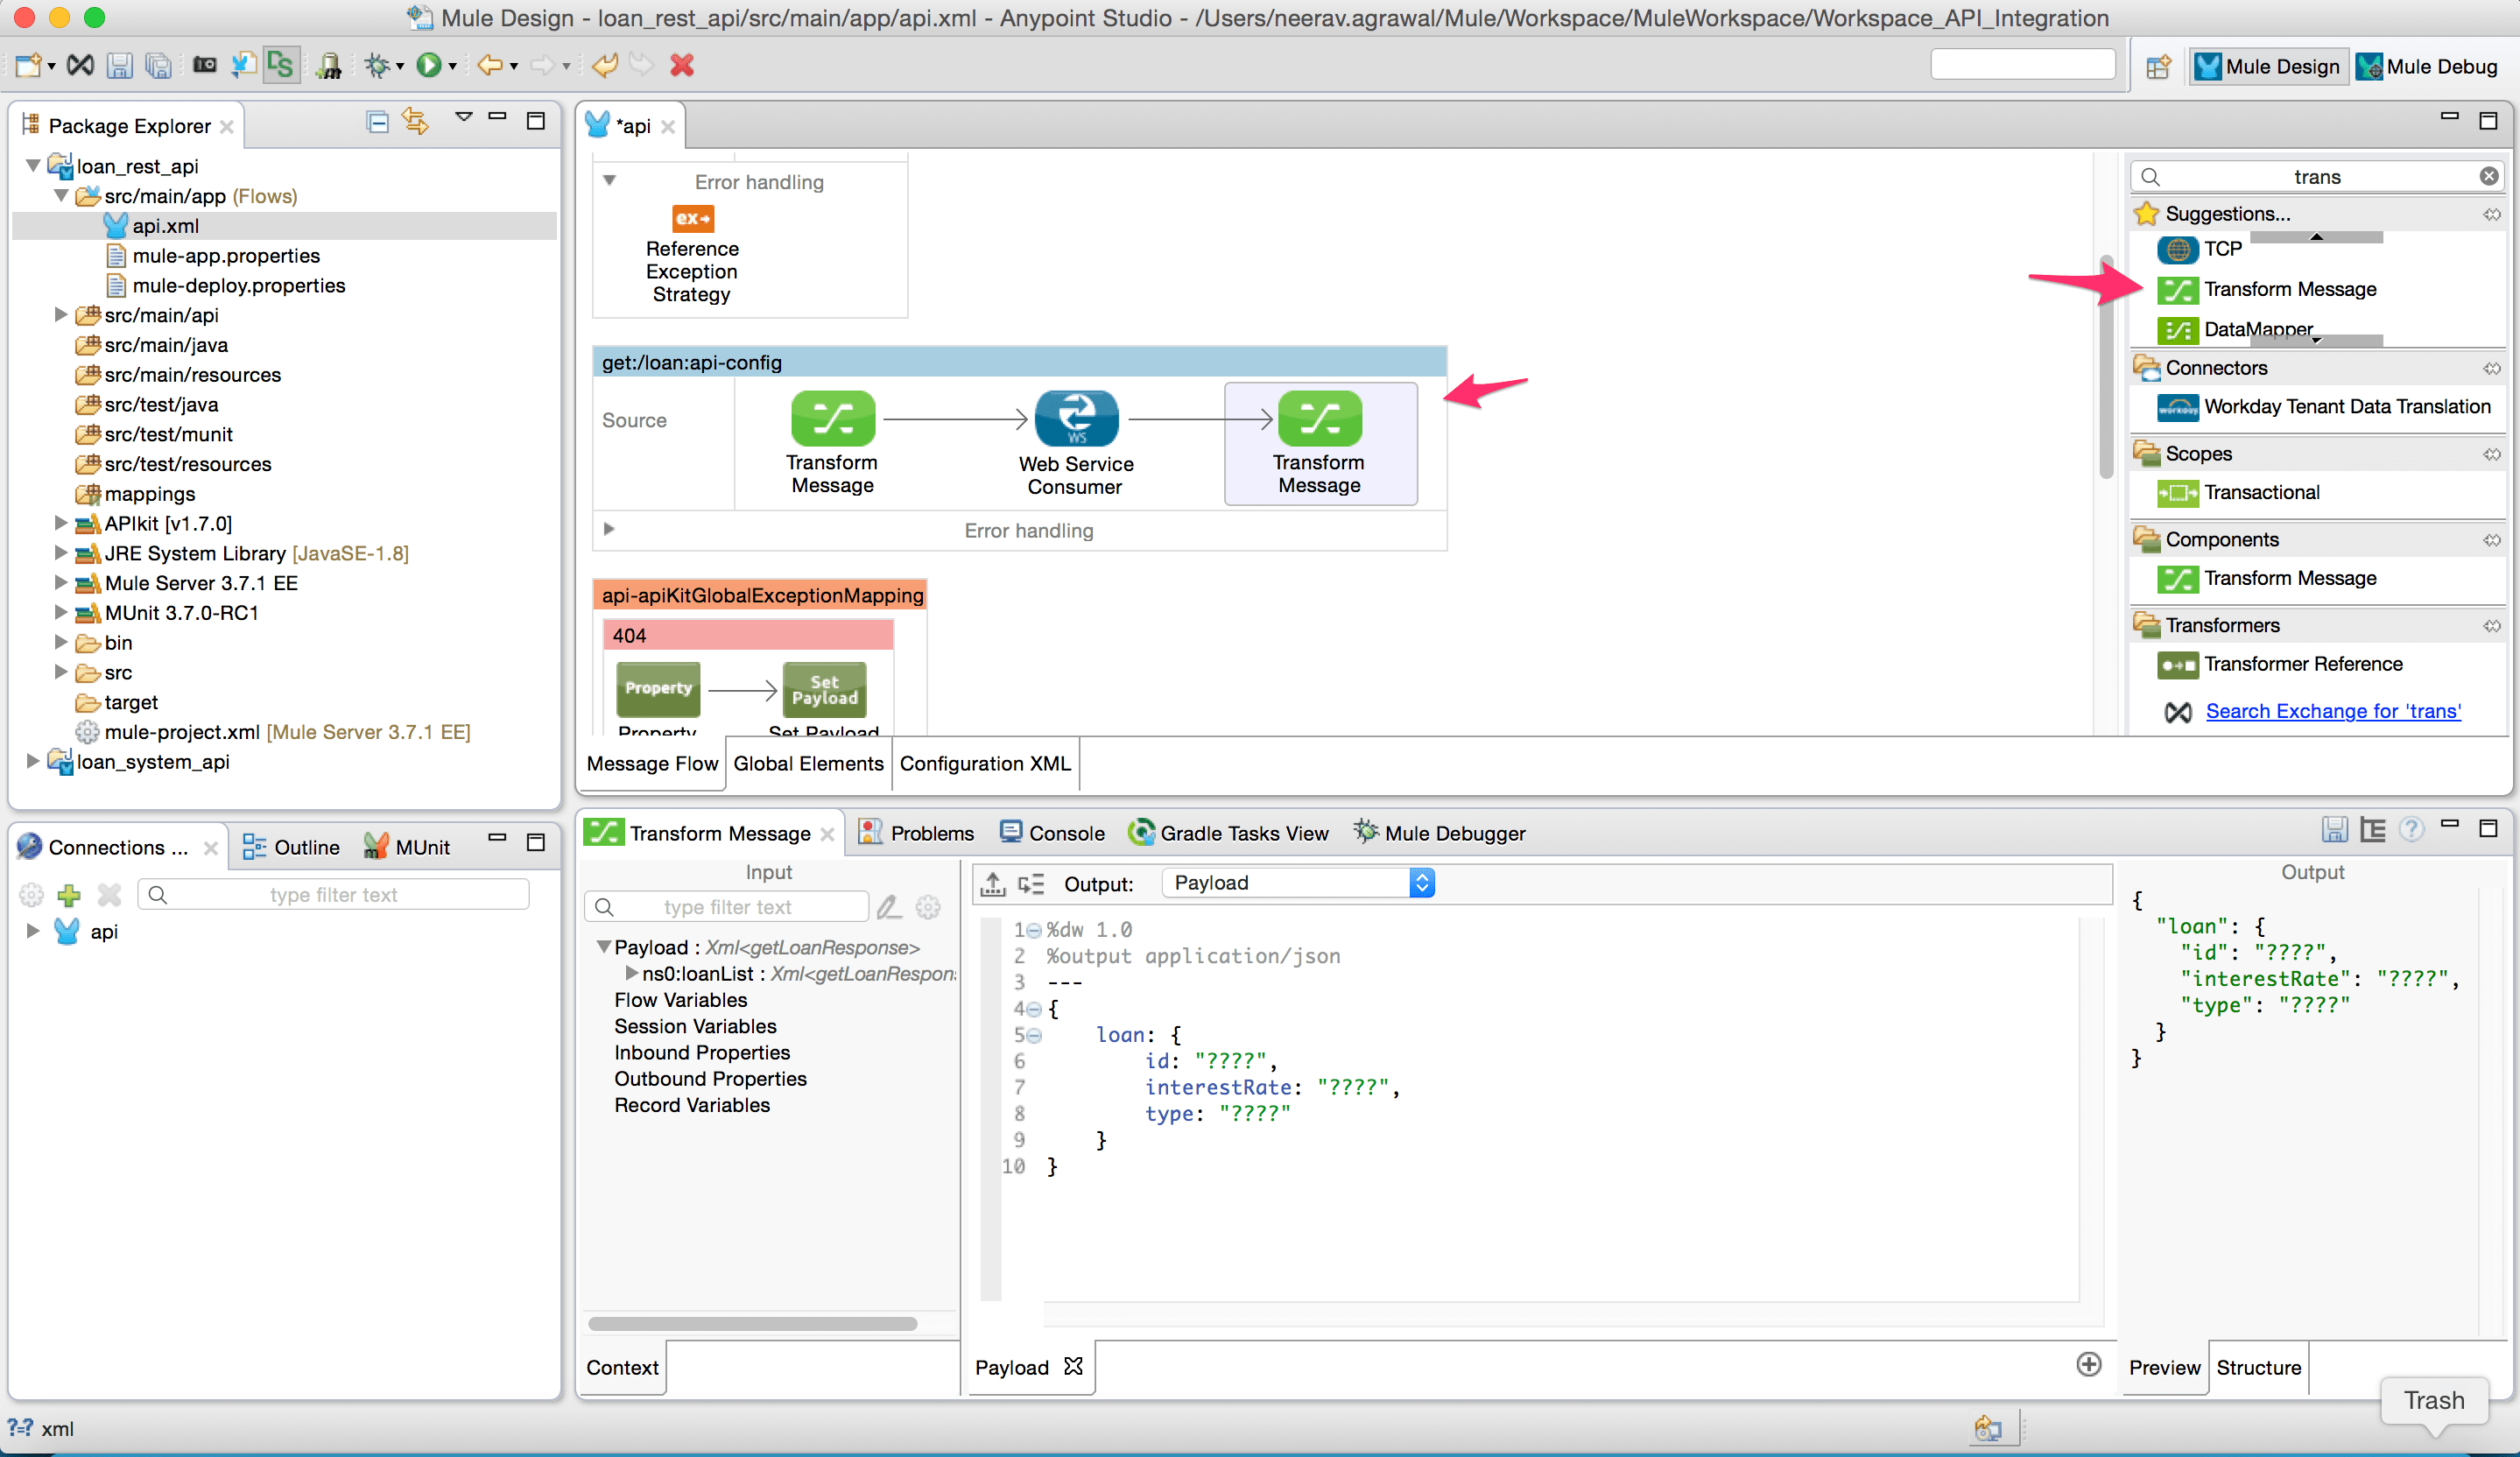
- Add a “Transform Message” component to the flow. Here we will configure the request message for the SOAP web service. Add the input parameters. In this case, we extract the value from the HTTP query param and assign it to the SOAP request(Note: Make sure the namespace is configured correctly as per the target web service requirement).
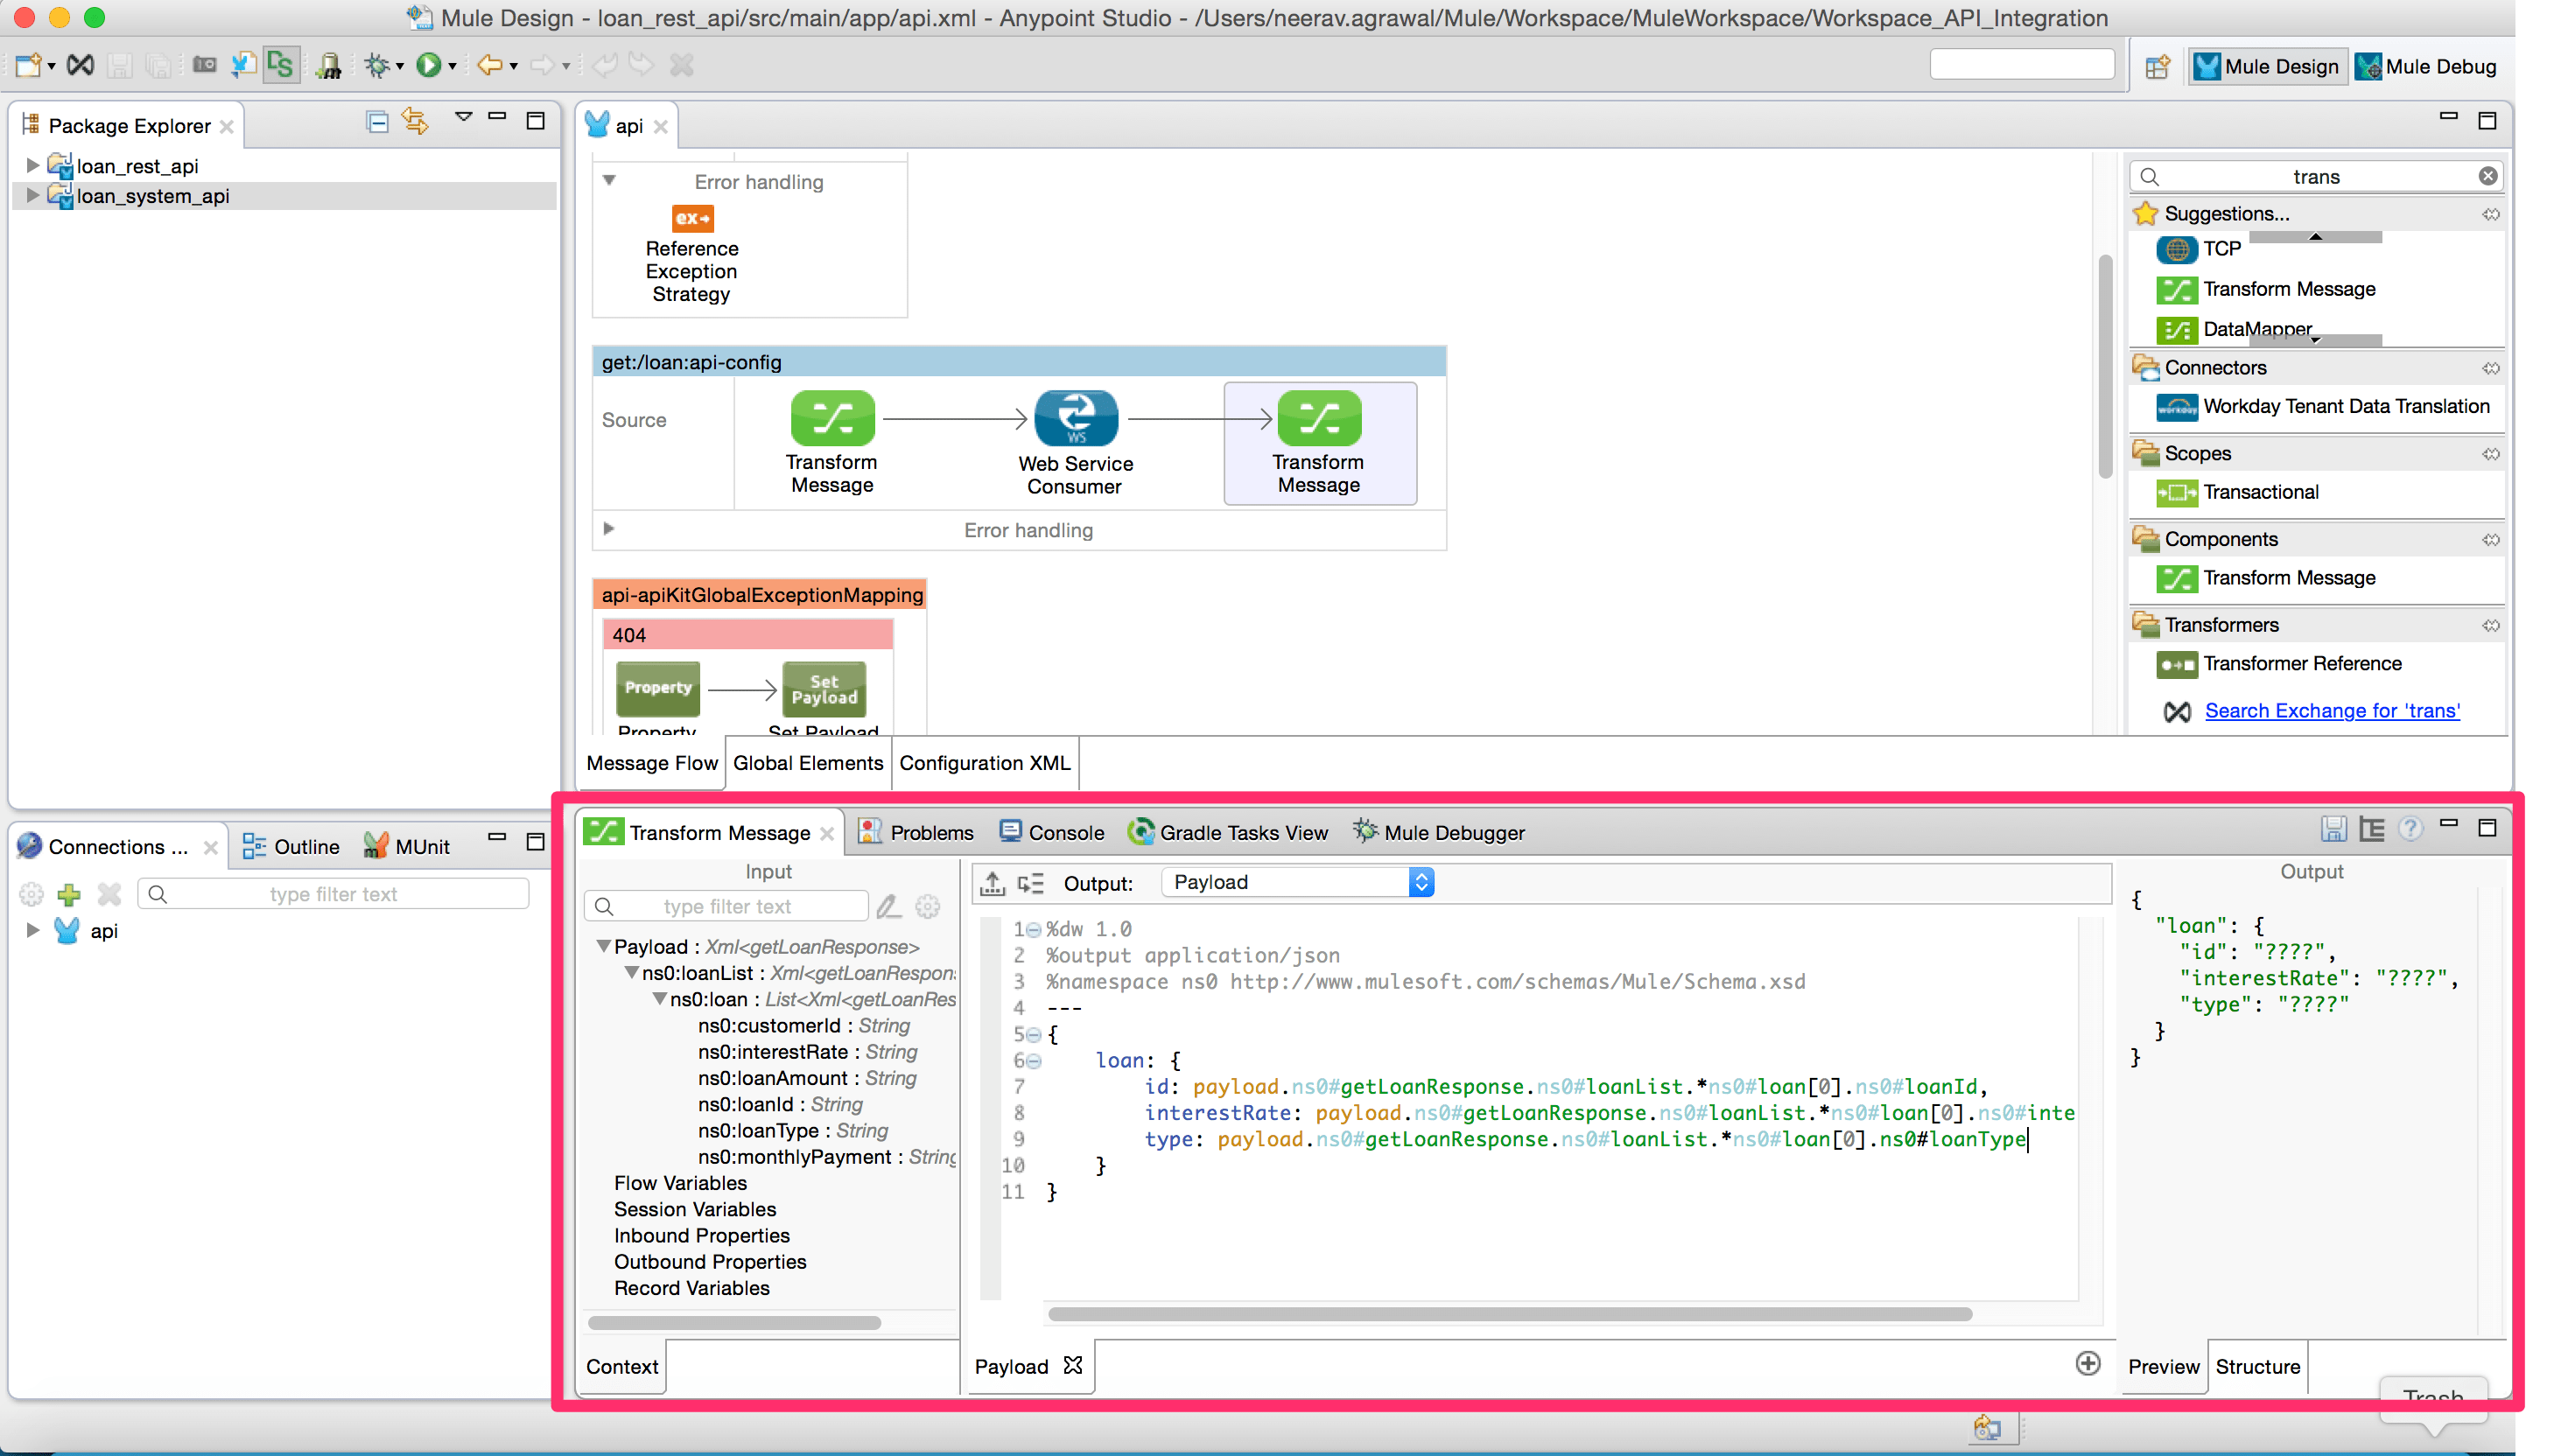
- Add another “Transform Message” component to the flow as shown below. Here we will setup the JSON response message for the REST service.
- The payload from the web service consumer is mapped to the JSON response using DataWeave expressions.
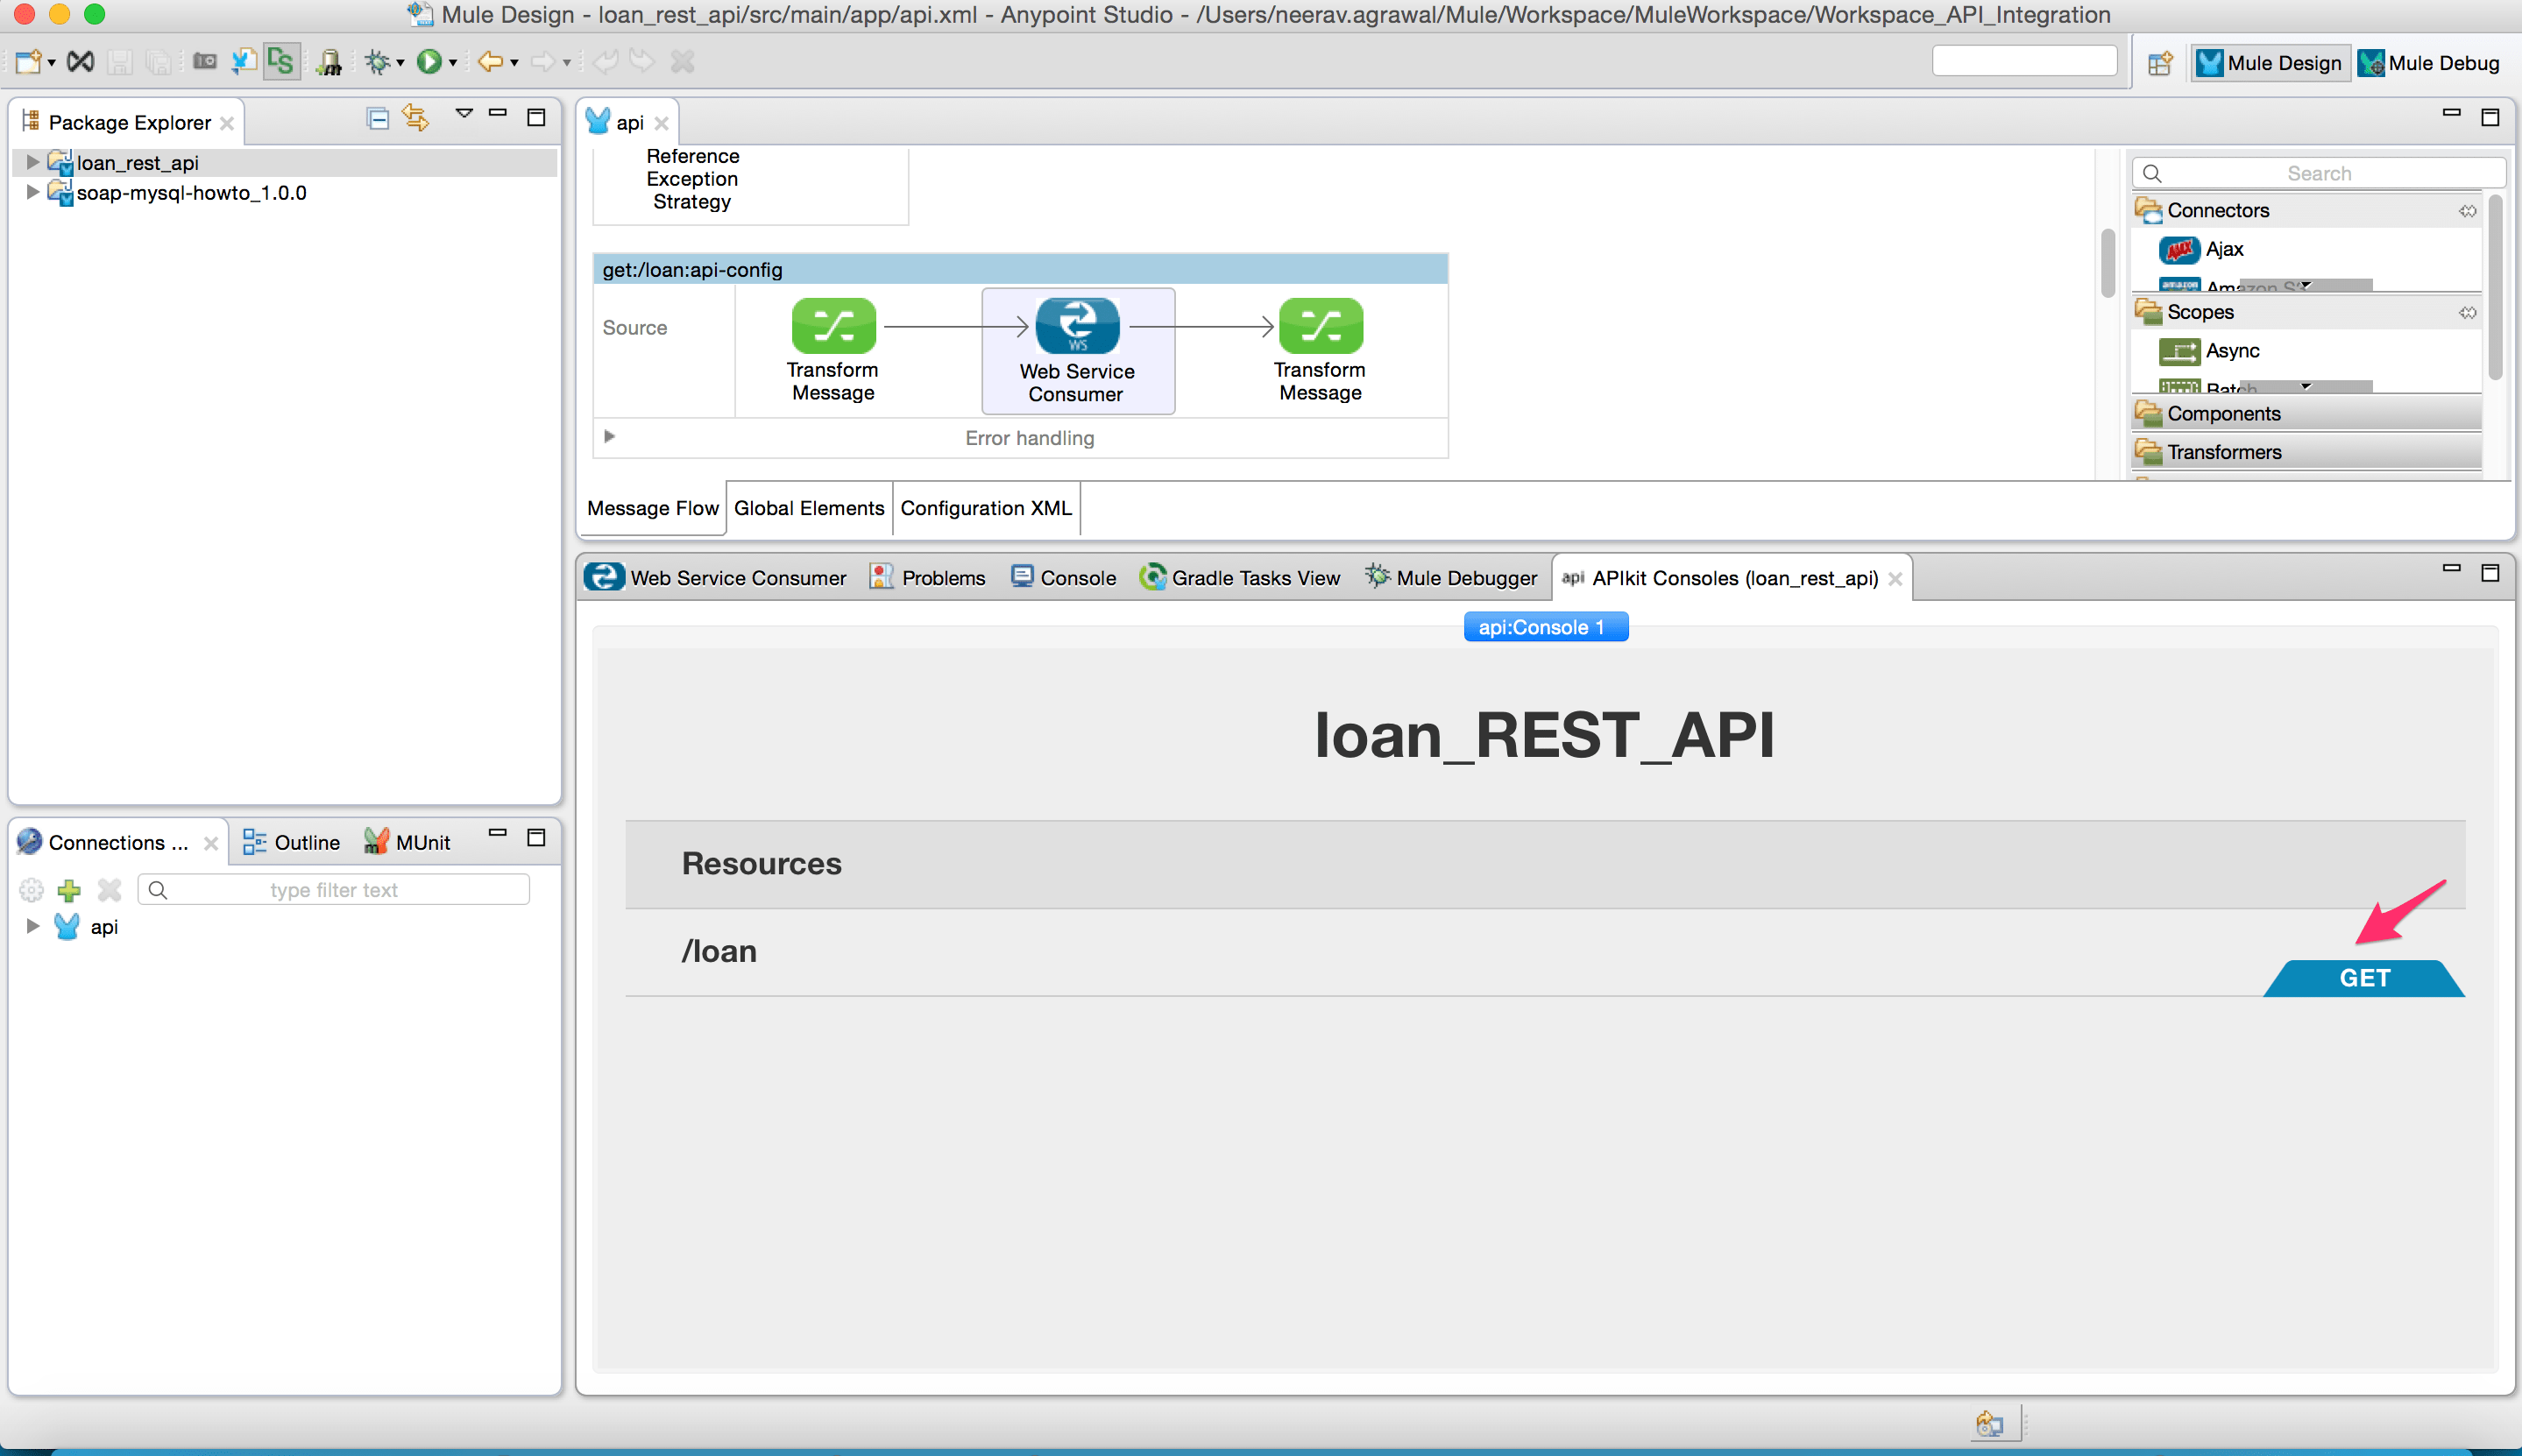
- Run the project as a Mule application.
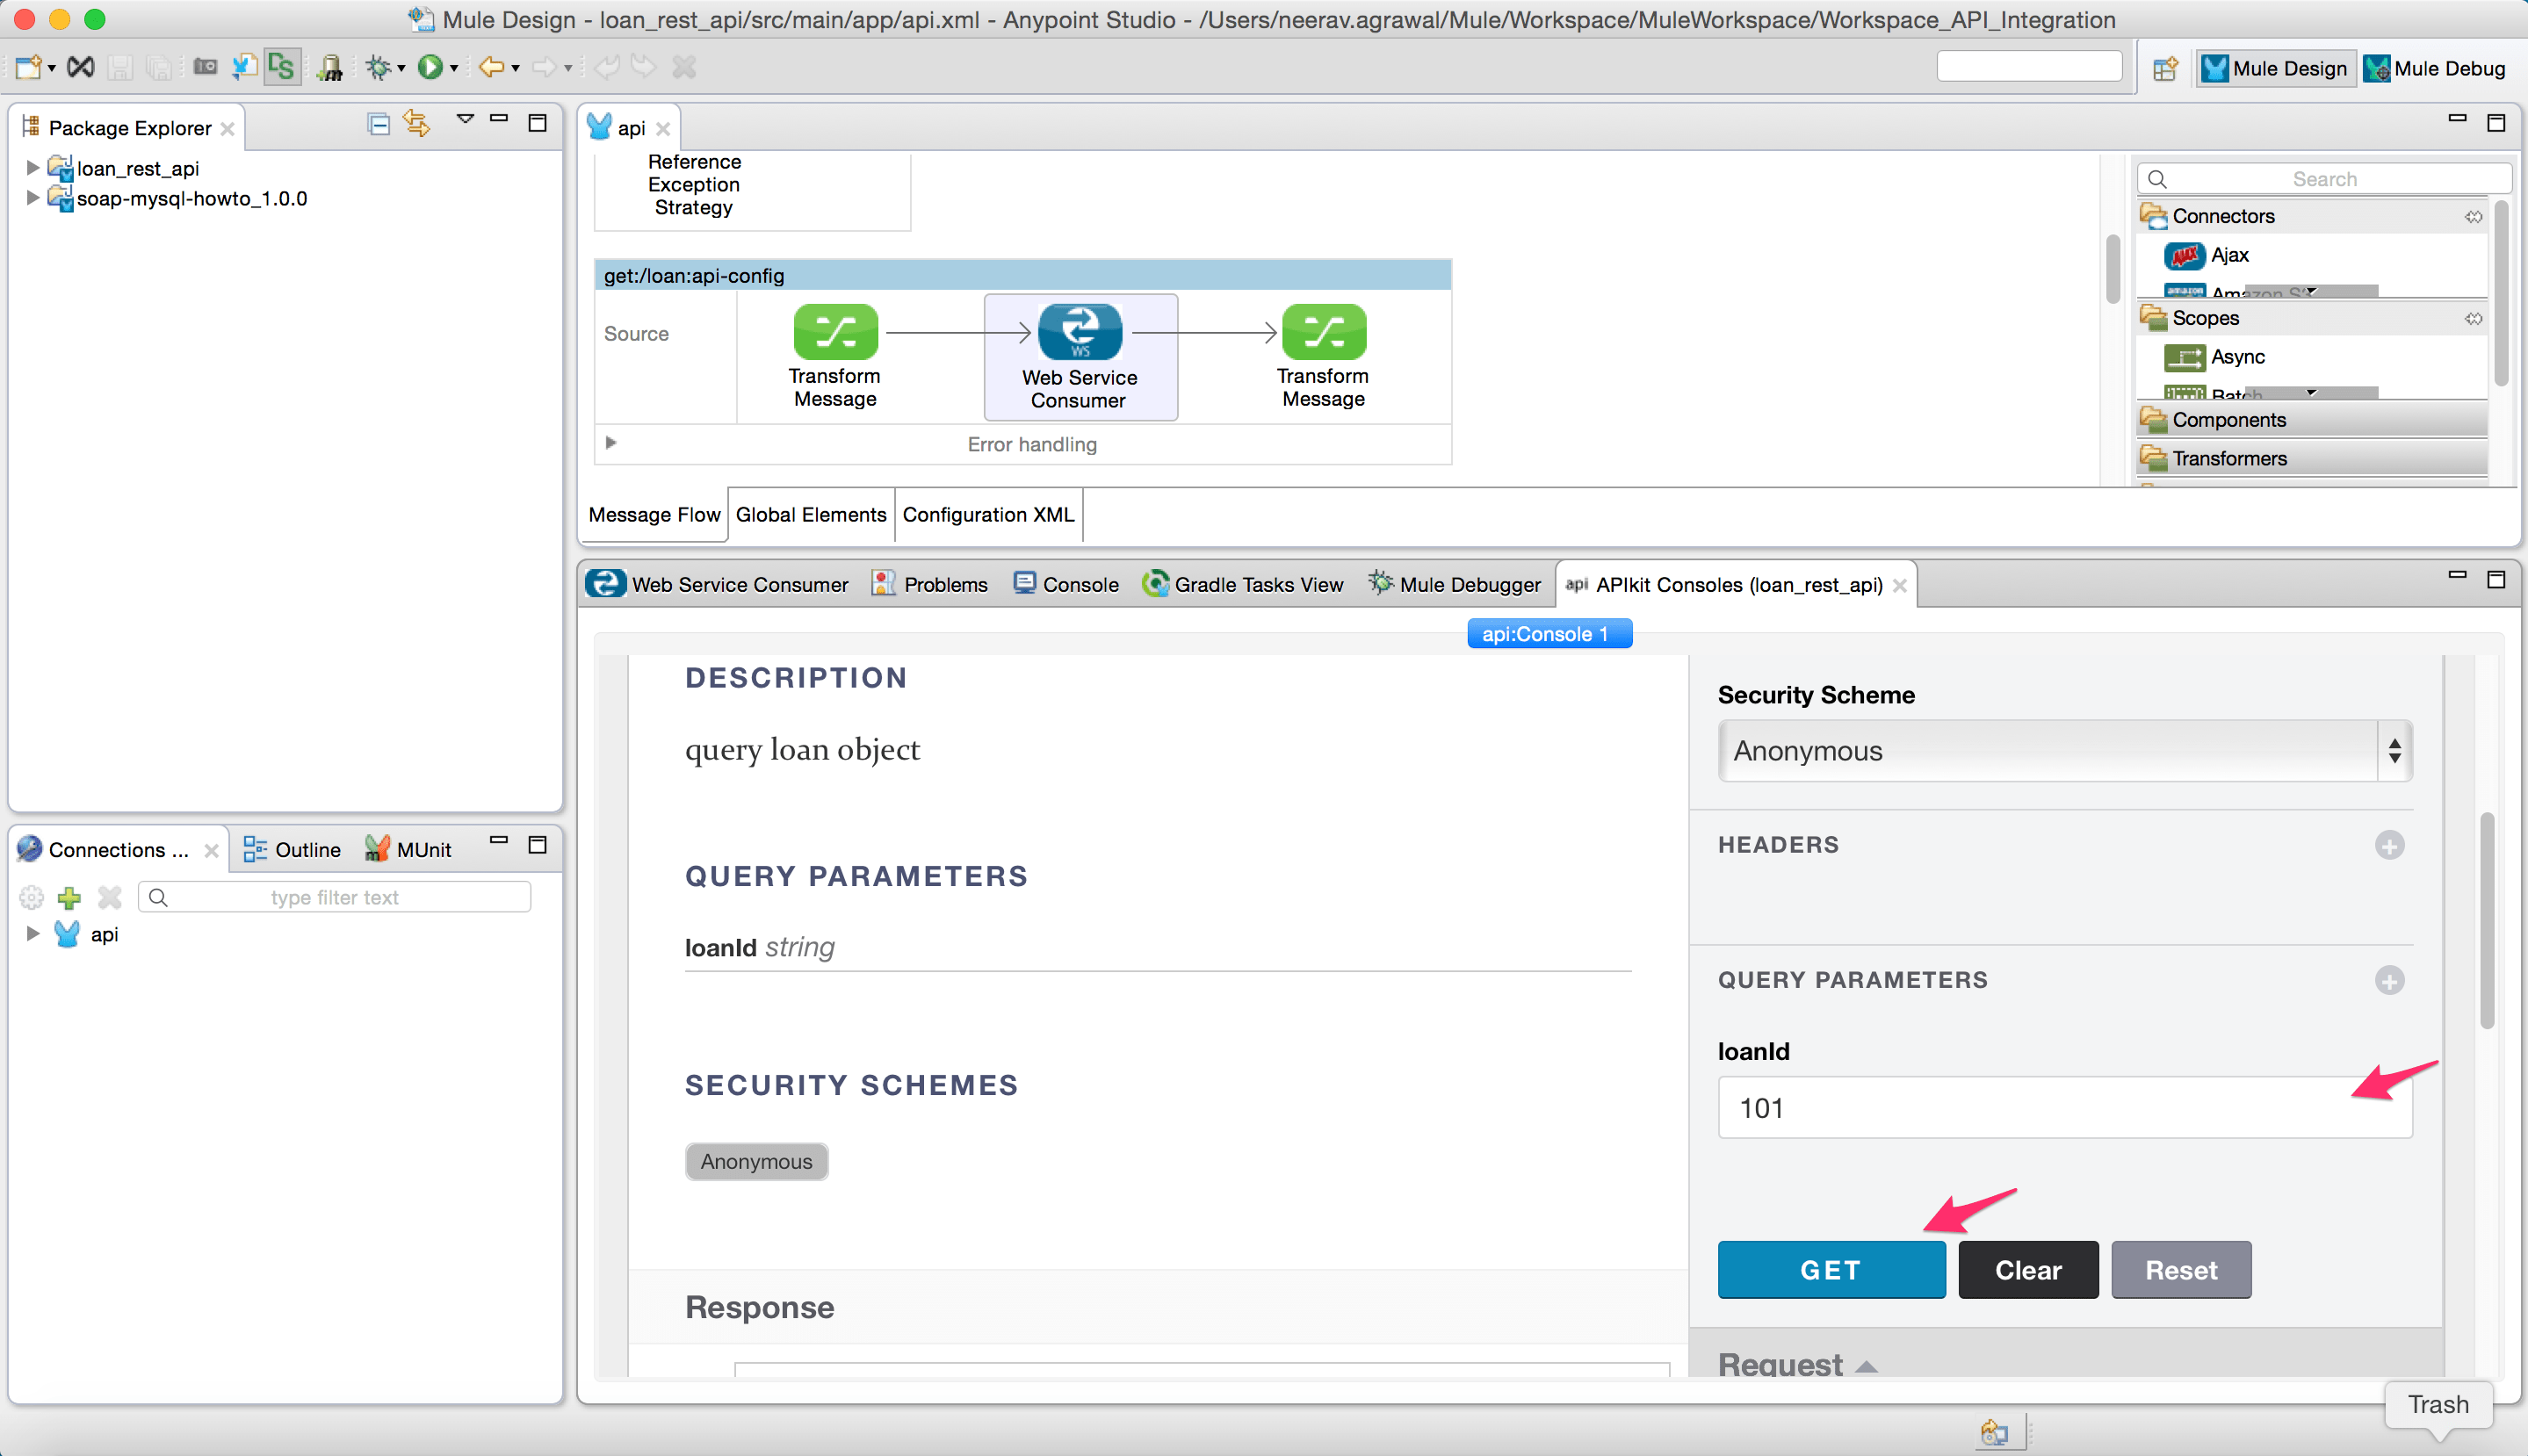
- Once the application is running in the embedded runtime in Anypoint Studio, the APIkit console will come up. We can test the REST API through this console. Enter the query parameter loanId and click on “Get”. The response to the API will show up in the APIkit console.
- Scroll down and we will see the response to REST API.


We just implemented a REST API interface to a back-end service. We can import this project as an Anypoint Studio generated Deployable Archive and deploy it to a mule runtime on-premise or cloud.
This blog is a follow-up to part 1 of the series “Create APIs on top of an integration”.
To create a REST API we leveraged the following features of Anypoint Platform:
- Adopted a design-first approach and use Mulesoft’s Anypoint Platform for APIs to get one unified user experience across the API lifecycle to streamline the creation, management and consumption of APIs.
- Utilized RAML, which is the first standard facilitating the design-first approach to APIs.
- Web-service consumer along with DataWeave & DataSense to help consume the SOAP web-service with very less effort.
- Out of the box platform capabilities like auto-generation of implementation and mock service that are available in the platform that helps to design an API.
Next Step:
Taking advantage of the unified Anypoint Platform for APIs, we can now manage our API with various runtime policies. In Part 3 we’ll show you how to apply OAuth policy on this REST proxy.


