
If you’re a relatively new MuleSoft customer — you may be wondering how to assess the value of your recently implemented platform. How can you show that Anypoint Platform is paving the way toward innovation in your organization? Can you take a snapshot of what’s been built so far and project your organization’s pace to achieve digitalization? The first step to answering these questions is establishing a set of KPIs and measuring their progress over time.
In this blog, we will discuss how you can get started with the Metrics-Accelerator project that has 120+ out-of-the-box metrics for Anypoint Platform. Metrics Accelerator is an open-source project built by the Mulesoft professional services team that is completely free. The Accelerator is a Mule application that is intended to collect, aggregate, and load platform metrics into different visualization systems — providing out-of-the-box integrations and visualization options, including useful dashboards and charts.
This blog post provides a step-by-step guide to setting up a KPI dashboard to measure the value of your Anypoint Platform implementation. With it, you’ll be able to define the KPIs from the metrics that matter to you and track their progress using the Accelerator.
Here are some prerequisites to consider before starting with the implementation:
- The Metrics-Accelerator project will run with Mule Runtime 4.2.1 or above.
- Metrics-Accelerator project will capture the data across all business groups and environments (prod/non-prod, etc.).
- At the high level, it needs two inputs at a minimum:
- Organization ID: The org ID of the organization leveraging the platform to fetch the data across business groups, environments.
- User ID/password: Preferably having Org. Admin privileges to capture the data across business groups and environments.
- Alternatively, you can also connect using any application that you may already have built for this purpose and integrate that with Anypoint Platform using APIs through OAuth 2.0 and OpenID Connect. In that case, provide appropriate access as outlined in the Github article.
- The project can be run from any environment and any type of deployment mode (CloudHub, OnPrem, and Runtime Fabric). As long as the organization ID and username (which must have org admin privileges) are passed, data will be collected across all the environments and all the Business Groups associated with that organization. We can even run the project from Anypoint Studio and collect the information across the organization, although this is more of an ad-hoc execution than a permanent solution.
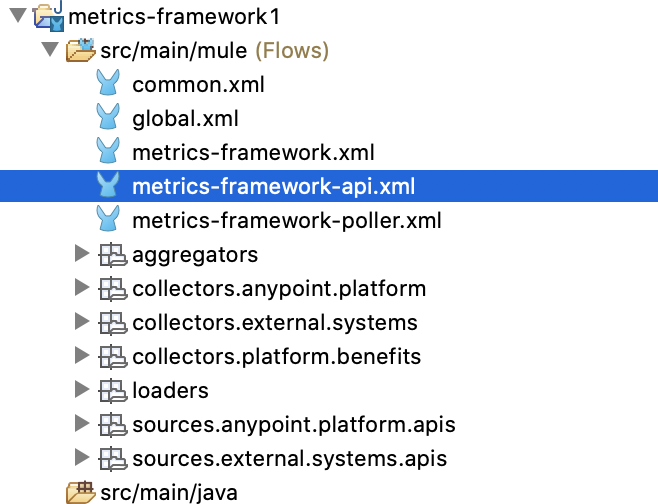
How to install and run the application
- To clone or download the project from GitHub, run the following command.
- The project can be run from any environment and any type of deployment mode (CloudHub, OnPrem, and Runtime Fabric). As long as the organization ID and username (which must have org admin privileges) are passed, data will be collected across all the environments and all the Business Groups associated with that organization. We can even run the project from Anypoint Studio and collect the information across the organization, although this is more of an ad-hoc execution than a permanent solution.
- Install the project in Anypoint Studio:
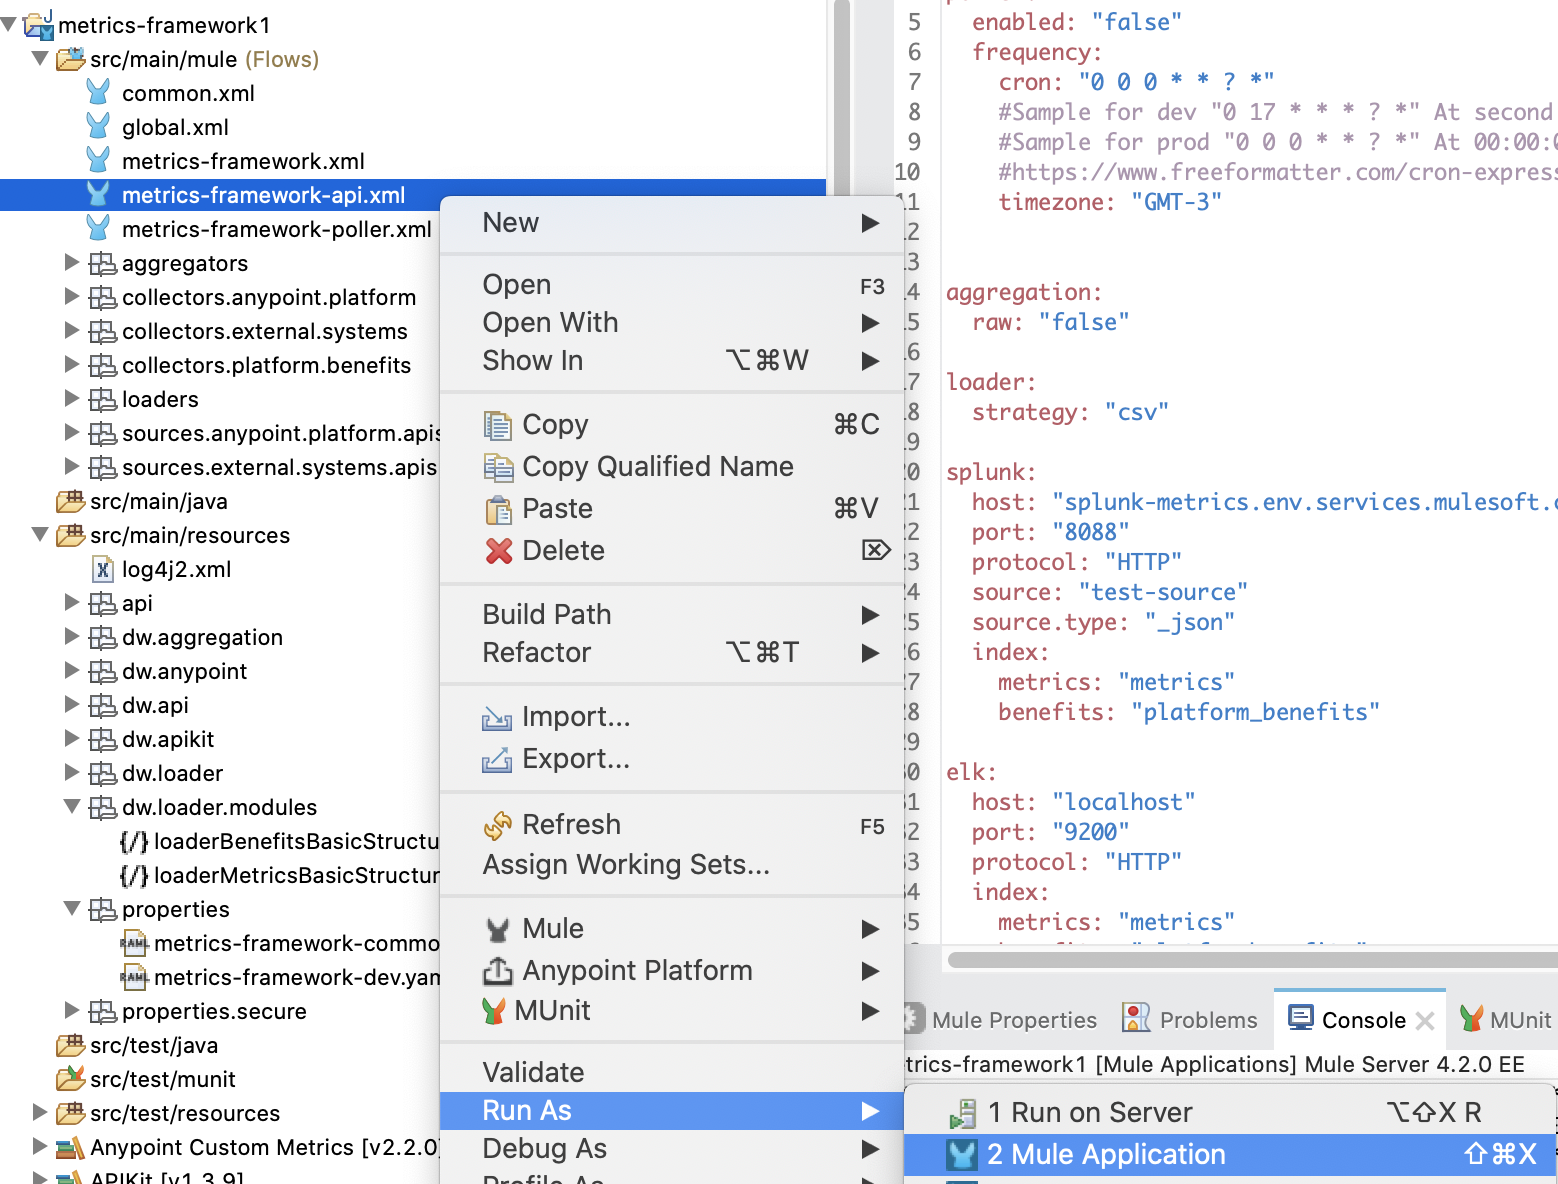
- Run the project from Studio. This is to confirm that the project executes correctly. No configuration changes are required.
If the project is up and running, test the application by launching the console. Test an endpoint to make sure it can fetch the requisite data. You will need to provide some basic inputs like orgid, username, and password.
Deployment consideration for Metrics-Accelerator project
The power of metrics tracking lies in understanding how the metrics are trending over time. Running the Metrics-Accelerator on a regular, scheduled basis will enable you to observe how the metrics have been trending over time. Data fetched from Anypoint platform can be fed to any dashboarding tool, such as Splunk or ELK. The visualization platform can then generate timeline charts that can tell powerful stories on how the platform has been performing over time. For example, the timeline charts can show how the “rate-of-reuse” has been trending over the last 12 months.
Alternatively , you may also consider running the Metrics-Accelerator project on an ad-hoc basis. It will generate a snapshot of the current state of affairs. For example, it may be helpful to get quick information on how many APIs we have in all the different environments or how much reuse we are getting for each API, etc.
You can run the Metrics-Accelerator project in one of the two modes mentioned below:
1. Poller mode (push mode)
In this scheduler mode, the project is run as a cron job based on a configurable cron expression that fetches a snapshot of the current platform. Periodic snapshots are pushed into a visualization system (i.e. Splunk, ELK, Tableau, etc.), which can aggregate and display the data. So, if your visualization system is Splunk, feed the Splunk db with the output of the scheduler as and when it runs. The Poller mode will extract the output based on the loader strategy. If the loader strategy (more details below) is “csv” then it will generate a csv everytime it runs, similarly, if the loader strategy is Splunk, then it feed the data to Splunk everytime it runs.
2. API mode
In this mode, the APIs can be executed by calling the endpoints either through API Console or Postman, or directly from visualization systems (i.e. Splunk, ELK, Tableau, etc.). There are three set of operations that are currently supported. There is a separate API endpoint for platform metrics, business metrics, external SDLC metrics. The business metrics API requires some minimal inputs to generate the response. Inputs like current and historic API build time and developer rate etc.
Poller Mode
To measure the progress over time, we need the timeline view. To generate timeline views, we need historical data that can be generated by running the Metrics-Accelerator as a scheduler over a period of time and persisting the data in some database/warehouse.
To do that, deploy the project in the deployment option of your choice (Cloudhub, on-prem, Runtime Fabric) and set up the cron schedules.
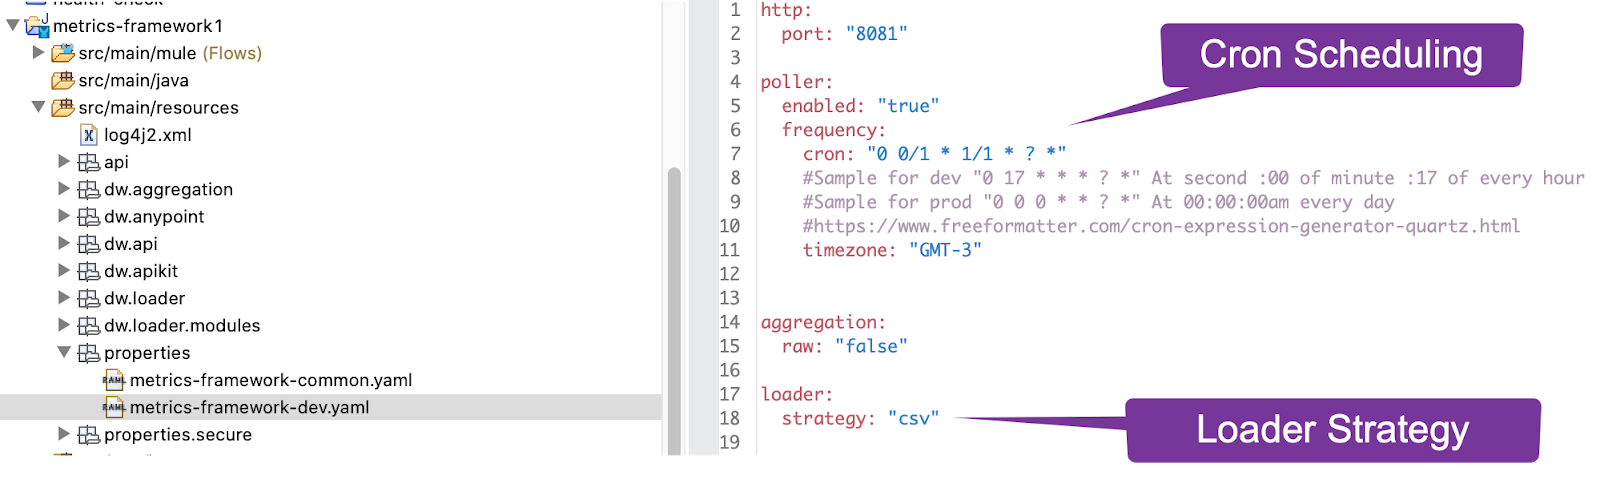
Update the metrics-framework-<env>yaml file. Mark the enabled as true and set up a cron frequency of your choosing*
poller:
  enabled: "true"
  frequency:
    cron: "0 0 0 * * ? *"
    #Sample for dev "0 17 * * * ? *" At second :00 of minute :17 of every hour
    #Sample for prod "0 0 0 * * ? *" At 00:00:00am every day
    #https://www.freeformatter.com/cron-expression-generator-quartz.html
    timezone: "GMT-3"
API Mode
To fetch the snapshot data, run the project in the API mode:
Once it is deployed, just run from the API console. You must provide the following inputs at the minimum:
- Anypoint org ID
- Anypoint username (user must have the org admin role to fetch the data)
- Anypoint login password

The snapshot view is good for quick references and fact checks. For example, finding out how many active users you have or how many APIs with more than one consumer you have. But this doesn’t give you a perspective of what has changed over time.
Output modes:
The Metrics-Accelerator is a collection of Anypoint Platform API calls. The output can be downloaded in JSON format or CSV format. It can also be loaded in external third-party BI systems, such as Tableau, or enterprise-level monitoring and dashboarding systems, such as Splunk and ELK. Furthermore, we can optionally capture external SDLC metrics from Bitbucket, Jira, Confluence, etc. All we have to do is to configure the connections in the properties files.
The loader options supports loading as:
- CSV
- JSON
- SPLUNK, loading into SPLUNK DB
- ELK, loading into ELK
CSV:
Running the project on a poller mode:
- Configure the loader strategy as CSV.
- Configure the cron schedule to match your frequency of data extraction (e.g daily, weekly, monthly).
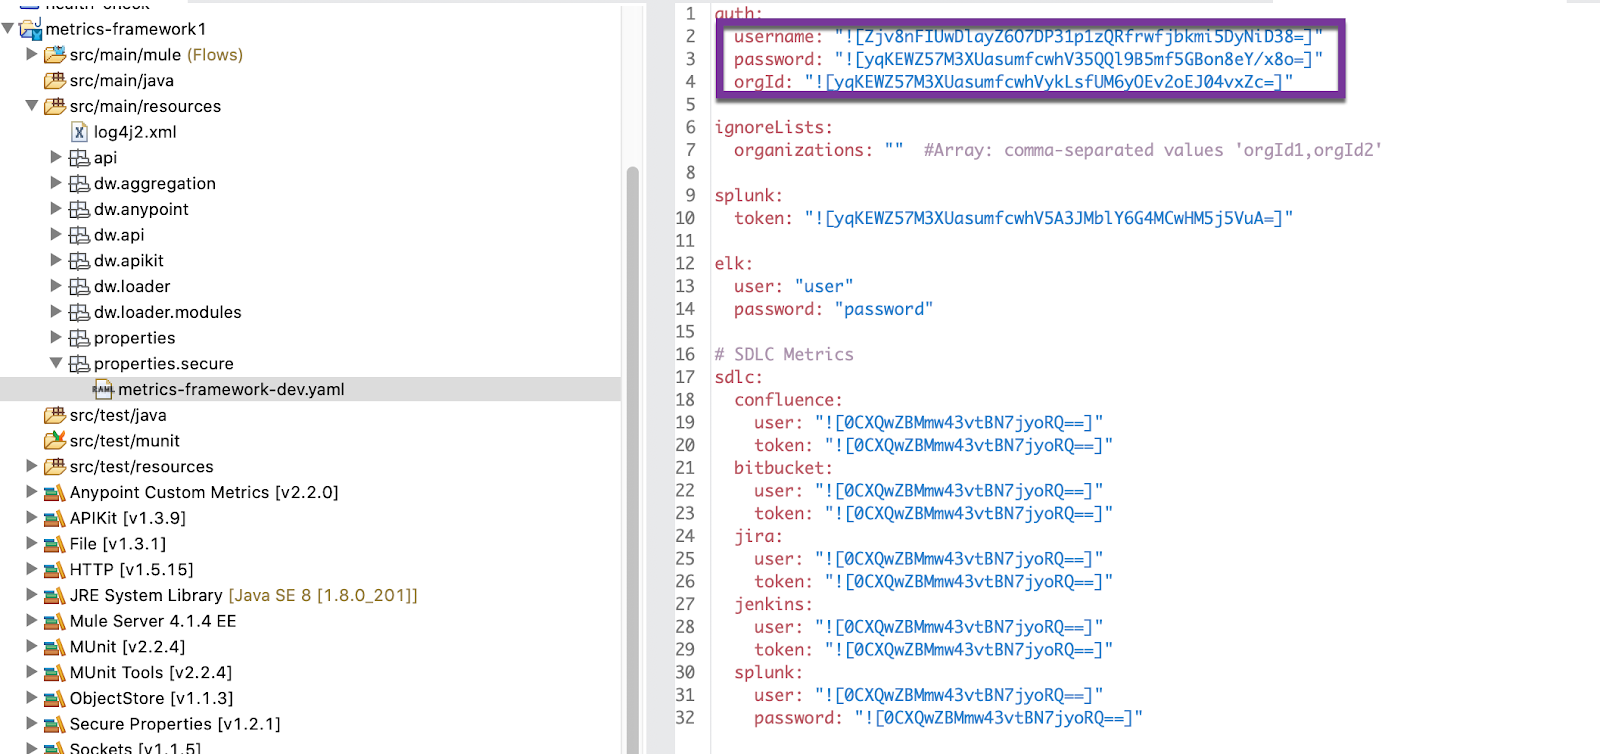
- Configure the secure properties file to provide the encrypted values for Anypoint Org Id, username, and password.
- Call the platform metrics: Load function which returns platform metrics in CSV format as HTTP POST method.
You can provide the secure properties such anypoint user_id/pwd or your Splunk token through secure properties. Refer to the documentation to learn how to configure your secure properties.
JSON:
For JSON output, you may run the application either in poller mode or in API mode as well.
If you are running in API mode, you may save the JSON response that you will receive as output for the API call as a file and consume it into the BI Tool or dashboarding tool of your choice.
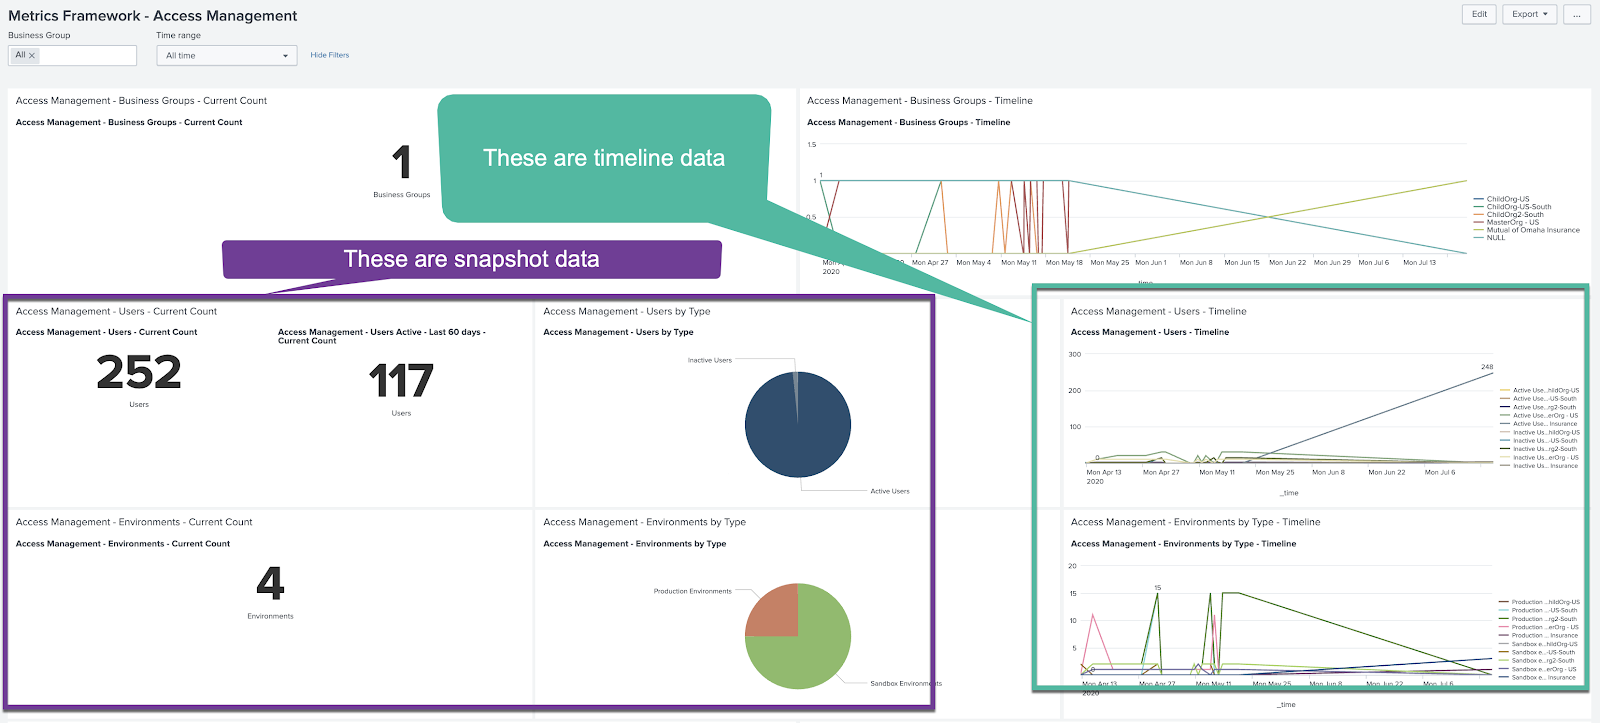
Pre-canned dashboards
As a part of the Metrics-Accelerator project, dashboards have already been created for Splunk and ELK.
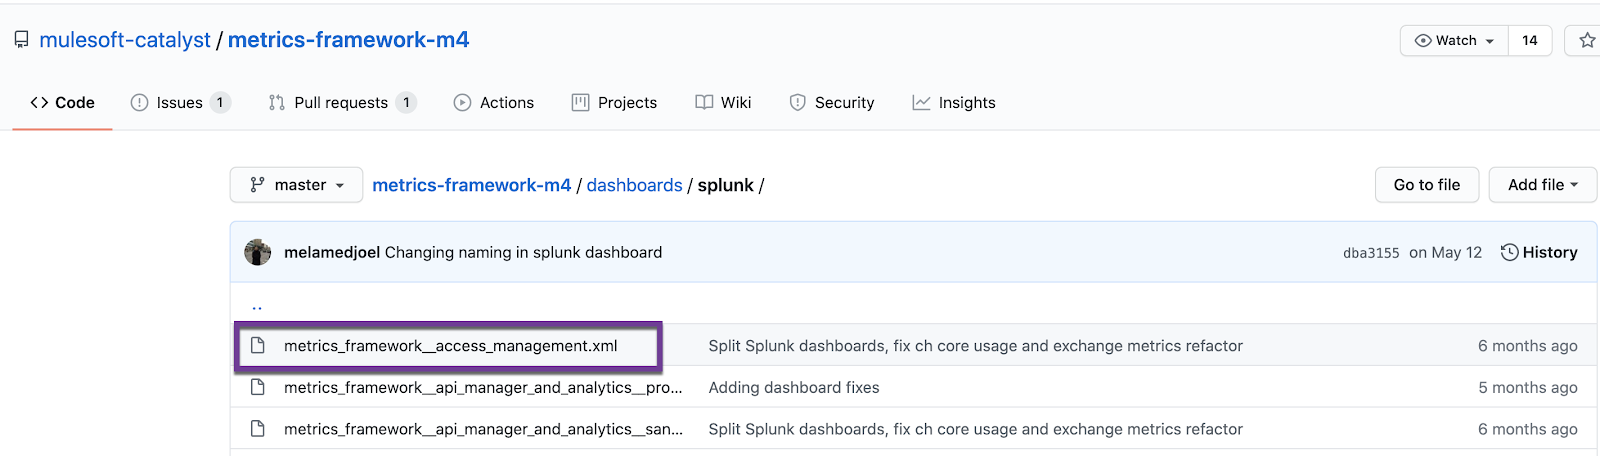
From the Github project, you will find the dashboard folder as below:


Let’s use Splunk as an example to show how you can leverage the canned Splunk dashboards built for you.
Steps to install the Splunk dashboards
- Run the Splunk instance (either your local or enterprise setup) and login to splunk UI.
- In Splunk, you need to create two indexes: metrics and platform_benefits (of type Events)
Indexes must be created using the new index button on top left. Once the indexes are created, they will look like this:

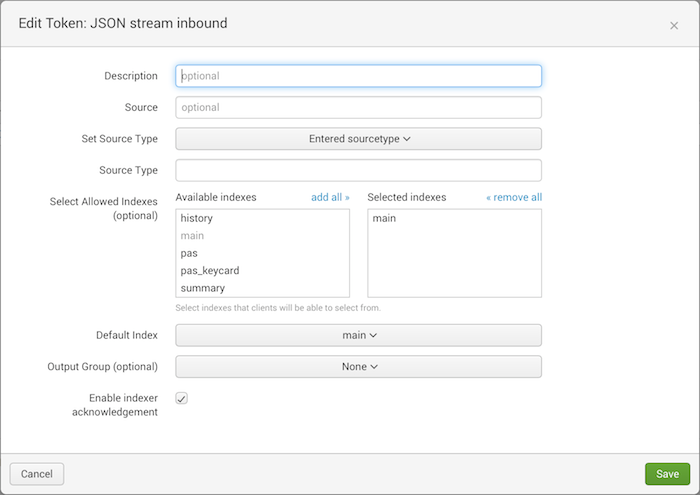
- Configure an HTTP Event Collector (HEC) to obtain the token. This token will be used for loading Splunk with the data from Anypoint Platform.
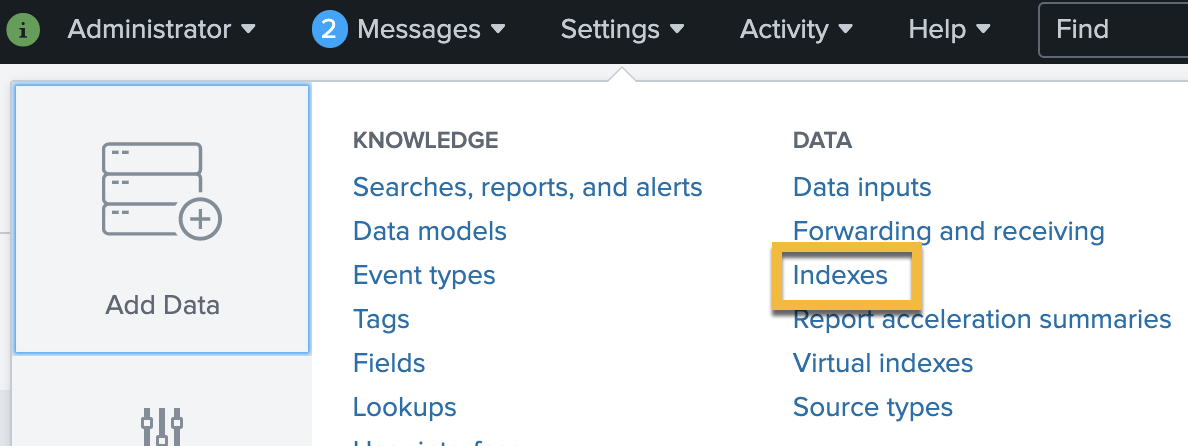
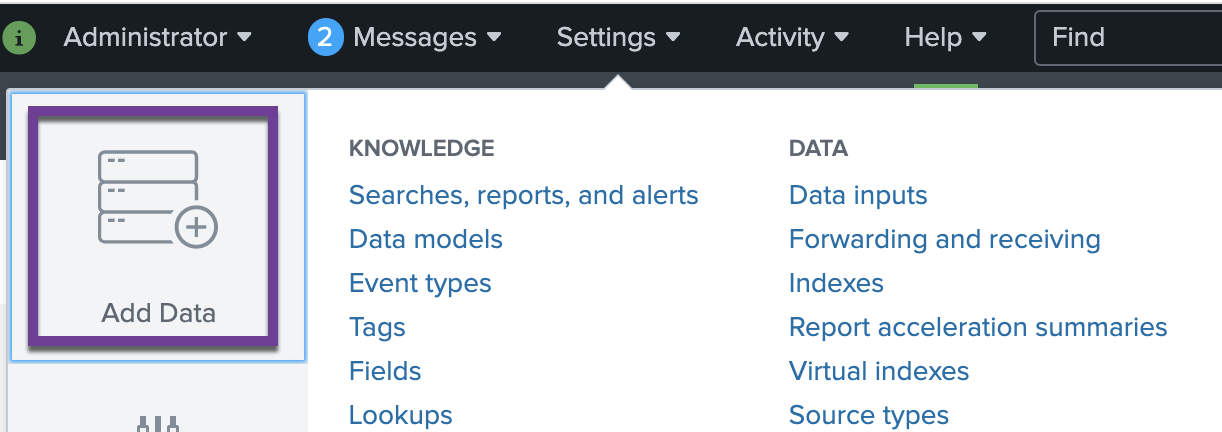
- Click Settings > Data Inputs.
- Click HTTP Event Collector.
- Click Global Settings.
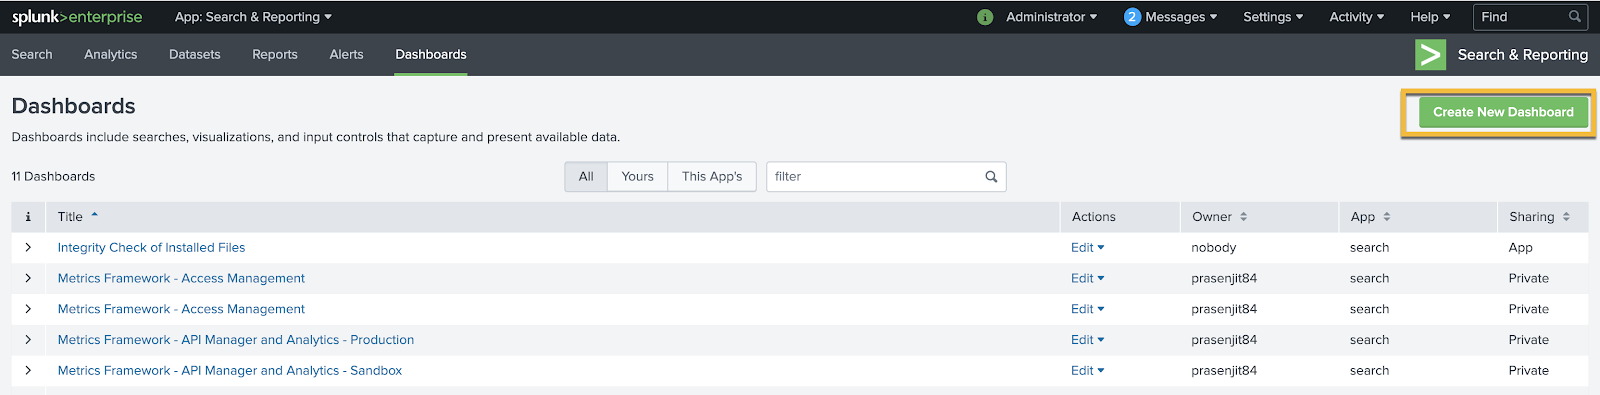
4. Create a new dashboard in Splunk.
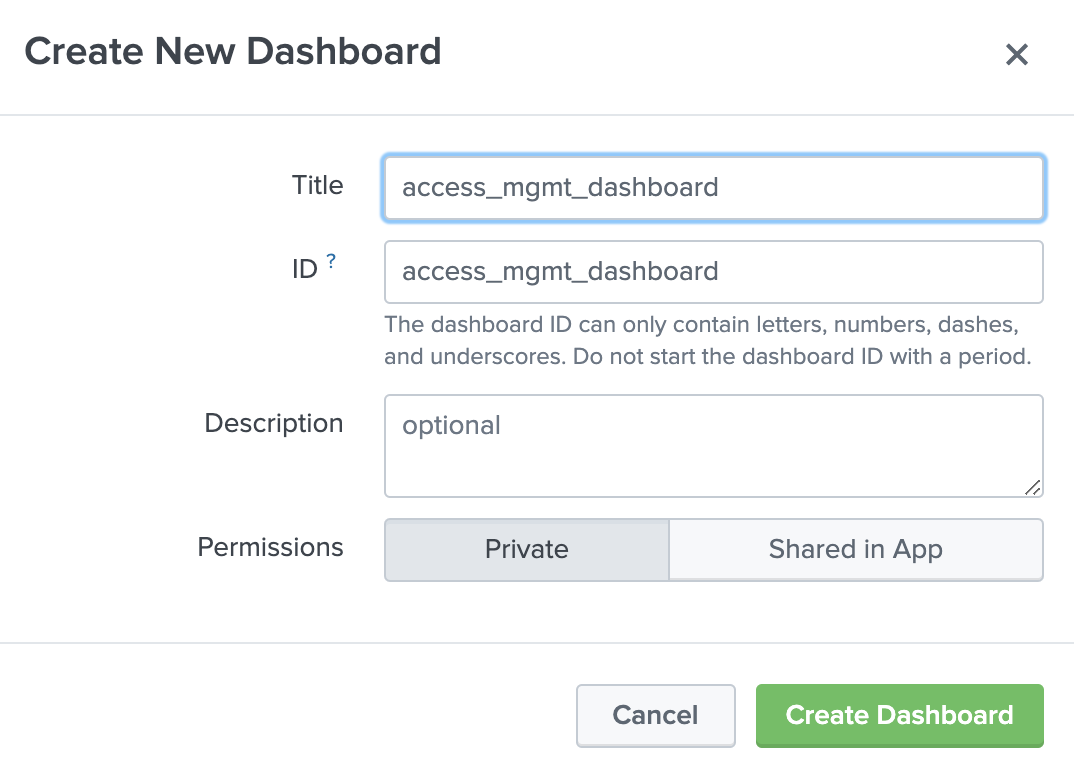
- Give a title to the new dashboard.
- Click on source.

- Copy the source from the dashboard that you are interested to replicate and paste it as a source of the new dashboard.
Your dashboard is ready to be used once the metrics data has been published to Splunk, either manually or through the Metrics-Accelerator.
Alternatively, you can manually ingest data ad hoc in Splunk by going to settings > Add data.
Once the data is ingested and the dashboard is put in place, you can click on the dashboard and it will automatically populate for you.
External SDLC metrics:
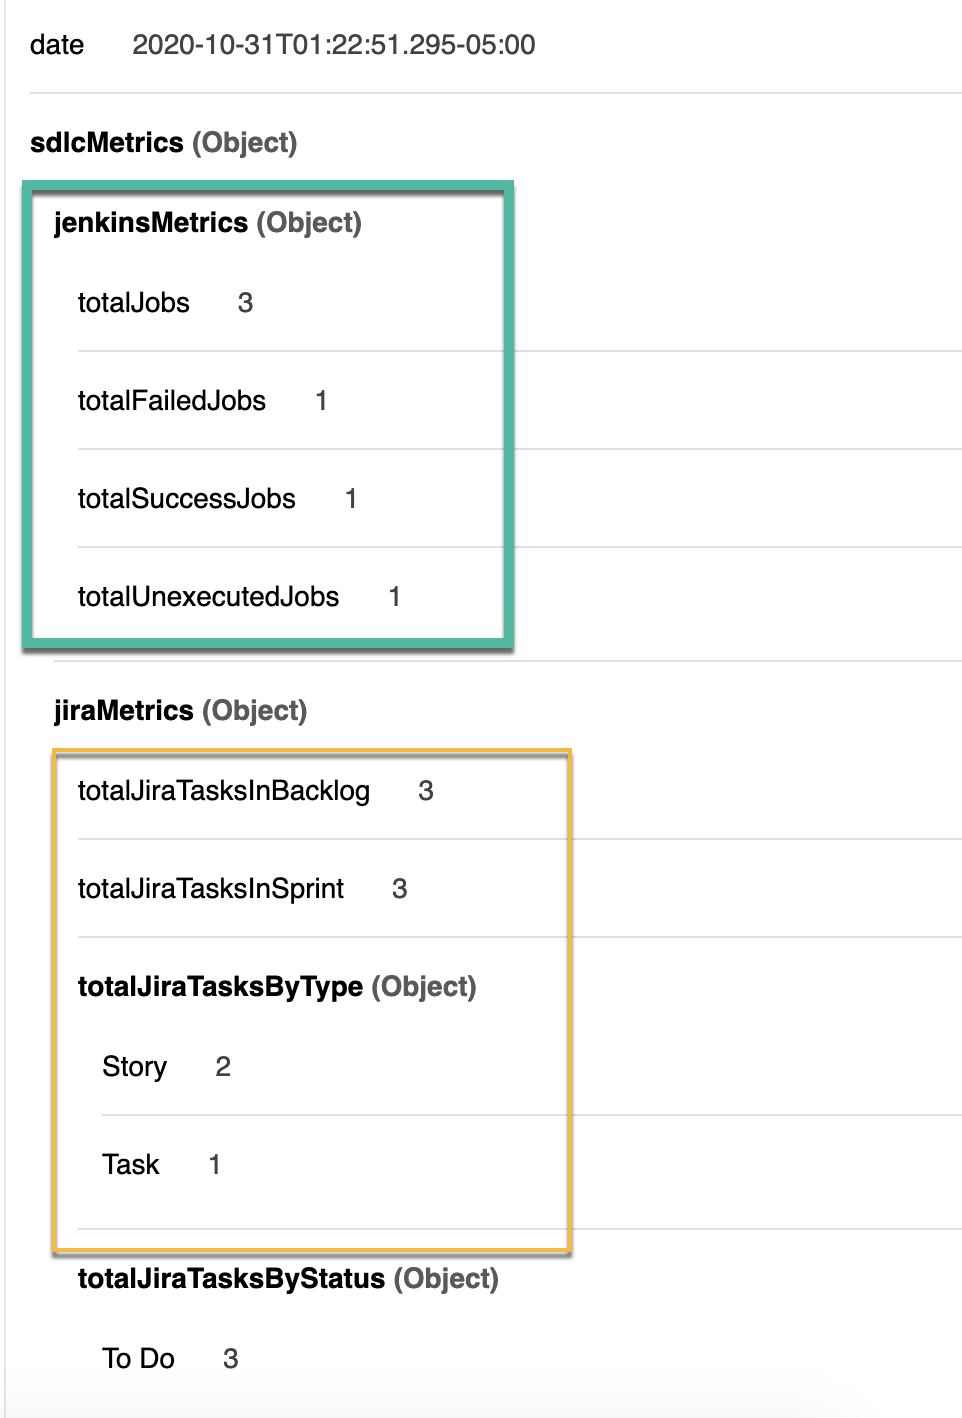
It is really easy to integrate external SDLC metrics as well. We have the loader defined for Jira, Jenkins, Confluence, and BitBucket. Basic loader modules have also been implemented to fetch common metrics. For example, you can fetch issues and stories from your Jira board or the status of all the different build jobs that you have running in Jenkins. Here I have shown how you can easily connect to Jira and Jenkins.Please note that CSV loaders for external SDLC metrics are not implemented, so in case your loader strategy is csv, you may have to build that out in the project.
Integrating with JIRA and Jenkins:
Step 1: Enable SDLC poller = true
Step 2: Turn on JIRA enabled and Jenkins enabled = true
Step 3: Provide the host and port for both you Jira and Jenkins

Step 4: If you are using basic authentication, provide the Jira username and API token through the secure configuration properties file so as to call the APIs remotely.
If you plan to integrate with Jenkins, do the same as well.

And that’s it, you should be able to see your stories, and issues from Jira flowing into your Metrics-Accelerator project.
Hope this gives you more confidence in setting up your KPI Dashboard that you had always through would be nice to have. Let us know what you think
For more help getting started with the MuleSoft Metrics-Accelerator, please watch the step-by-step videos below:
Please share your experiences and let us know how the Metrics Accelerator is working for you.


