This is the fourth post on the Gradle series. At this time, I’m pleased to introduce two improvements we’ve made towards enabling our users to build apps with Gradle: we’ve created a new plugin for Anypoint Studio, and added support for Gradle 2.0.
Anypoint Studio Gradle Support
We recently created a visual plugin for Anypoint Studio, available as part of the Anypoint Add-ons (beta) project. This plugin will be present the next release of Anypoint Add-Ons, but those who can’t wait, can access this through the nightly build update site (in Anypoint Studio).
Some of the new features include:
- New Gradle Project Wizard
- Gradle Tasks View
- Visual Dependency Management
- Advanced Setup Preference Page
New Gradle Project Wizard
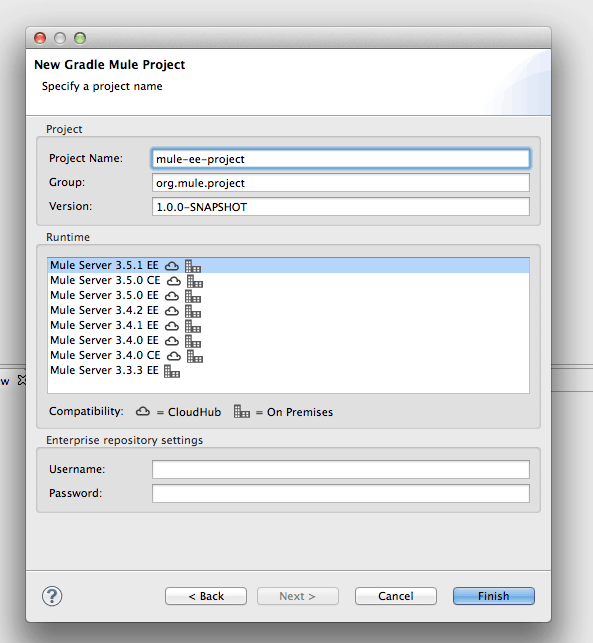
When creating a new Project, you will now have an option for creating a Gradle project. Just enter some basic information, like the project name, and you will have an application that you can immediately run, including basic log4j configuration for your app.
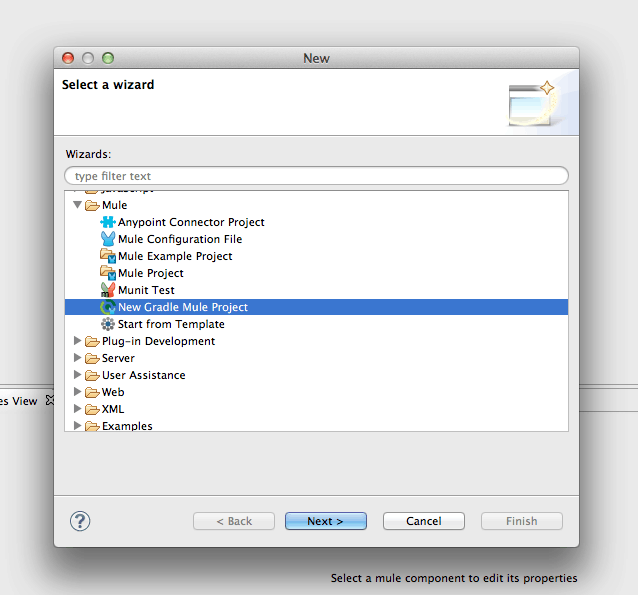
The use of Gradle does not only remove the pain from your builds, it also removes the pain from your setup. No setup or download of Gradle is required, it just works. This is because Gradle is enabled to get everything it needs to perform the build from the internet. Note that initially no Gradle specific knowledge is required to get started and by using this, you have out of the box builds that you can automate and add to your CI systems.
Gradle Tasks View
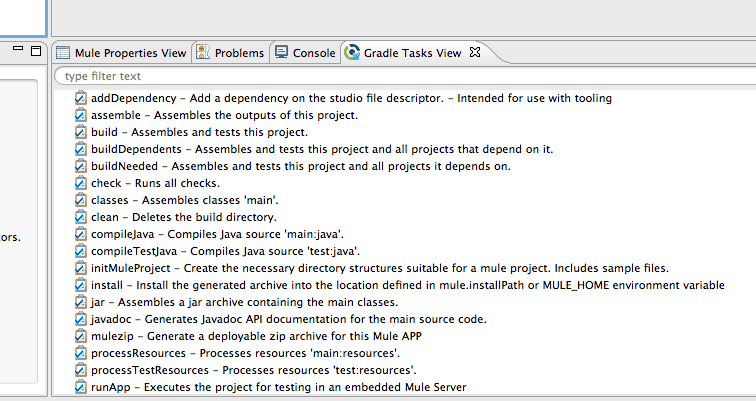
Thanks to this new view, invoking tasks in Gradle has never been easier. You get an immediate description of the task you’re about to run and can even run it with arguments. There is no need to switch to the command line or any additional steps. You can use all of the features from the build plugin within Studio – including deployments to Mule Enterprise Management and CloudHub.
Visual Dependency Management
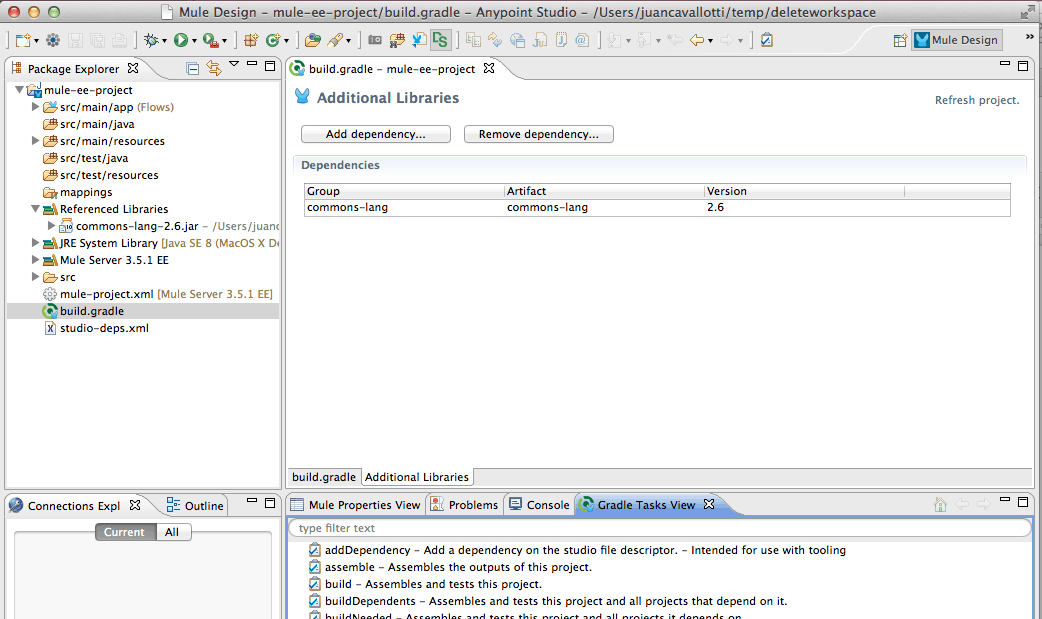
We have included a new type of editor for the build.gradle file that includes a panel for visually adding dependencies to your app. This helps you get started as quickly as possible and makes learning Gradle easy.
Advanced Setup Preference Page
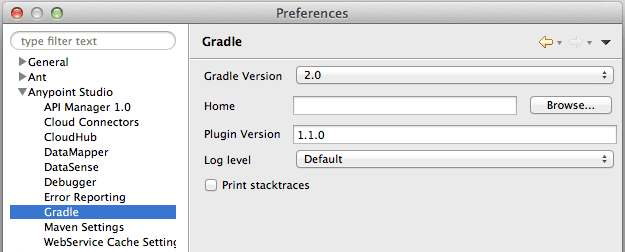
While the default setup should work for almost everyone, there is still the need to create advanced configurations, so we have included a preferences page where you can customize the logging level that your build outputs, the version of Gradle you would like the tool to download, or configure a custom Gradle installation.
Other Gradle Goodies
Gradle also provides several other out of the box goodies that you should know about:
- Out of the box inclusion of the source code of your dependencies: When using Gradle 2.0 (configurable through the settings), each dependency you add to your project will trigger, out of the box, the download of (if available) its sources and the javadoc.
- By performing a small addition to your build.gradle file, you can with one simple click, deploy your app in an external Mule Runtime that could be running in your local computer.
Release 1.1.0
Starting from release 1.1.0 of the Gradle module, we fully support version 2.0 of Gradle. This version also includes a number of bugfixes that improve the experience with this build tool.
Since we released 1.0.0, users no longer need to build the plugin, it is available publicly in MuleSoft’s community site, you simply need to configure your project’s build with the following:
By using this configuration, you’d be able to use Gradle 1.x and 2.x for your builds. For a complete list of the fixes made, you can refer to our github’s milestone.
Feedback
Please let us know your feedback through the project’s Github Issues page. This feedback is very important to us so we can continue to improve this important tool and help you be more productive every day.


