
Humans make mistakes. While they’re usually harmless, when it comes to building applications, these mistakes can be expensive and risky. This is why application testing is critical during development.
On top of that — untested code is broken code. While there are rare test case scenarios where a developer can’t trigger the expected output, everything else should be tested. When there’s a bug in the code, it’s likely to be in untested pieces of your codebase. Application testing ensures that a high-quality product is being delivered with few defects and less maintenance required — thus, reducing costs.
Application testing also provides executable documentation or specifications. Software project documentation can often be outdated, and many developers won’t read the documentation for a system as they prefer to work with the code. Well-written unit tests provide a functional specification of code. As a result, unit tests effectively become a significant portion of technical documentation.
In this blog post, I’ll cover some of the testing strategies you could implement using MUnit and explain the details of MUnit test coverage:
What is unit testing?
Unit testing verifies the functionality of a specific unit. It doesn’t require deployment into any special environment — such as a staging environment. There are two types of unit testing: structural and behavioral testing.
Structural testing requires knowledge of the implementation details of the API. It is based on the inner workings of an application and revolves around internal testing. Behavioral testing is the testing of the external behavior of the applications, also known as functional testing.
Using MUnit to unit test Mule applications
MUnit is Anypoint Platform’s dedicated unit testing tool specifically designed for Mule applications. It runs inside a Mule runtime, manually in Anypoint Studio, and automatically as part of the Maven-based CI/CD build process. MUnit is designed to create structural test cases as Mule flows. That means you can use components on top of MUnit and MUnit tool modules.
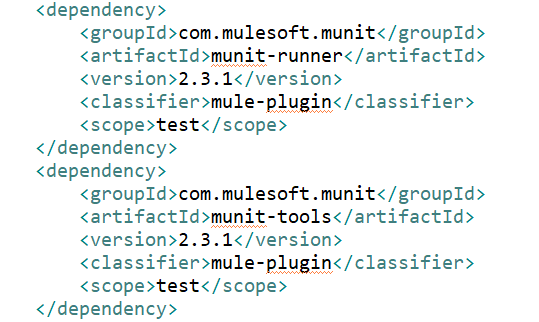
To begin using MUnit, you have to add these dependencies in this order on your pom.xml.
Order of dependencies does matter in Maven because of how Maven resolves transitive dependencies. Otherwise, you will encounter an error. Below is an example of a correct order of dependencies in Maven:
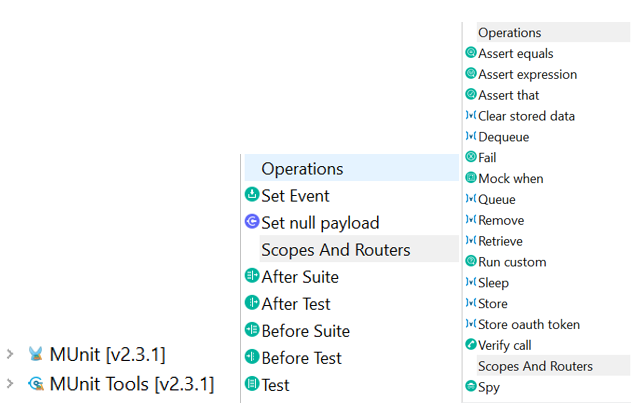
Once imported, you can see the dependencies on your project explorer window in Anypoint Studio and components in Mule Palette.
Implement testing strategies using MUnit Tools
When designing testing strategies, it is important to build a comprehensive test suite of relevant tests for each Mule project. Below, I’ll explain how to implement a few of the most common testing strategies using MUnit:
Mock when
For read-only interactions to any external dependencies, invoking production endpoints is allowed (“sociable” unit tests). For write interactions, developers must implement mocks using MUnit Tools – Mock when.

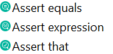
Assertions
Assertions about the result are tested and recorded. Test assertions are those that test for adherence to the RAML definition in terms of data types, media types, and compare the expected result vs. the actual result of the test case.
I recommend exploring MUnit Matchers. These are a set of DataWeave functions to define assertion conditions for any value in an expression.
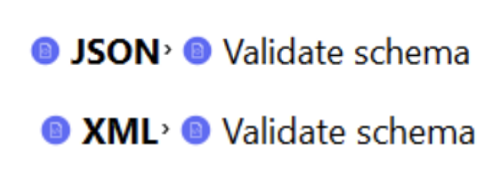
Validation
Validation should be added to each test case. There are a bunch of components you could use, such as the JSON and XML Validate Schemas and Validation Modules.
Spy on flow components
This is a scope to validate or assert the Mule event state before and after a flow component. Setting a spy processor tells MUnit to run a set of instructions (usually assertions or verifications) before and/or after the execution of the spied event processor.

Why is test coverage important?
I like to compare test coverage to the “armor” of my API to ensure that current and future changes are consistent, predictable, and reliable deployments or runtime operations. It provides an assurance that the existing logic won’t break if there are new changes.

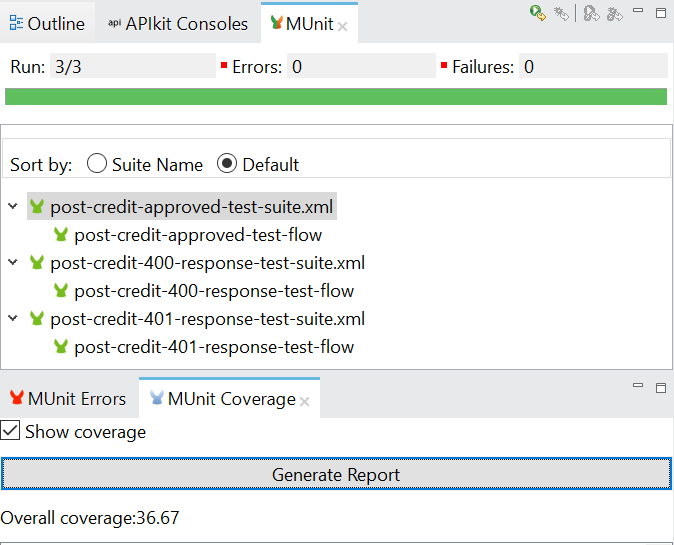
You can measure how much a Mule application has been executed by a set of MUnit tests by counting the amount of event processors executed. There are two ways to enable the test coverage, manually in Anypoint Studio and as part of Maven by configuring the POM.xml.
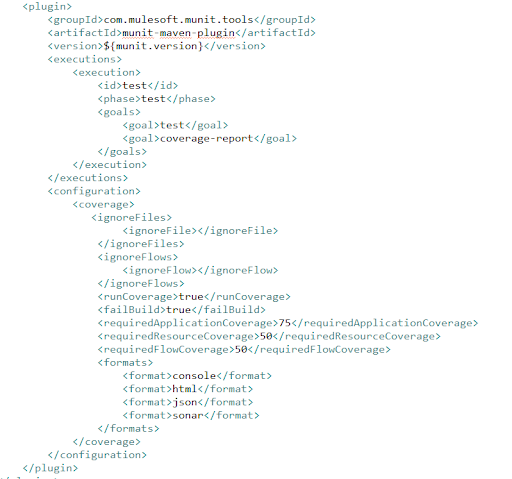
The test coverage can be generated in different formats such as in a console, HTML, JSON, and Sonar (Sonarqube integration).
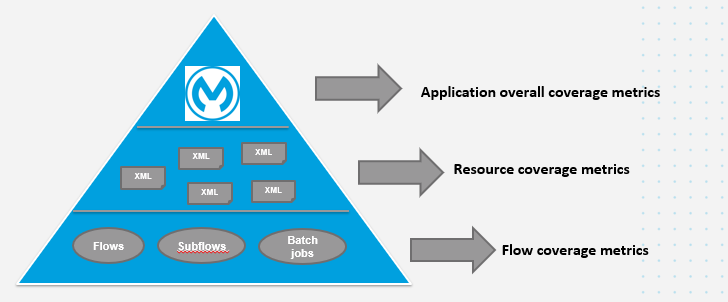
These measurements involve a number of metrics and I recommend always aiming for MUnit test coverage of 75% to 80% or above. To achieve the desired coverage, here is the diagram to explain.
Here is a sample of the full configuration to be set-up in POM.xml and in Anypoint Studio.
Throughout my journey with MuleSoft, MUnit has been my companion tool during my software development and testing phase. It catches the defects that I missed. Also, it ensures my work and other developer’s work is fully functional — giving me confidence to deliver a high-quality product to customers.
Learn how to create your first MUnit test in Anypoint Studio by following this tutorial. For more technical how-tos, join the MuleSoft Developer LinkedIn Community!


