
In part one of this blog, I walked you through the process of setting up an Ethereum client and generating two Ether wallets for the purpose of testing. In this blog, I’ll show you how easy it is to leverage MuleSoft to connect to and send funds from one wallet to another using an Ethereum connector that was developed using Anypoint DevKit.
1. Install/build the Ethereum connector
Web3j is a highly modular, reactive, type-safe Java and Android library for working with Smart Contracts and integrating with clients (nodes) on the Ethereum network. For this blog, I created an Ethereum connector using Anypoint DevKit. The connector wraps the web3j libraries and reduces the need for a developer to code. In this section, you can either download and build the connector from Github or just download and install a pre-compiled connector by starting at Step 1.5.
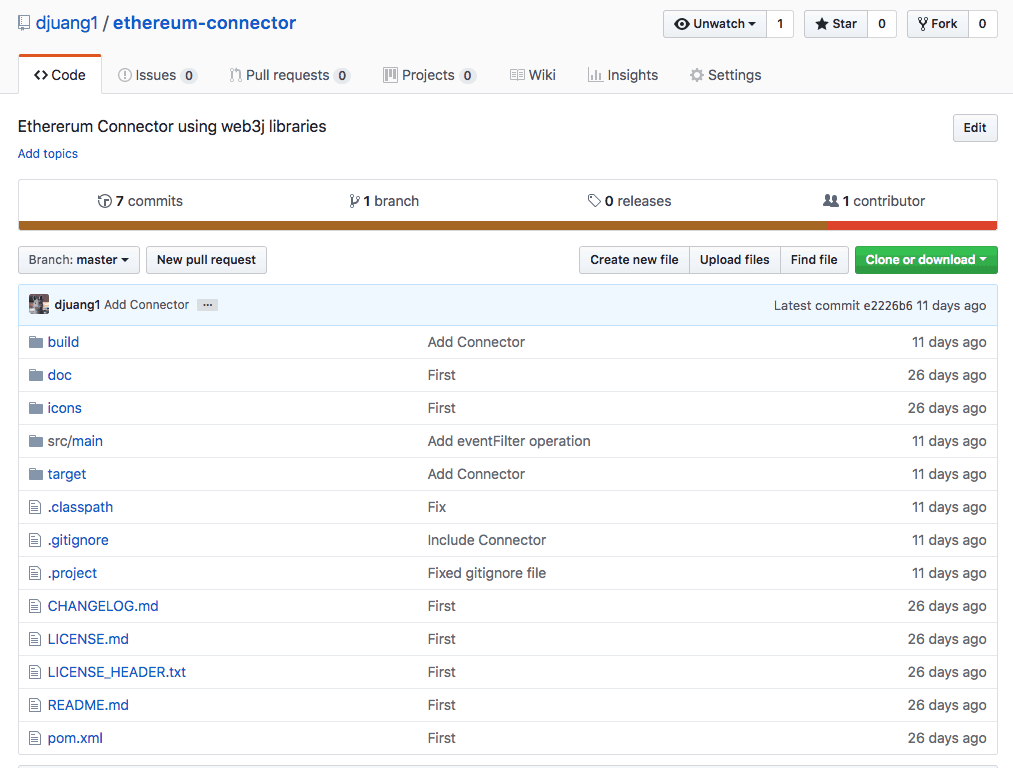
1.1. Download the project from Github.
1.2. In Anypoint Studio, click on File > Import. Expand the Anypoint Studio folder and select Anypoint Connector Project from External Location. If that option is not there, you need to install the Anypoint Devkit plugin.

1.3. In the window that pops up, browse to the unzipped project from Github. Check the project checkbox and click on Finish.

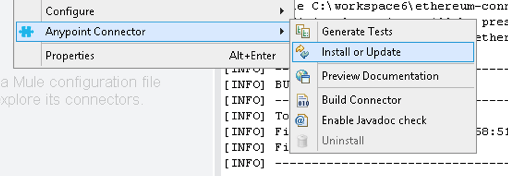
1.4. Once the connector project is imported and the project builds successfully, right click on the project and select Anypoint Connector > Install or Update.
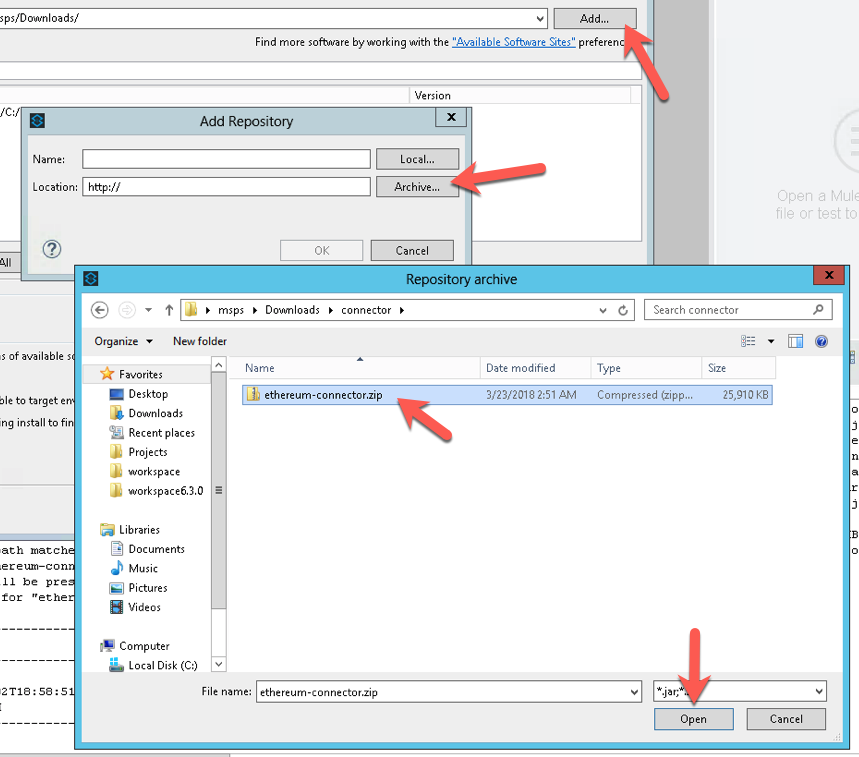
1.5. Or you can install a full compiled connector from Github. In Anypoint Studio, go to Help > Install New Software. In the dialog window that pops up, click on Add. In the Add Repository window, click on Archive. Find the downloaded zip file from Github and click on Open.
1.6. Select the checkboxes for the Ethereum connector and click on Next and Finish to install the pre-compiled connector to Studio.

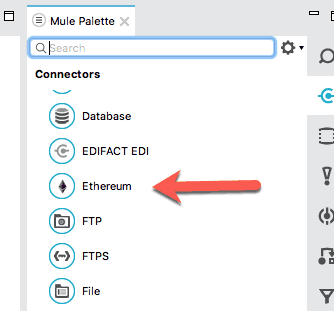
1.7. If you’ve followed all the steps successfully, you’ll see the Ethereum connector in the Mule Palette.
2. Create a project
In this section, we’ll take the newly installed Ethereum connector and create a simple flow to move Ether from one wallet to another.
2.1. Create a new Mule project.

2.2. Copy and paste the keystore file that was generated in Step 2.3 in Part 1 of this blog post. Rename the file to wallet.json.

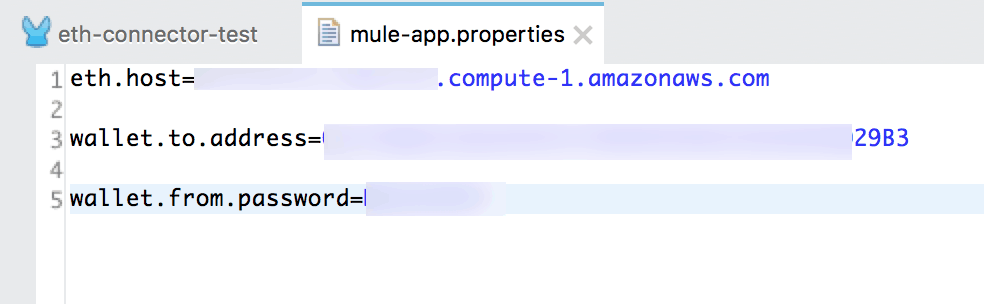
2.3. Open the mule-app.properties file and paste in the following properties. eth.host=EC2 address of the instance you created in Step 1.1 or your own Geth instance addresswallet.to.address=Public address for the second wallet that you created in Step 2.2wallet.from.password=Password from Step 2.2 in part 1 of the blog post.
2.4. In the canvas, drop in an HTTP component and configure it with the default values for the configuration. e.g. http://localhost:8081.
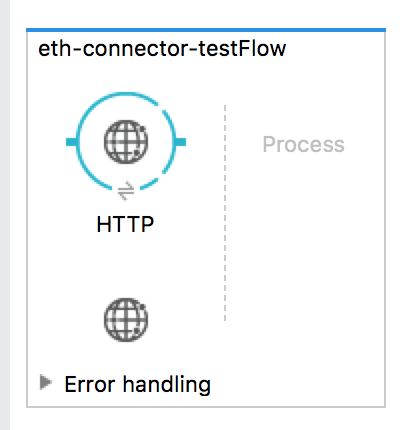
2.5. Next, drag-and-drop the Ethereum connector. Click on the ‘+’ sign for the Connector Configuration.

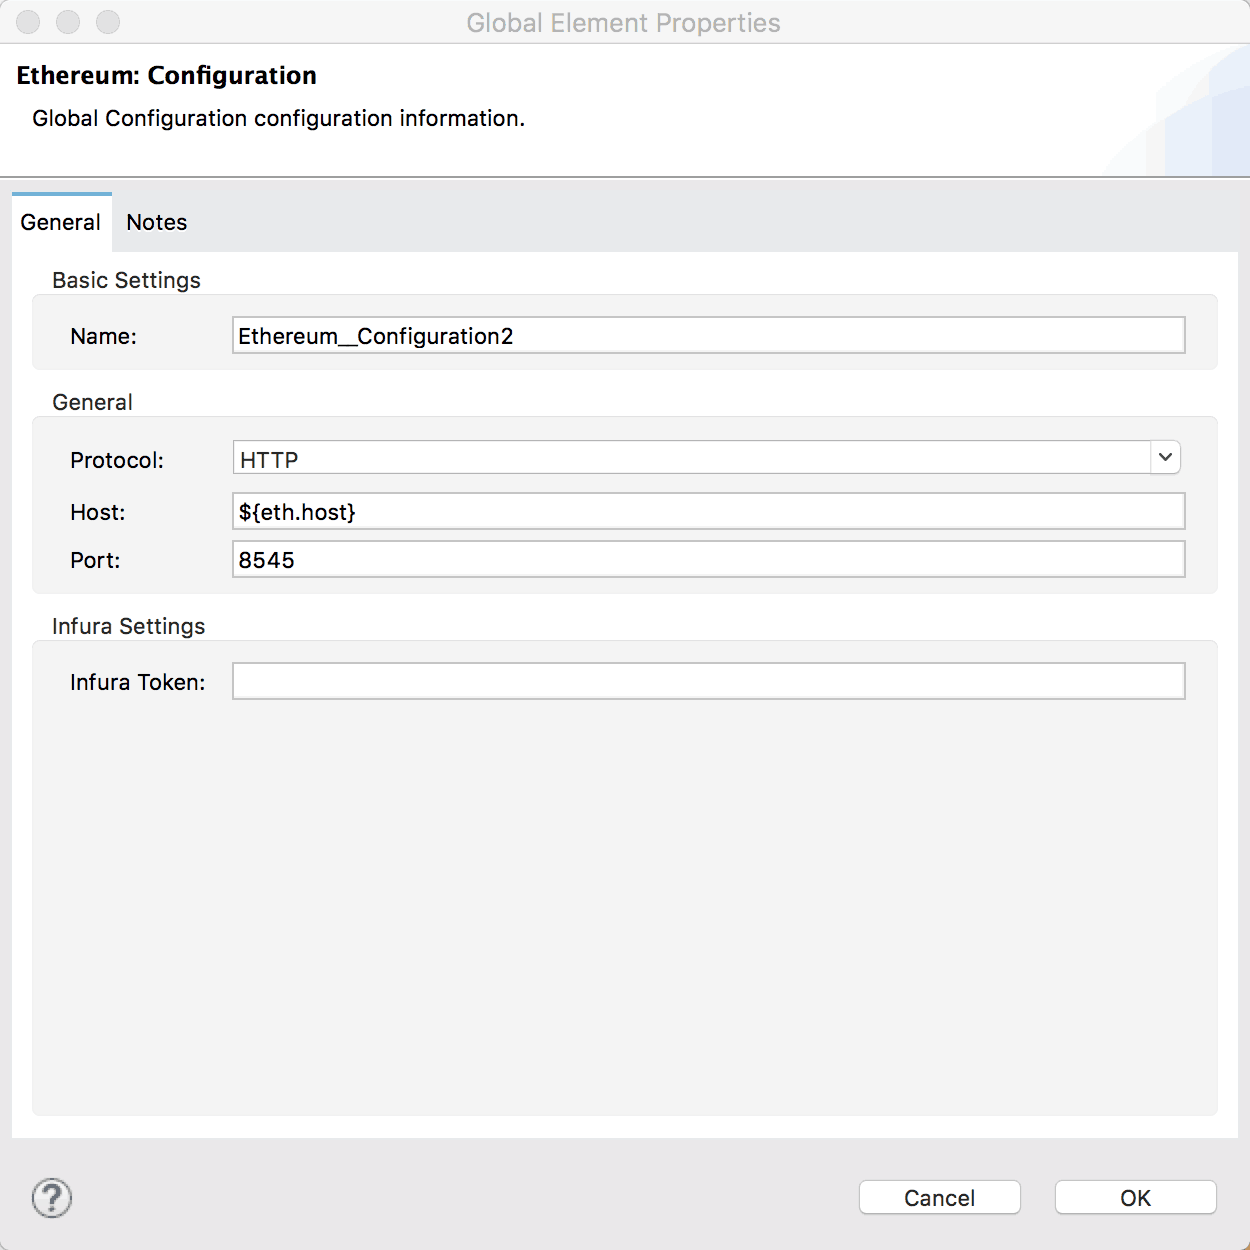
2.6. Select HTTP for the protocol. Fill in the host with the property ${eth.host}. Leave the default port 8545 and the Infura Token field blank.
2.7. Back on the configuration of the Ethereum component, select Send funds for the operation. Fill in the Address To field with the property ${wallet.to.address}. Fill in the Password with the password property ${wallet.from.password}. In the Wallet File field, enter in src/main/resources/wallet.json. This will point to the file you copied in during Step 2.2 in this blog post. Set the Value to 1 and the Unit to WEI.

2.8. Lastly, drop in an Object to JSON transfomer at the end of the flow. Run the project.

2.9. Open a new tab in your browser and navigate to http://localhost:8081. If configured correctly, you should see a response showing the from and to addresses and the status of the transactions. Generally, it shows false due to the amount of time it takes to validate an Ethereum transaction.

2.10. To see the final status, open another tab and check on the status of the transaction in Etherscan.
Conclusion
Using MuleSoft and Anypoint Platform reduces the additional overhead of having to write your own code when connecting to the Ethereum blockchain, and any blockchain for that matter. Most – if not all – blockchain platforms today provide a JSON-RPC or REST API. What they don’t provide is an easy way to connect to your enterprise and that’s where MuleSoft fits in. Be it a Blockchain Proxy API or a pre-built connector, MuleSoft simplifies and accelerates productivity while giving you greater control over your application network.


